Chapter 8 - Replacement Procedures 8-207
D
IRECTION 5771498-100, REVISION 6 VENUE™ SERVICE MANUAL
PRELIMINARY
8-9-5 Software Installation Procedure
NOTE: Images in this procedure are for reference only. There may be differences or variations, in accordance
with different software versions.
1.) Disconnect all probes.
2.) Plug the Software Installation Media into the USB port located on the Interface Panel of the
Venue™.
3.) Turn on the system.
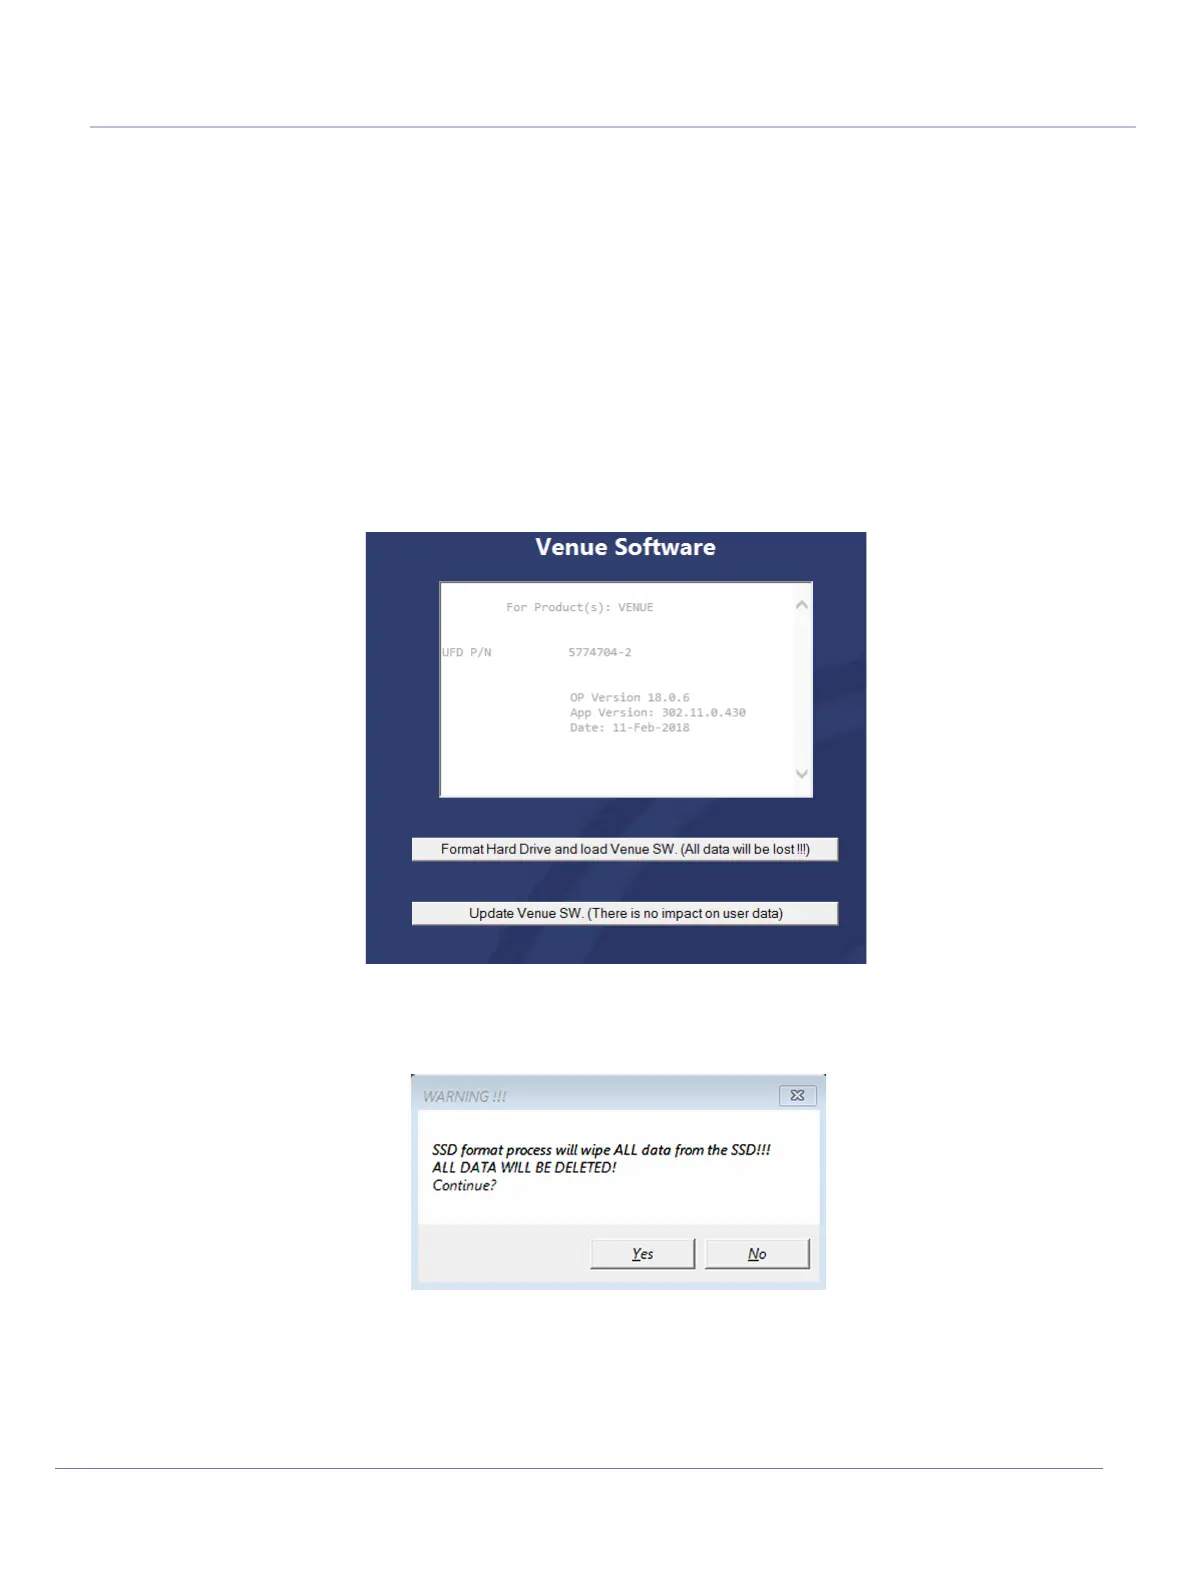
The opening screen is displayed.
4.) For new installation (after SSD replacement), tap Format SSD and Install.
If patient information is stored on the SSD, perform one of the following:
Select Update SW to install software without affecting user data.
The Warning message appears:
5.) Click Yes in the Warning message box.
6.) Automatic installation process runs. At the end of the process, the following message appears:
Figure 8-248 Venue™ Software - Installation Options
Figure 8-249 Venue™ SSD Format- Warning Message

 Loading...