Page 14 VRC2000 Installation and Operations Manual
Technical or Setup Assistance
Telephone: 800.945.7730 (USA) or 801.975.7200 (worldwide) • Worldwide Web @ http://www.gentner.com
Step 3
Verify the newly entered access codes by entering
☎ “0 9 0”
The VRC2000 should respond:
• OPERATOR ACCESS CODE IS 1, 1, 1, 1, 1 ... [BEEP]
• USER ACCESS CODE IS 2, 2, 2, 2, 2 ... [BEEP]
• SYSTEM ACCESS CODE IS 3, 3, 3, 3, 3, 3, 3 ... [BEEP]
If the VRC2000 does not respond as indicated above, an error entering the
new access codes may have been made. Go through the process (See Step 2,
previous page.) again until the new access codes have been correctly entered.
Internal Battery/Access Code Check
Verify that the VRC2000’s internal lithium battery is properly connected,
and that the new access codes have been properly entered and stored.
Following these step-by-step instructions:
Step 1
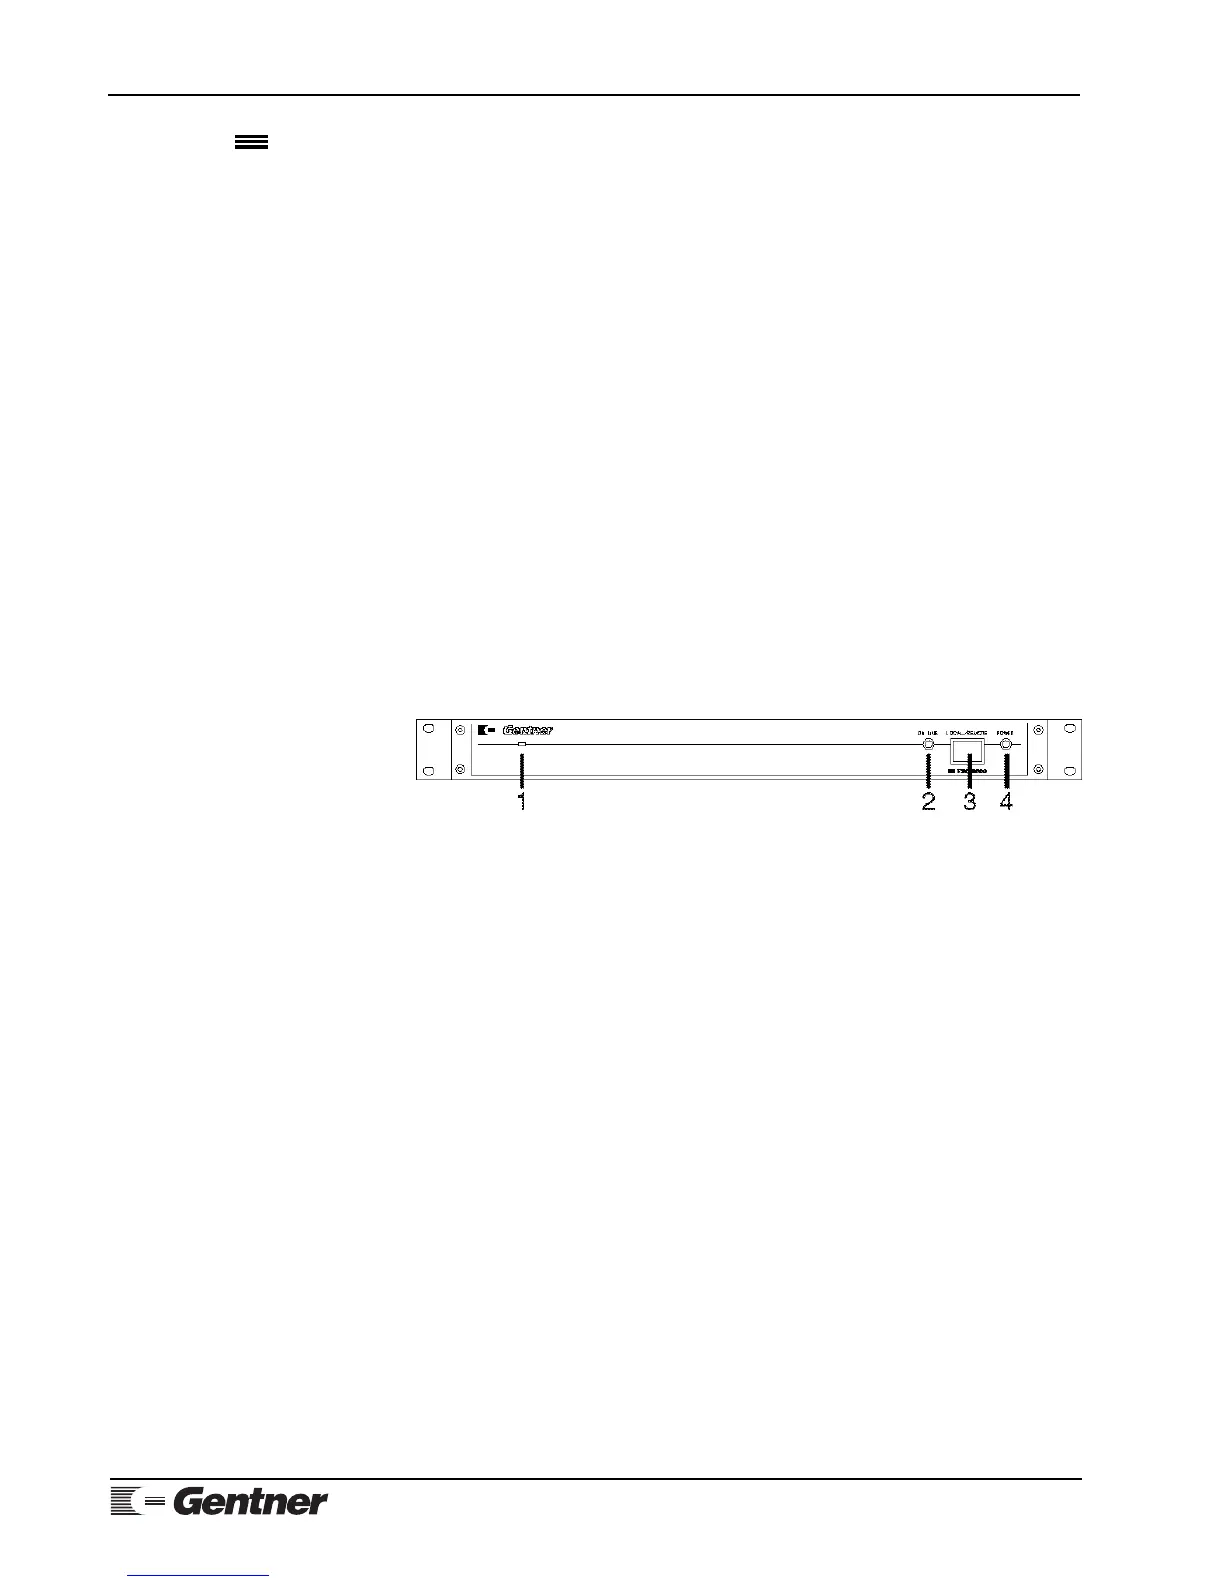
Press the LOCAL/REMOTE button [3] (See Figure 11a, below.) on the
VRC2000’s front panel to exit setup mode. The button light will extinguish,
and the VRC2000 will say
• SETUP DISABLED. GOOD-BYE.
Step 2
Unplug the VRC2000’s AC power cord, wait 25–30 seconds, and plug it
back in. The VRC2000 should respond:
• DATA OK. CLOCK OK.
However, the VRC2000 may also say
• DATA ERASED. CLOCK ERASED.
If this occurs, the VRC2000’s internal-lithium battery is not properly
enabled.
Step 3
Press the LOCAL/REMOTE button [3] on the VRC2000’s front panel. The
button will light red and the VRC2000 will say
• SETUP ENABLED. PLEASE ENTER SYSTEM ACCESS CODE.
With the DTMF pad, enter the new system access code programmed in
Changing Access Codes (Page 12).
☎ “3 3 3 3 3 3 3”
VRC2000 Setup
Continued
Figure 11a. VRC2000 front-panel
controls