Installation 9
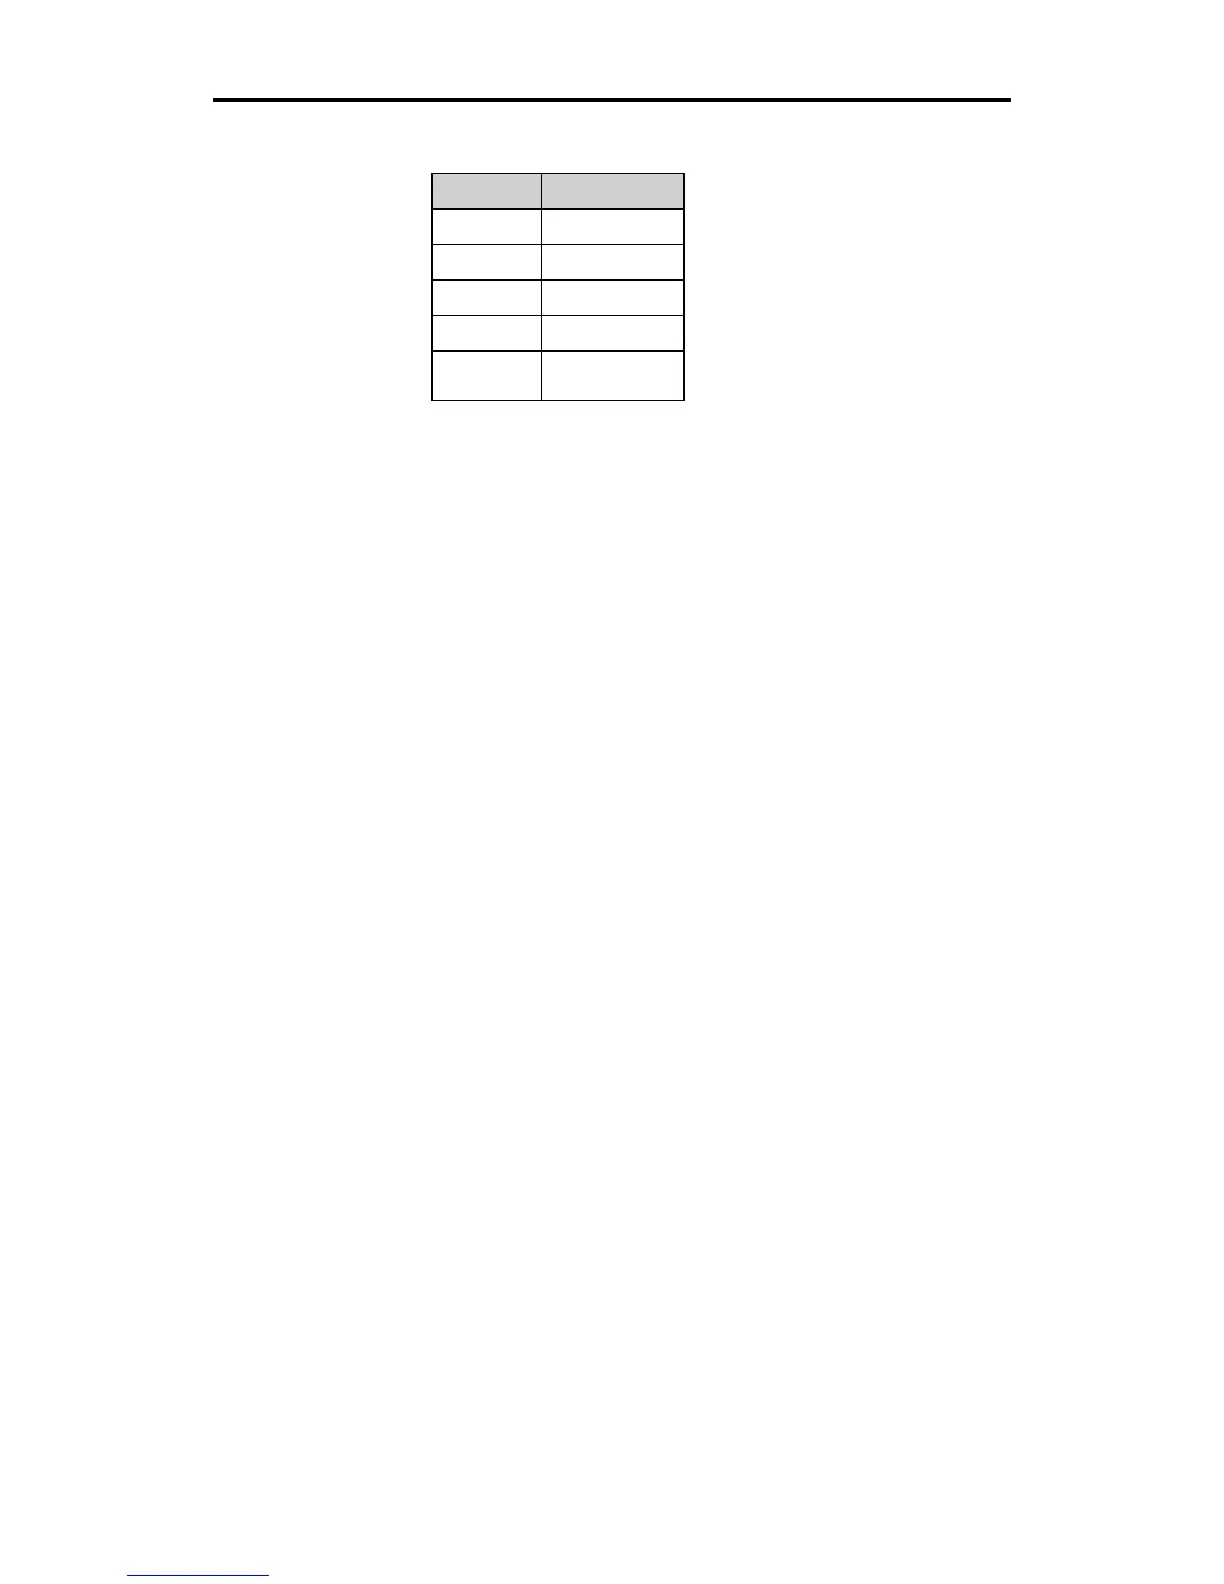
The plotter has a 25DB female connector with these pin assignments:
Pin Signal
2Tx
3Rx
4RTS
5CTS
7Sig Gnd
All other pins are not connected.
Power Cords
1. Insert the female connector of the HS15
plus
plotter power cord into
the socket on the rear panel of the plotter.
2. Connect the power cords for both the
GRAPHIX ADVANTAGE
system and the HS15
plus
to a multiple outlet strip. The strip should be
plugged into a standard, grounded electrical outlet (115V +/- 10%
AC, 60 Hz or 230V AC, 50 Hz).
3. Turn power on at the system and the plotter.
CAUTION: When power is on, never try to manually move the
carriage, move the plotter drum, rotate the tool, or force the tool
up or down. Attempting to manually move the HS15
plus
in any
axis of movement while the power is on may damage the
machine.
Power-up Sequence
When the HS15
plus
is turned on, the following sequence occurs:
1. The light labeled
POWER
comes on. A short beep sounds, and the
lights over
RUN CONT
,
RUN SINGLE
, and
SWIVEL KNIFE
blink on,
then off.