Installation 11
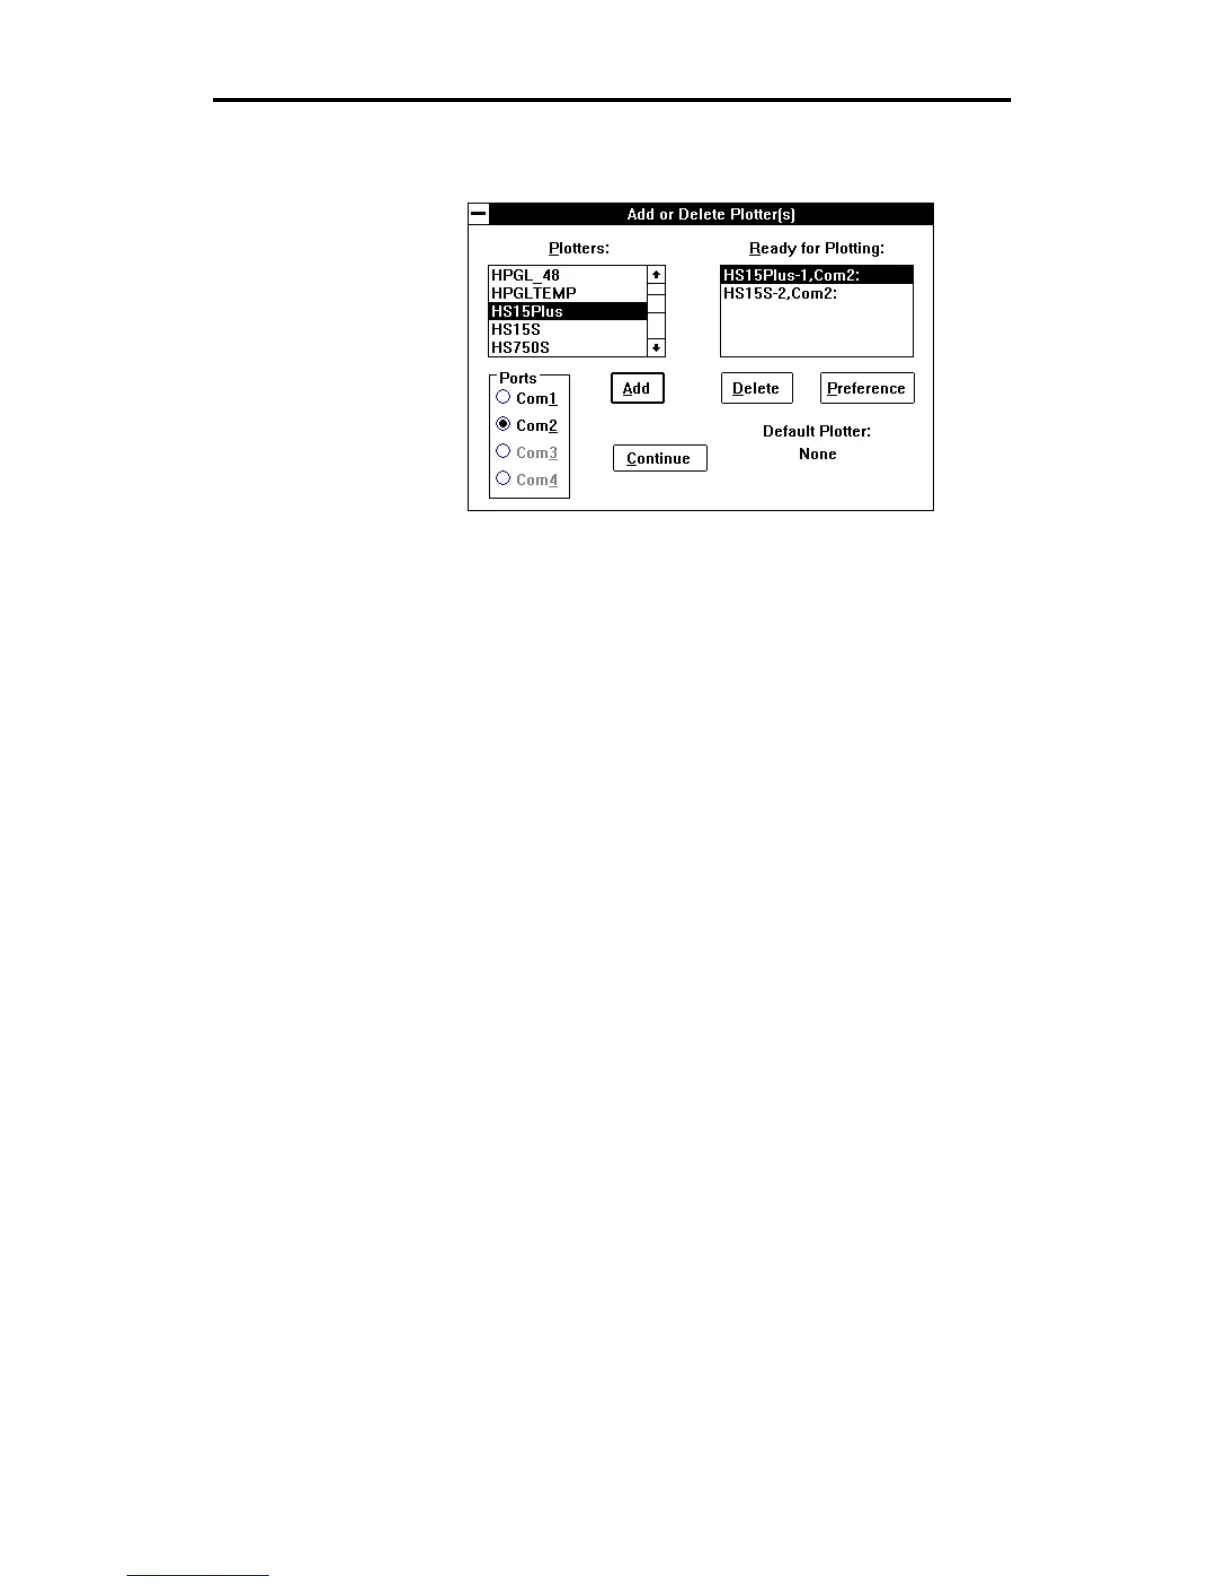
6. Click on Add. The added plotter appears in the Ready for Plotting
list box. Your system is now set up to use the HS15
plus
plotter.
Note: The Default Plotter note in the lower right corner of the
dialog box tells you the name of the plotter your jobs will be sent to
unless otherwise specified in the Plot
program.
7.
Click on Continue. The screen will return to the GSP Setup menu.
8.
Double-click on the control bar to exit the GSP Setup Menu. The
system returns to the GSP
GRAPHIX ADVANTAGE
program group
and you can now access the HS15
plus
plotter.
Adding Plotters
Multiple plotters can be added to your system. They must be added
individually.
1.
Click on the desired plotter you wish to add from the Plotters list
box and click on the port in the Ports box that the plotter will be
attached to.
2.
Click on Add. The highlighted plotter is added to the Ready for
Plotting list box.
Note: For each plotter you add, a number is added after the plotter
model number (for example, HS15-1 for the first plotter added,
HS15-2 for the second).