GM Energy V2H Bundle Installation Manual 21
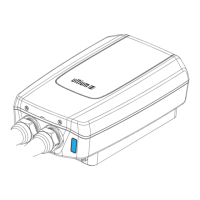
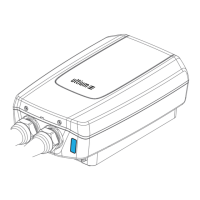
HUB CONFIGURATION AND ACCESSORIES
The Hub may require additional accessories to be installed depending on the system design. The following are included
with the Hub:
• Hub
• Mounting plate
• Quick installation Guide
• Antenna
• Jumper kit: main service bonding jumper and two M4 screws
• Main breaker wiring kit: main service disconnect label and one M4 nut
• AC solar warning label
• PCS warning labels for CTs
The Hub may be used as the main service equipment, which may require the installation of a main breaker and neutral–
ground bonding jumper inside the Hub. The Hub can be configured with an internal non-backup pan (typically for the
Charger) which will require installing the Eaton 48INT125B accessory kit. The Hub features one internal, factory-installed
energy meter. An additional energy meter may be added depending on site conditions and system design. All electrical
codes and standards must be followed when bonding neutral and ground.
Installing the Hub as Main Service Equipment
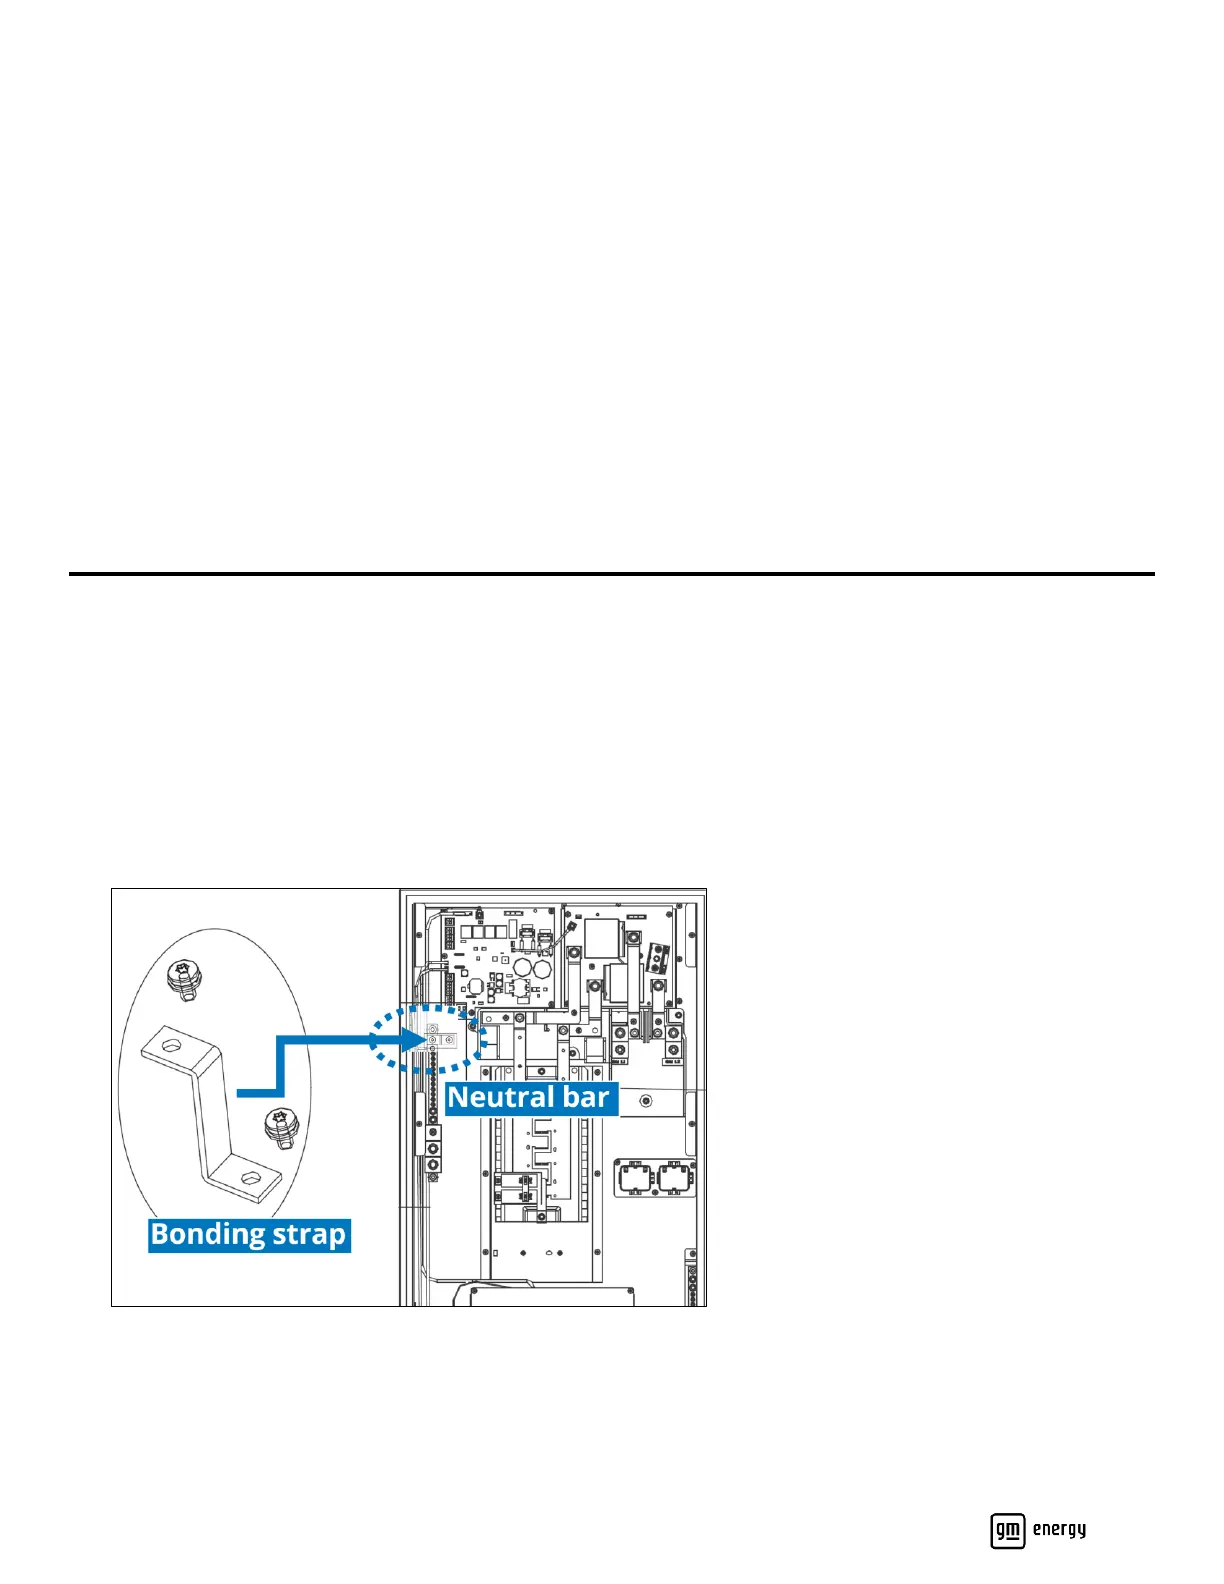
The Hub includes an accessory kit which includes a neutral-to-grounding bonding strap (with hardware), and a MAIN
SERVICE DISCONNECT label.
1. Using a T20 tool and M4 screws, install the bonding strap between the neutral bar and the back wall of the Hub
(Figure 11). Torque the screws to 14 in-lb.
2. Using a 1/2″ socket, remove the two chair lugs and then install the main breaker in their place, using two 1/4″-20
threaded nuts and a 7/16″ socket (Figure 12). Torque each nut to 48 in-lb.
3. With a 9/32” deep socket, remove the main breaker housing flange nut, install the main breaker, and then reinstall
the flange nut.
Figure 11: Location of bonding strap for main service panel