© Guldmann GB/US-09/2016 • #550376_3
44
SERVICE AND REPAIR
GH3
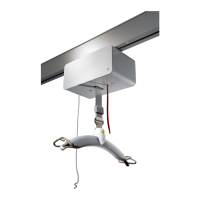
Replacing the leader motor safety PCB
Undo the 7 screws (Torx 10) attaching the PCB to the cool-
ing plate, remove the PCB and replace it with the new one.
Fix the new PCB with the 7 screws.
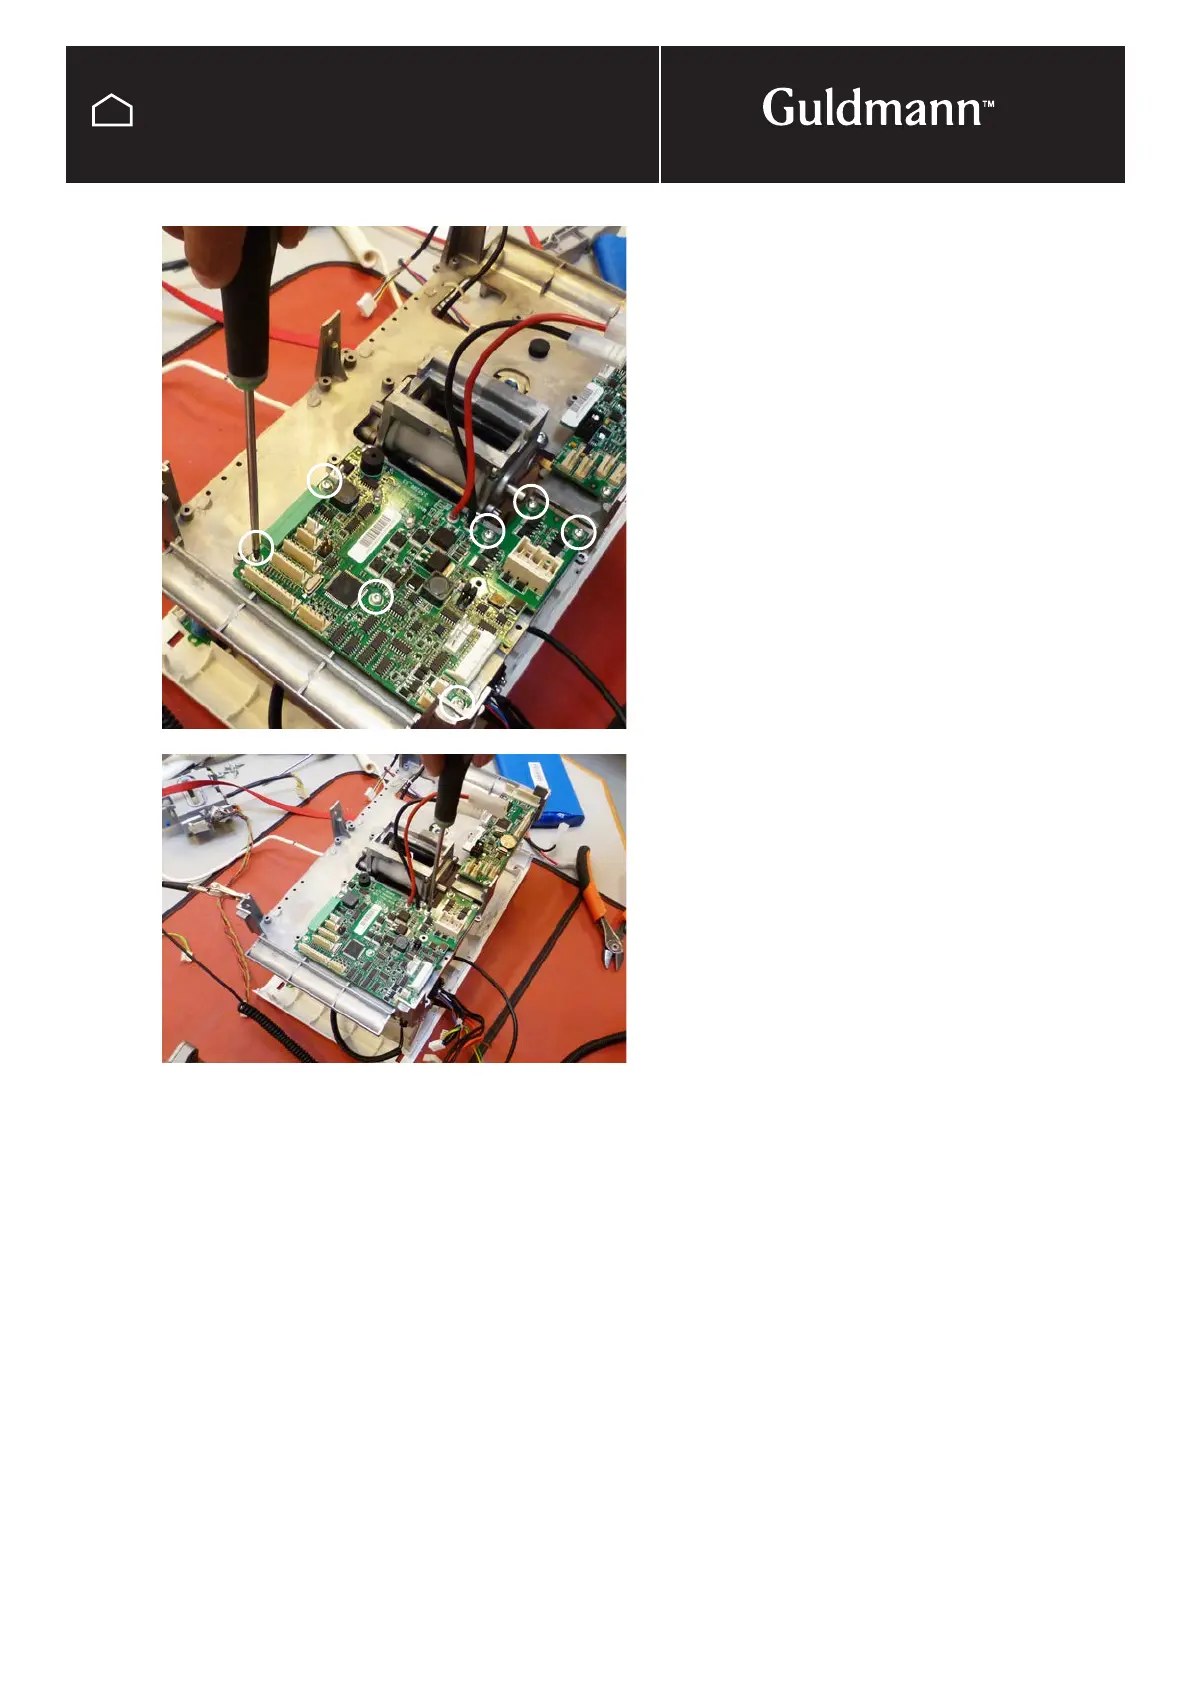
Reconnect wires and reassemble hoist leaving the battery’s
until last.
Before the hoist can be put back into service the PCB
needs to be configured, this is done through the Guldmann
service console.
NOTE:
It is important to register all PCB exchanges on the
Guldmann traceability web site.