62
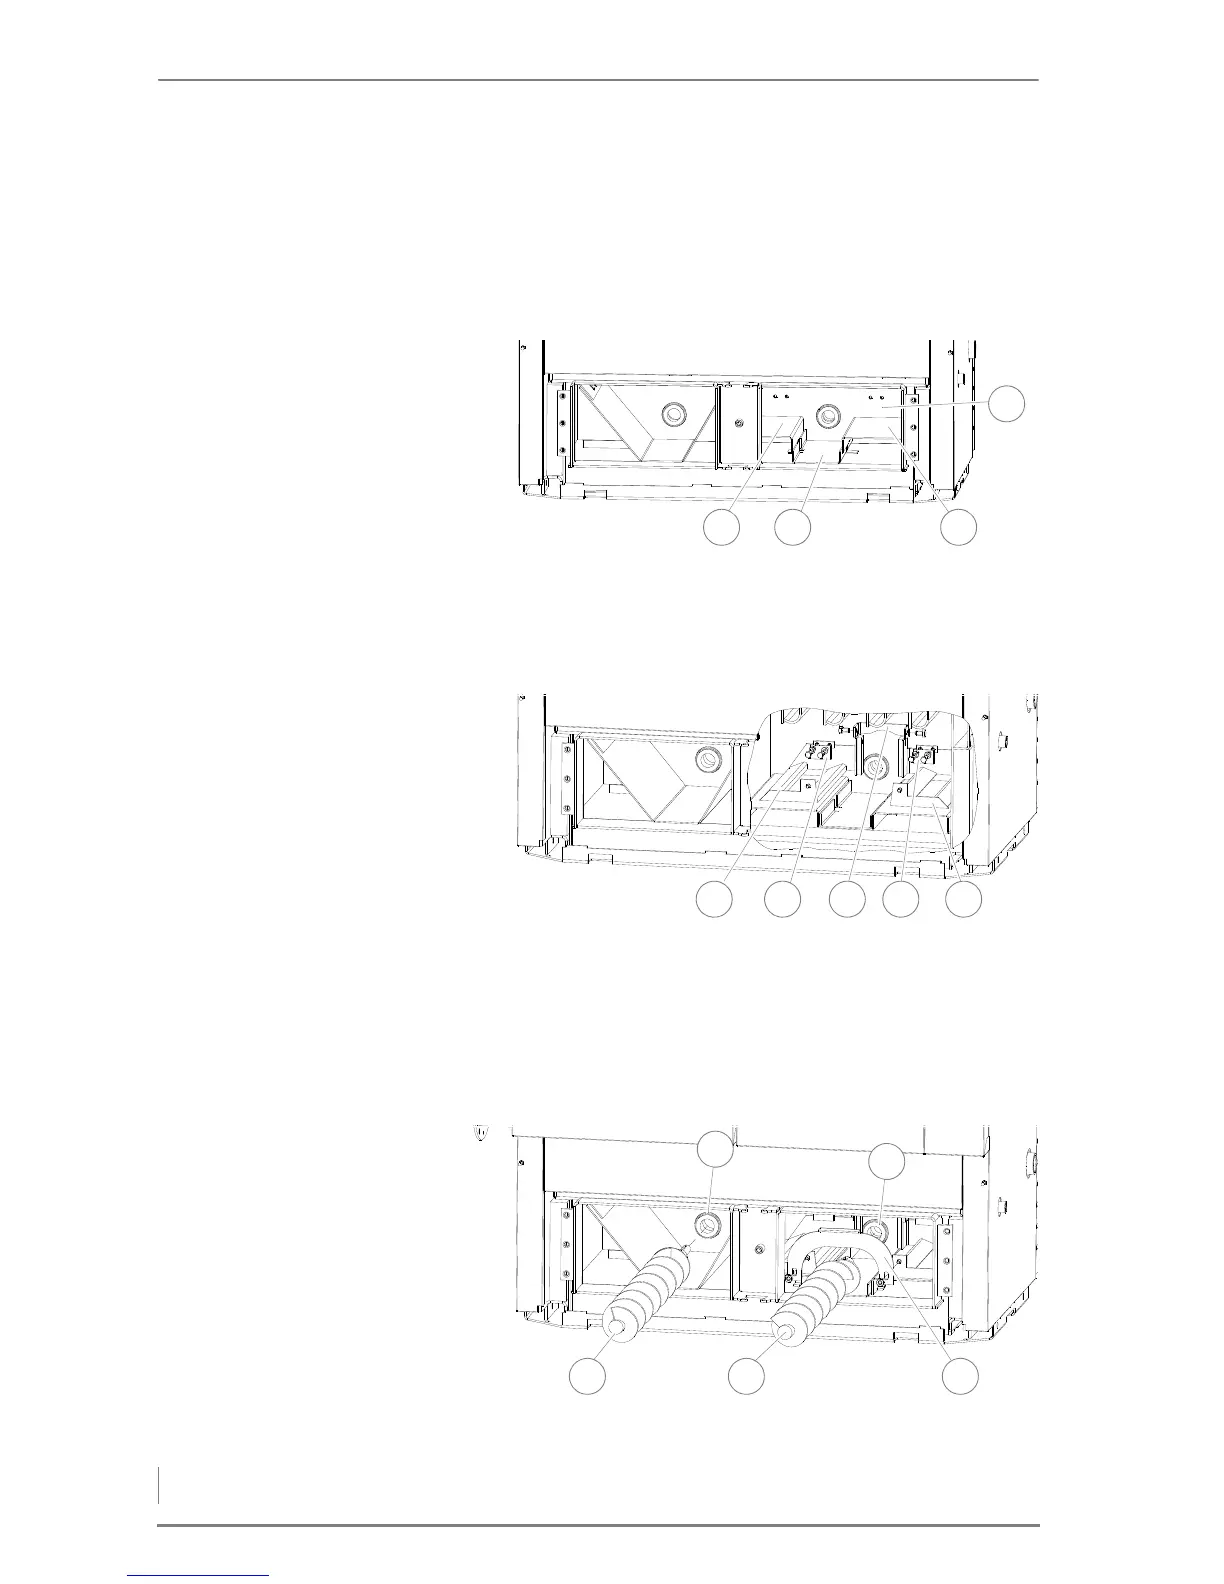
8. Slide the alignment plate (1) all the way to the limit of the ash
compartment wall.
9. Tighten the two M10 screws (size 17) (2).
✓ The ash plate is installed.
I
NSTALLING THE ASH REMOVAL
SYSTEM
10.Insert the centre tray (2) in the ash compartment (4).
11.Fit the left (1) and the right (3) tray on the centre tray (2).
12.Fit the two moving ash floors (1 + 5) on the trays.
13.Connect the two moving ash floors (1 + 5) by means of the bracket
(3) with the M10 screws (17 mm).
14.Install the two guide plates (2 + 4) with the M8 screws (13 mm).
Figure 4/26 - Installing the trays