63
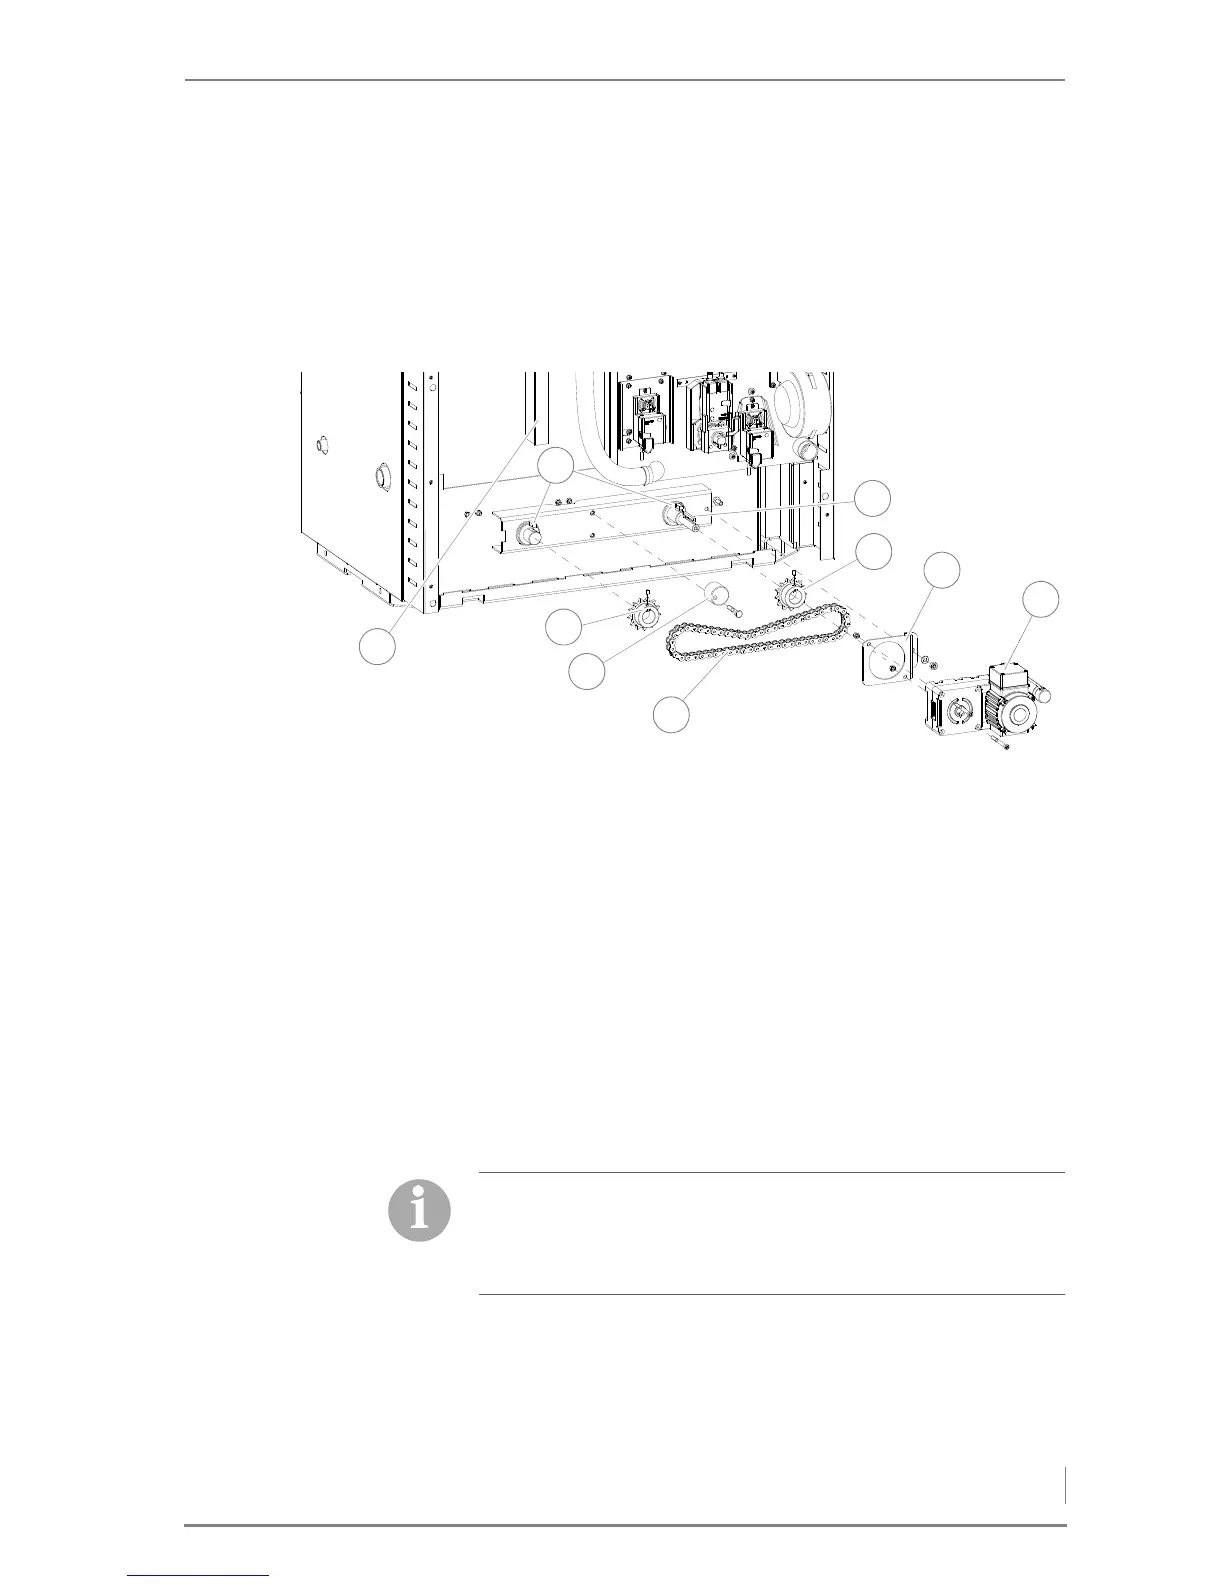
15.Install the bracket (5) on the moving ash floor with M10 screws (17
mm).
16.Insert the ash removal auger with the long shaft end (3) from the
front on the feed side through the opening (1) provided for this.
17.Insert the second ash removal auger with the short shaft end (4)
through the opening (2) provided for this.
18.Place the two small feather keys (2) in the recesses provided for
them on the auger shafts.
19.Align the cogs (3 + 7) flush on the auger shafts and fasten them
with the two M8 hexagon socket screws (4 mm).
20.Place the feather key (6) in the recess provided on the feed side
auger shaft.
21.Mount the drive chain (5) on the two cogs (3 + 7).
22.Fasten the ash removal motor (9) with the M8 hexagon socket
screws (6 mm) on the torque support (8).
23.Insert the ash removal motor (9) with the torque support (8) on the
feed side auger shaft and fasten the support plate onto the boiler
with the nut (M10, 17 mm).
24.Mount the chain tensioner (4) on the boiler with the M10 screw
(size 17).
Figure 4/29 - Installing the ash removal system
For the version of the boiler with the feeding system on the left side,
the chain tensioner must be fastened in the upper position.
For the version of the boiler with the feeding system on the right
side, the chain tensioner must be fastened in the lower position.