Chapter 2 Operating Your Universal Counter
Using the Utility Menu
Operating Guide 2-57
2
Using the Utility Menu
Overview of the Utility Menu
The Utility menu is accessed by holding the Recall key and cycling
POWER key.
The Utility menu allows you to:
• view the firmware revision of your Counter (REV: n).
• select and/or display the current HP-IB address (HP-IB: 1, ... 30, or
TALK).
• choose timebase source (TIMEBAS: AUTO, INT, or EXT).
• execute several self tests (refer to the paragraph in this section titled
“To Run the Self-Test Routines” for details).
• configure the following parameters for the RS-232 port:
– set the print baud rate (BAUD: 9600, 19200, 300, 1200, or 2400).
– set print parity (PARITY: OFF, EVEN, or ODD).
– set the software pace (SW PACE: XON or NONE).
– set the hardware pace to send data to a serial printer, or to send
the Limit-detect output to a computer or controller, via the
RS-232 port (DTR: HIGH, HW PACE, or LIMIT).
– change the numerical convention of the Counter’s displayed
measurement values. The numeric convention used in the USA
separates the integral and fractional portions of a number with a
period (a decimal point), and separates groups of three digits in
the integer portion with a comma. You can reverse this setting to
conform to the numerical convention used in many other countries
(SHOW 9 AS: 9.0 or 9,0).
Early revisions of the Counter allowed calibration from the Utility menu
with CAL: menu item. Calibration and the CAL: menu item now reside on
the Calibration menu; the CAL HELP? menu item resides on the Utility
menu as a pointer to the Calibration menu.
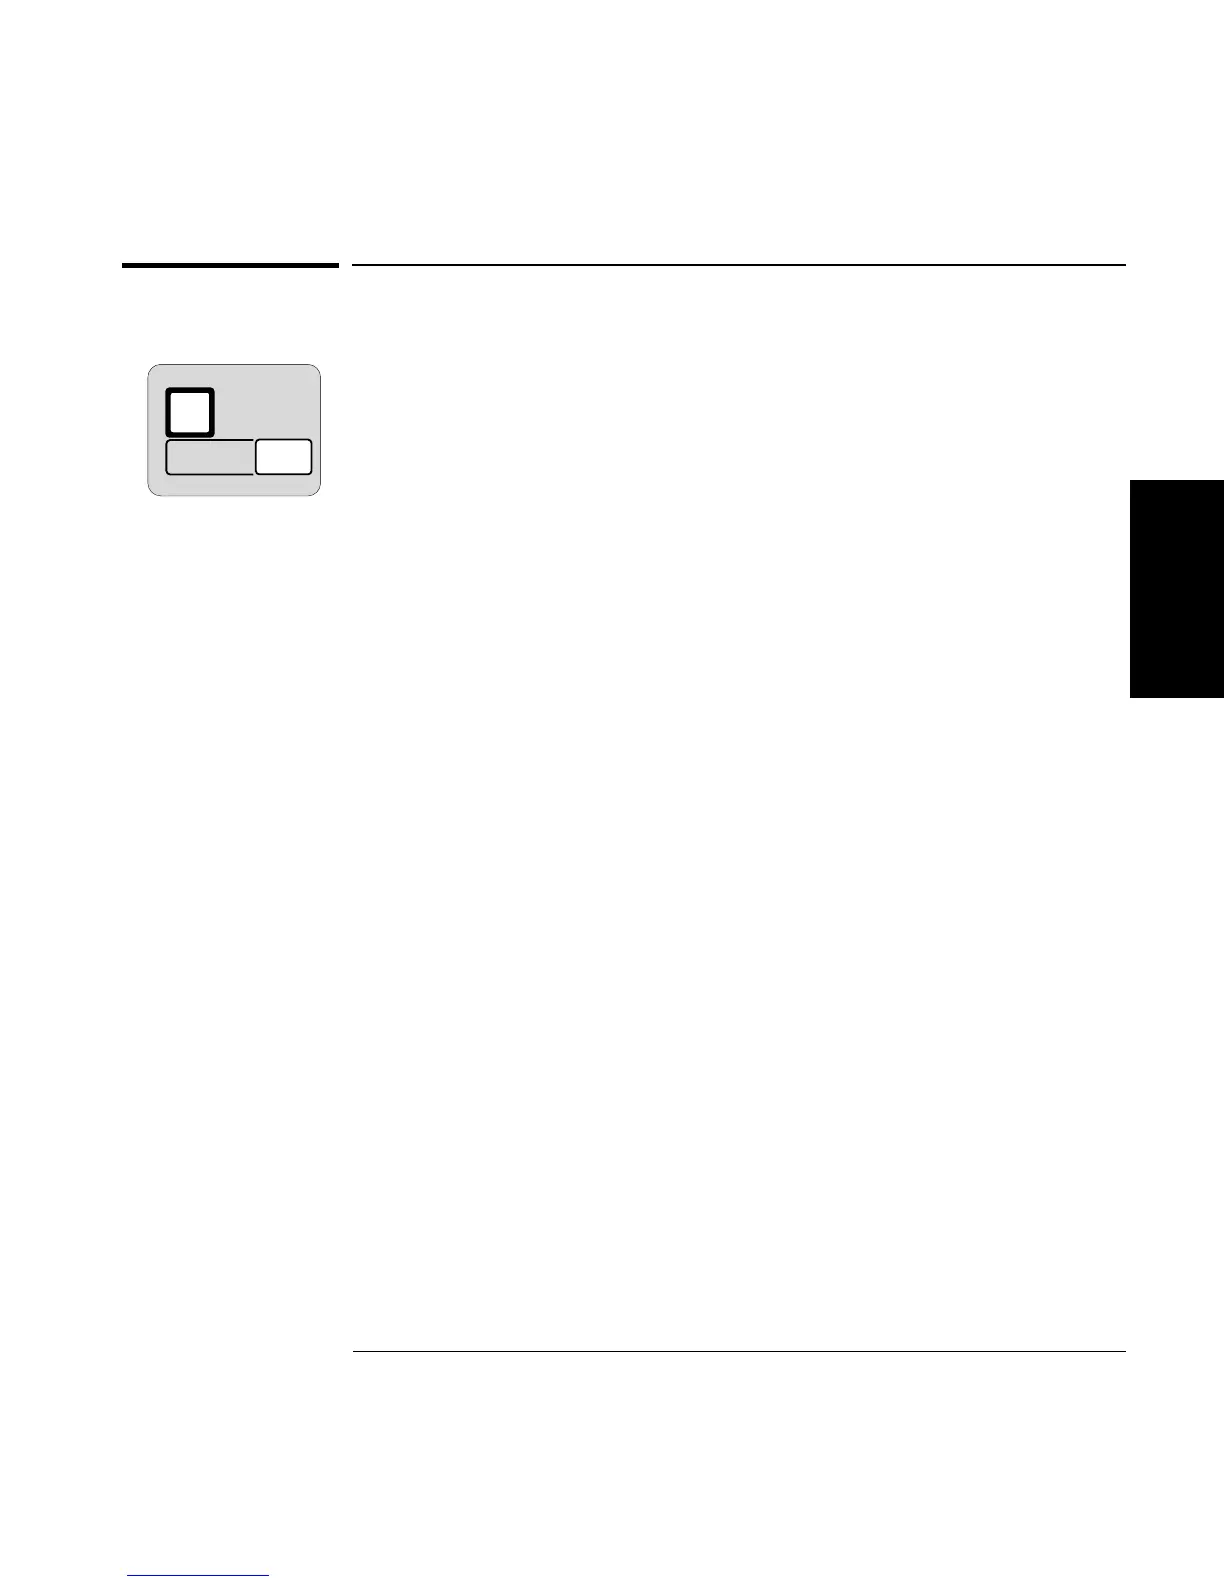
Recall
Utility Menu:
Hold at power up
Utility
POWER

 Loading...


