+$%&
4
HP
PrecisionScan Pro
User’s Guide
76
Adjusting images of
pictures
Book Contents
Index
➮
➮
Changing the sharpen level
1
From the
Tools
menu, select
Sharpen Level
.
The
Sharpen Level
tool appears (see page
33
).
2
Click the list box button, drag to the sharpen level
you want, then release the mouse button,
– or –
Click in the sharpen level text field and type the first
letter of a sharpen level.
•
The new sharpen level is applied.
•
The result of the change to the sharpen level can
be seen in the preview area.
•
The
AutoSharpen
button in the
Sharpen Level
tool
becomes active.
Applying the default sharpen level
■
Click , the
AutoSharpen
button in the
Sharpen Level
tool.
•
The optimal sharpen level determined by the
scanning software is applied to the
Sharpen Level
tool.
•
The result of the change to the sharpen level can
be seen in the preview area.
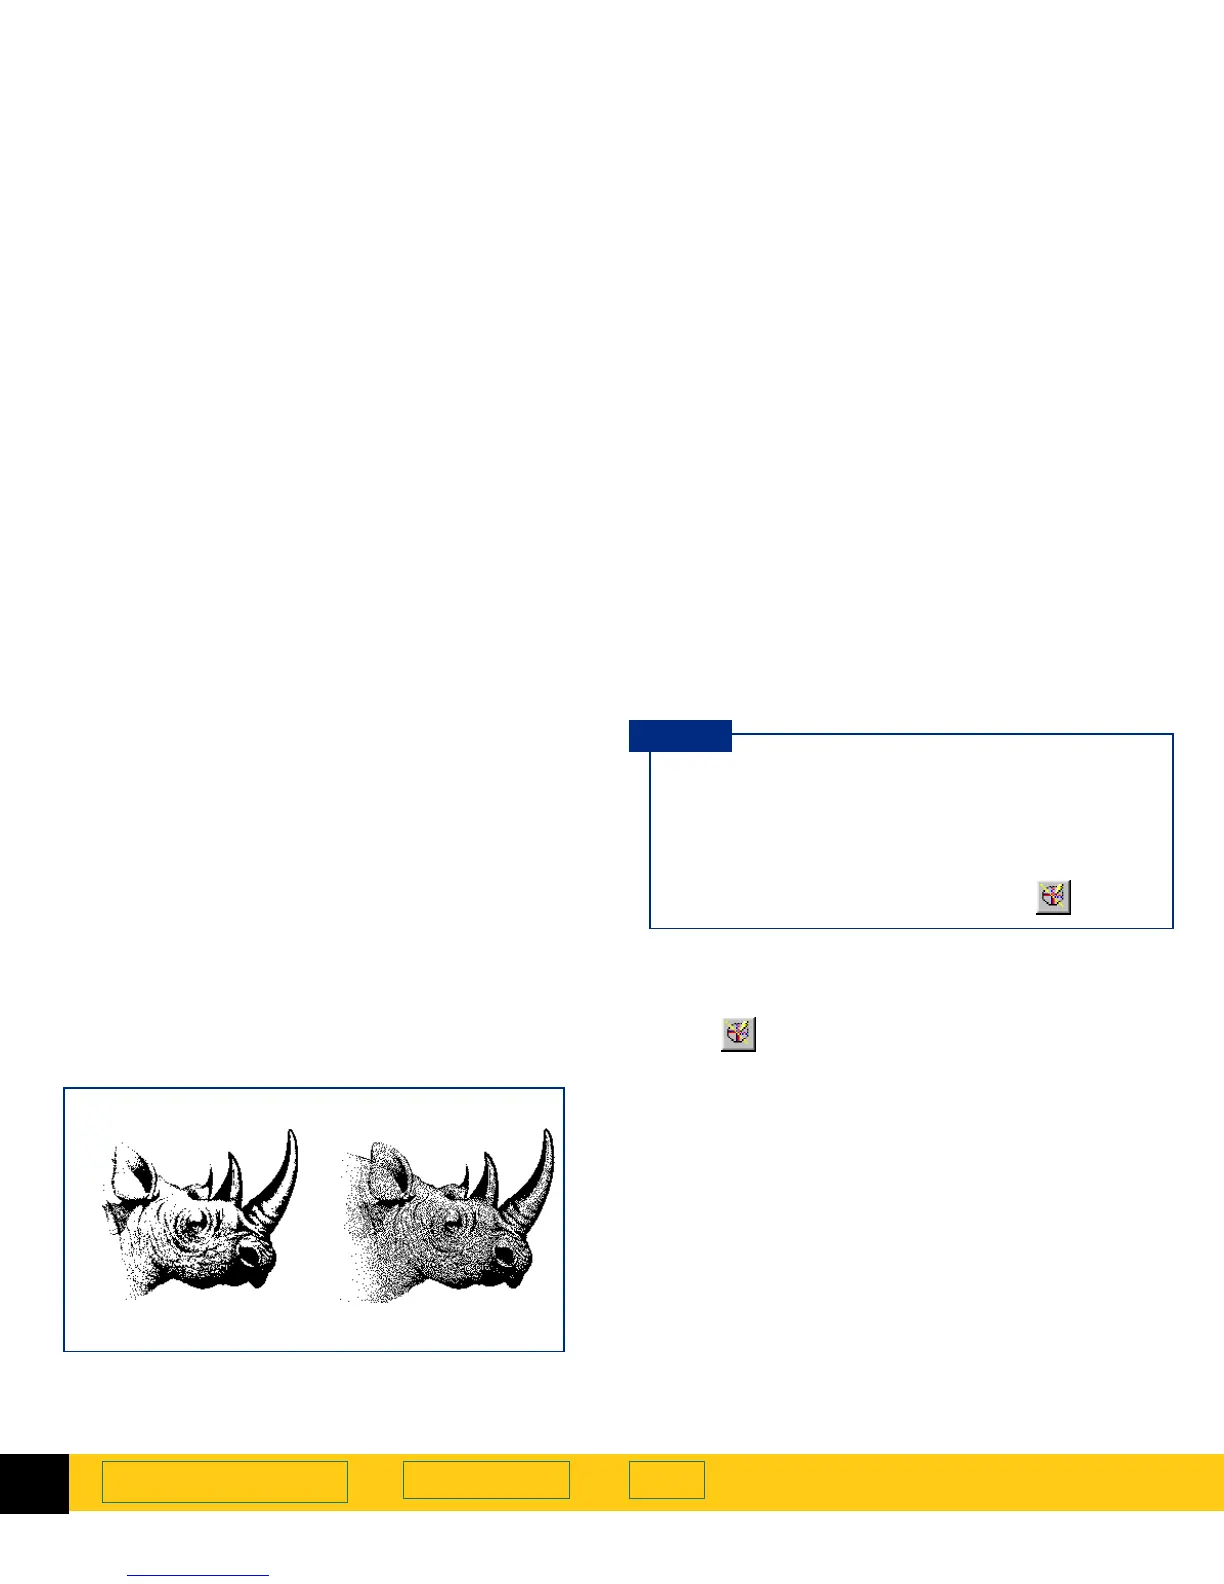
Black & White Bitmap (raster)
output type
None
sharpen level
Extreme
sharpen level
■
When you change the sharpen level for the
image of a picture, you will see the image
change in the preview area.
■
If you change the sharpen level in the
Sharpen
Level
tool and then change the output type, you
can apply
AutoSharpen
for the new output type by clicking .
TIP