IO
I
O
I
!
25052a
1
2
AT
T
E
NTION:
Maxim
um scre
w len
gth
fo
r rac
k
mounting t
o be
5mm or
13/
64
in.
3
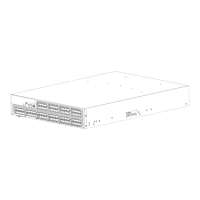
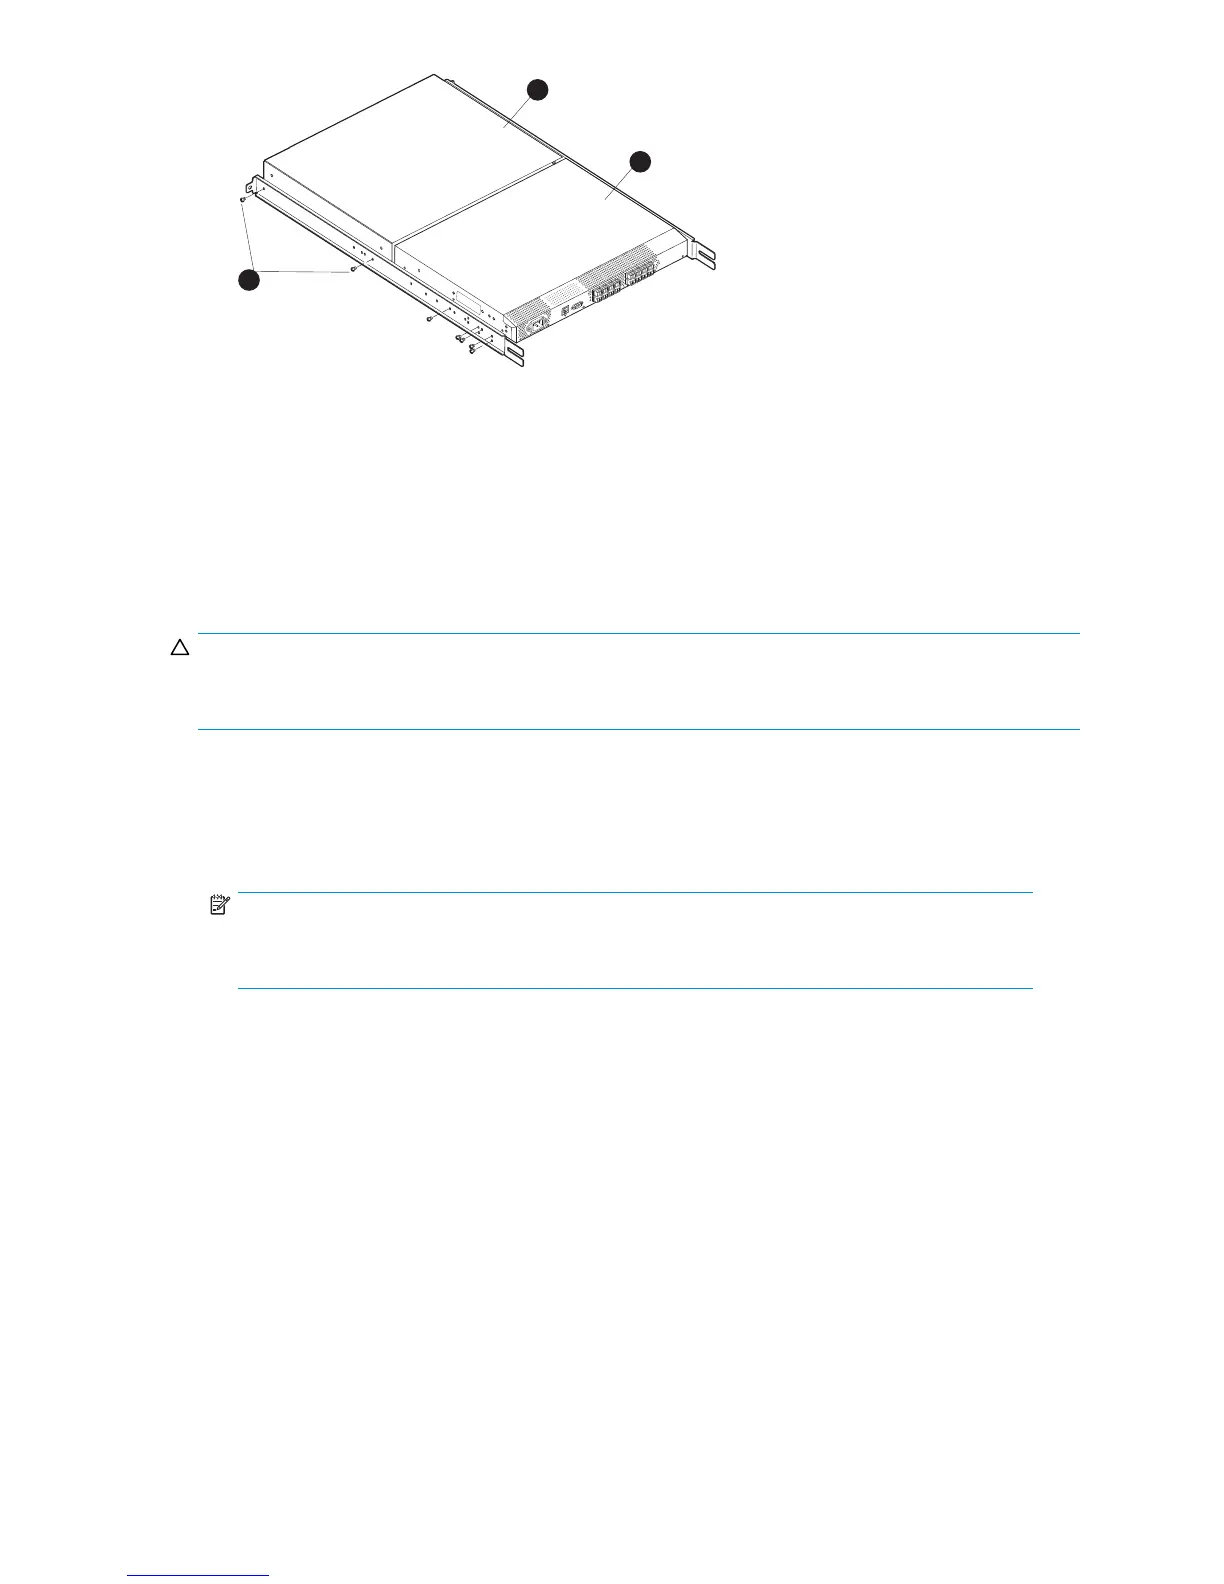
1. Plenum (installed) 3. Two screws that secure the rails to the plenum
2. 4/8or4/16SANSwitch
Figure 15 Attac hing the p lenum to a 4/8 or 4/16 SAN Switch
2. Obtain the plenum and four 8-32 x 0.312 Phillips pan-head SEMs screws from the accessory kit.
ThesearethesamescrewsusedtoattachtheinnerrailsinStep 5 of the previous section.
3. For each inner rail (Left and Right) , use one screw hole marked 8 and one screw hole marked 16
to attach the plenum.
CAUTION:
Verify that the open end of the plenum faces the rear of the device. When installed properly, you should
see the plenum’s air vent holes on one side, and the front panel of the device on the other.
Securing the switch to the outer rails
To secure the switch to the outer rails:
1. Insert the switch with the at tached inner rails into the outer rails.
NOTE:
This step applies to installing a switch in HP 9000 Series, HP 10000 Series, or HP System/e
racks.
2. Insert the device into the rack, and install one #10-32 x 1/2-inch Phillips pan-head screw with
captive star lock washer. Repeat for the remaining side. See Figure 16 and Figure 17.
8Gb SAN Switch hardware reference manual
37
 Loading...