Power on the s
witch
Once a serial conne ction is established, power on the switch:
1. Connect the power cord to a power inlet on the switch and to a power source.
NOTE:
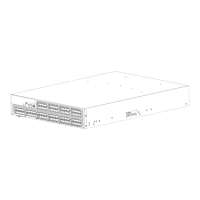
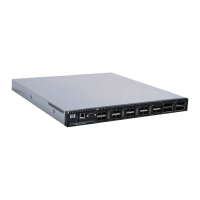
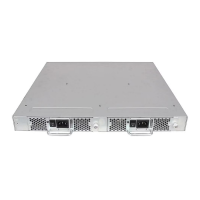
The 8/8 and 8 /24 SAN Switches use one power cord. The 8/40 and 8/80 SAN Switches
use two power
cords.
2. To power on, set the two AC switches to the ON position (I).
The power supply LED lights green and the switch runs the power-on self test (POST). The switch
requires at least three minutes to b oot and complete POST.
3. After POST and the boot process are completed, verify that the System Status and System Power
LEDs light green.
4. When the terminal emulator application, which uses a serial connection, stops reporting information,
press Enter to display the login prompt.
5. Log in using the administrative account; the user name is admin andthedefaultpasswordis
password. Create up to t wo simultaneous admin sessions and four user sessions.
For more details, see the HP StorageWorks Fabric OS administrator guide and the Fabric OS
command reference manual for the Fabric OS running on your switch.
Set the switch IP address
You can configure the 8Gb SAN Switch with a static IP address, or you can use a Dynamic Host
Configuration Protocol (DHCP) server to set the IP address. DHCP is enabled by default. The 8Gb SAN
Switch suppor ts both IPv4 and IPv6.
DHCP
When using DHCP, the 8G b SAN Switch o btains its IP address, subnet mask, and default gateway
address from the D HCP ser ver. The DHCP client can only connect to a D HCP server that is on the
same subnet as the switch. If your DHCP server is not on the same subnet as the 8Gb SAN Switch,
use a static IP address.
Setting a static IP address
1. Log in to the switch using the default p assword, (password).
2. Enter ipaddrset to set the Ethernet IP address.
If you are going to use an IPv4 IP address, enter the IP address in dotted decimal notation as
prompted:
Ethernet IP Address: [192.168.74.102]
If you are going to use an IPv 6 address, enter the network information in colon-separated notation as
prompted:
switch:admin> ipaddrset -ipv6 --add 1080::8:800:200C:417A/64
IP address is being changed...Done.
3. Enter the IP ad dressing information, as prompted.
Ethernet Subnetmask: [255.255.255.0]
Ethernet IP Address: [192.168.74.102]
Ethernet Subnetmask: [255.255.255.0]
42
Installing and configuring an 8Gb SAN Switch
 Loading...