Installation Procedures - for all MSA1000 Deployments
48 MSA1000 Installation Guide
Step 9: Powering On your MSA1000
At this point in the installation process you have prepared your servers and
interconnect devices for the MSA1000 and have connected your MSA1000 to
your SAN. With your SAN ready to go and the MSA1000 installed and
connected, you can power up your MSA1000.
Note: Install hard drives in the MSA1000 and any attached storage enclosures before
you power on the system, so the MSA1000 controller can identify them at power up.
Power up your MSA1000 in the following sequence:
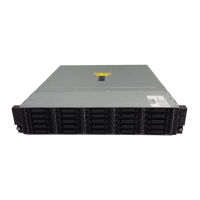
1. Power on any attached storage expansion enclosures.
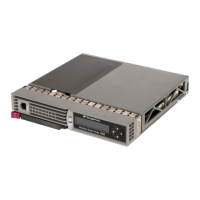
2. Start up the MSA1000, by pressing the standby switch located in the far-right
lower area of the front panel of the MSA1000.
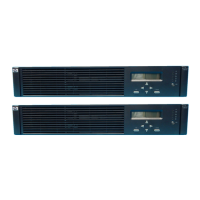
3. Wait for the MSA1000 to complete its startup routine and the following
message to display on the LCD panel on the front of the MSA1000:
01 MSA1000 Startup Complete
This startup process may take up to eight minutes.
4. If you installed an MSA SAN Switch 2/8 in your MSA1000, wait until this
additional message is displayed on the LCD panel:
“SAN Switch 2/8 <IP Address>”
where <IP Address> is the IP address of the switch
The MSA SAN Switch 2/8 power-on self-test may take up to 5 additional
minutes.
Note: Proceed to the next step only after these startup messages are displayed. If you
power up the server before the MSA1000 has completed its power-on sequence, your
server will not see the MSA1000.