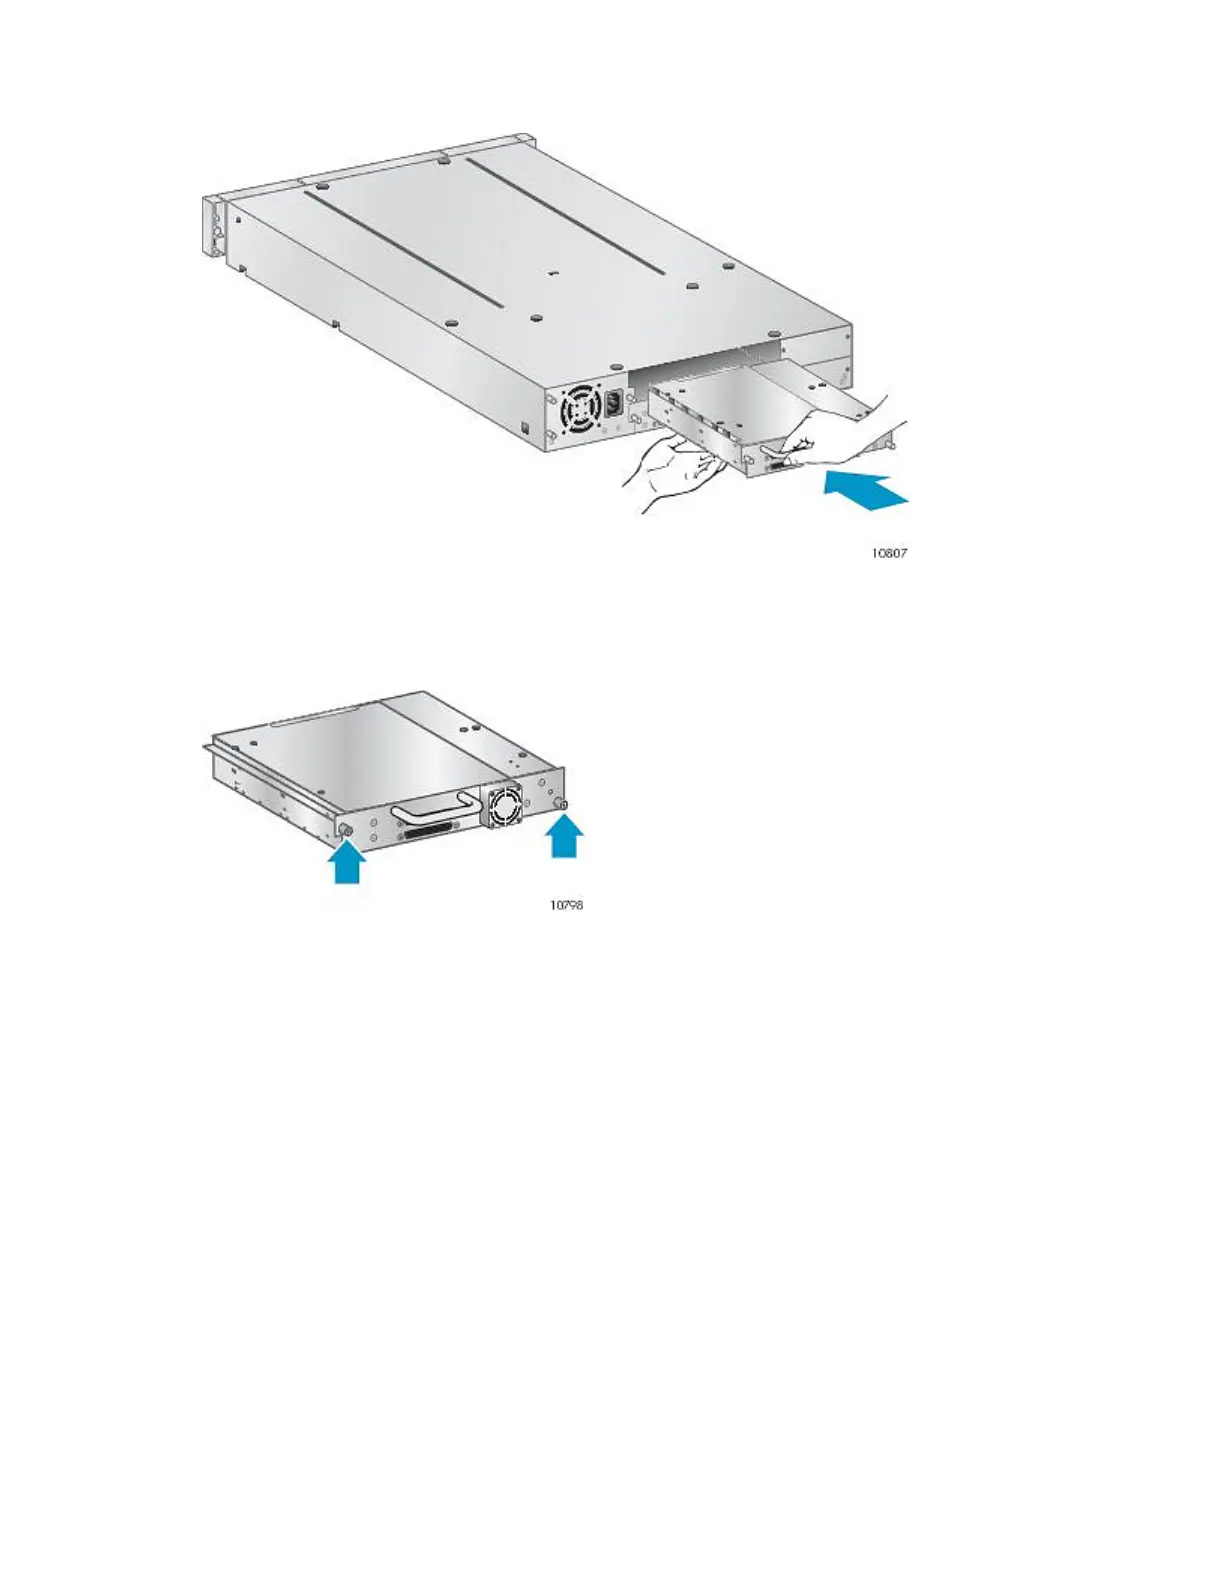
2. Holding the tape drive by the handle and supporting it from the bottom, slide it into the drive
bay until it is flush with the back of the Library (see Figure 105).
Figure 105 Installing a new tape drive
.
3. Tighten the blue captive screws (see Figure 106) by hand to secure the tape drive to the Library
chassis.
Figure 106 Tighten the blue thumbscrews
.
4. Plan the configuration for the new tape drive:
• Parallel SCSI: See “Planning the SCSI configuration” on page 38. If the tape drive's SCSI
address must be changed, do so before connecting the drive to the host. See “Changing the
SCSI address” on page 52.
• SAS: See “Planning the SAS configuration” on page 40.
• Fibre Channel: See “Planning the Fibre Channel configuration” on page 41.
Upgrading and servicing the Tape Library220