5. Loosen the blue captive thumbscrews on the drive (see Figure 108). Half-height drives have two
captive thumbscrews; full-height drives have four captive thumbscrews.
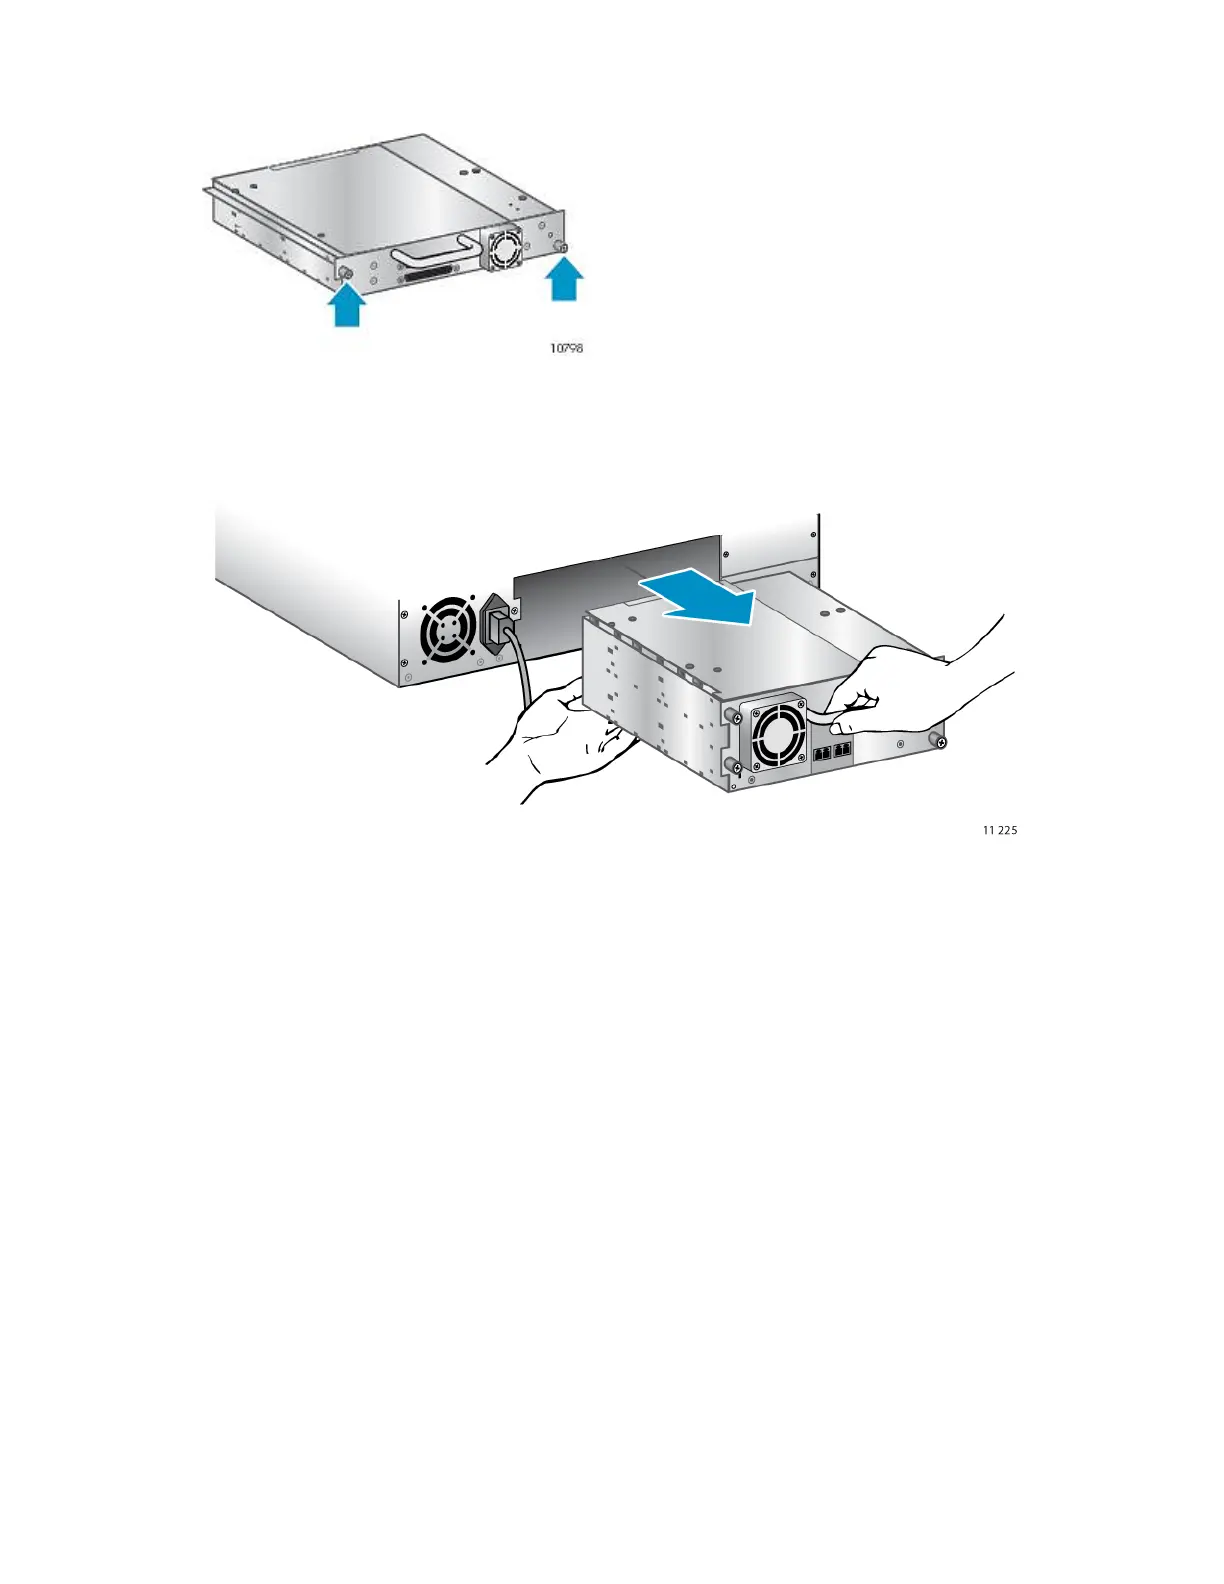
Figure 108 Captive screws on the tape drive
.
6. Pull straight back on the tape drive handle to remove the tape drive from the Library (see Figure
109).
Figure 109 Removing a tape drive
.
To replace a tape drive:
1. Before installing the new drive, inspect the connectors on the tape drive. Ensure that the connectors
are intact, free of any foreign objects, and have no cracks or deformed or bent contacts.
Upgrading and servicing the Tape Library222