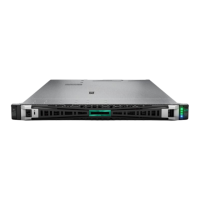
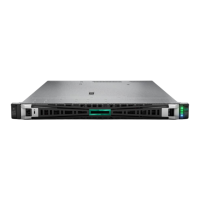
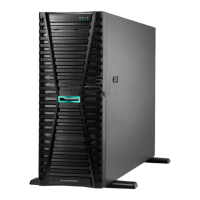
Removing and replacing the system boardRemoving and replacing the system board
PrerequisitesPrerequisites
Be sure you have a T-30 Torx screwdriver.
Note where all drives, controllers, DIMMs, cables and other options were installed before replacing the system board.
Note any secure boot keys.
Not the serial and product IDs
ProcedureProcedure
Removing the system boardRemoving the system board
1. Power down the server.
2. Remove all power:
a. Disconnect each power cord from the power source.
b. Disconnect each power cord from the server.
3. Remove the server from the rack .
4. Remove all power supplies .
5. Remove the access panel .
6. Do one of the following:
Remove the air baffle.
Remove the midplane drive cage .
7. Remove the primary or secondary PCIe riser cage .
8. If installed, remove the tertiary PCIe riser cage .
9. Remove the OCP 3.0 adapter .
10. Remove all DIMMs.
11. Remove the fan cage.
12. Disconnect all cables connected to the system board.
13. Observe the following cautions.
CAUTION:CAUTION: Loosen each nut or screw in the order indicated. Otherwise, damage might occur to components.
CAUTION:CAUTION: Install the processor as soon as possible after removing it. Do not leave the socket unpopulated for extended
periods of time.
14. Remove the processor heatsink assembly:
a. Allow the heatsink to cool.
b. Using a T-30 Torx screwdriver, loosen the heatsink nuts.
A standard heatsink is shown.
 Loading...
