EasyManuals Logo

HPE ProLiant MicroServer Gen10 Maintenance And Service Guide

HPE ProLiant MicroServer Gen10
101 pages
To Next Page IconTo Next Page
To Previous Page IconTo Previous Page
Page #31 background imageLoading...
Page #31 background image
Replacing an LFF drive
Procedure
1. Power down the server on page 22.
2. Disconnect the power cord from the AC source, and then from the server.
3. Disconnect all peripheral cables from the server.
4. Remove the front bezel on page 22.
5. Remove the LFF drive on page 31.
6. Install the new LFF drive.
7. Install the front bezel on page 29.
8. Connect all peripheral cables to the server.
9. Connect the power cord to the server power jack, and then to the AC source.
10. Power up the server on page 30.
Remove the LFF drive
Prerequisites
Before you perform this procedure, make sure that you have a T-15 Torx screwdriver available.
Procedure
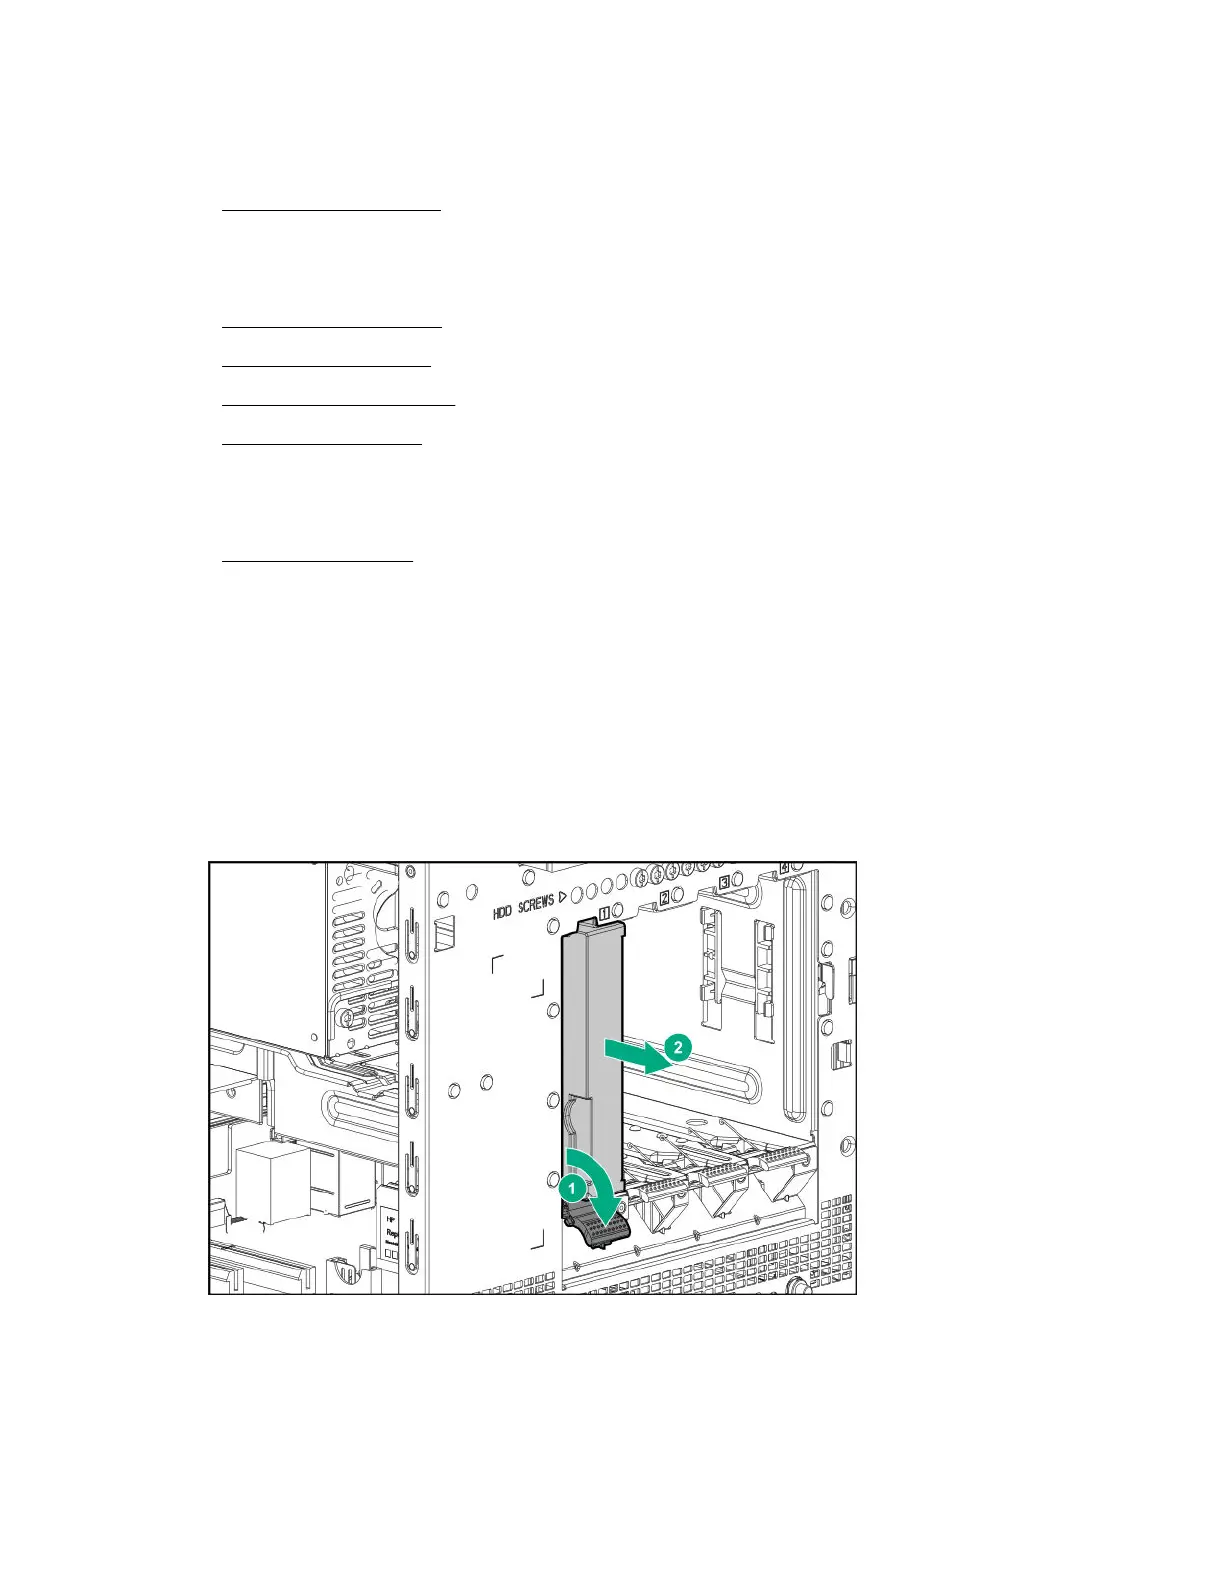
1. To disengage the drive, press the drive latch.
2. Slide the drive out of the drive bay.
3. Remove the screws from both sides of the drive.
Replacing an LFF drive 31

Table of Contents

Other manuals for HPE ProLiant MicroServer Gen10

Questions and Answers:

Question and Answer IconNeed help?

Do you have a question about the HPE ProLiant MicroServer Gen10 and is the answer not in the manual?

HPE ProLiant MicroServer Gen10 Specifications

General IconGeneral
Product LineHPE ProLiant
Server TypeMicroServer
Maximum Memory32 GB
Memory Slots2
Expansion Slots1 PCIe 3.0 x8 slot
Form FactorUltra Micro Tower
ProcessorAMD Opteron X3000 series
Memory TypeDDR4 ECC UDIMM
Storage4 LFF non-hot plug drive bays
Network2 x 1GbE ports
Power Supply200W Non-Hot-Plug, Non-Redundant Power Supply
Dimensions23.5 x 23 x 25.4 cm
Operating System SupportMicrosoft Windows Server, Red Hat Enterprise Linux, SUSE Linux Enterprise Server
ManagementHPE iLO Standard
RAID SupportHPE Smart Array S100i SR Gen10 (RAID 0, 1, 10)

Related product manuals