Removing the CPU fan sink assembly
Attention: Establish personal grounding before touching this unit. See
“Electrostatic discharge” on page 94.
Follow these steps to remove the CPU fan sink assembly:
1. Switch OFF the power to the IBM AnyPlace Kiosk. Unplug the power cord
from the external power source.
2. Remove the rear cover. (See “Removing the rear cover” on page 39.)
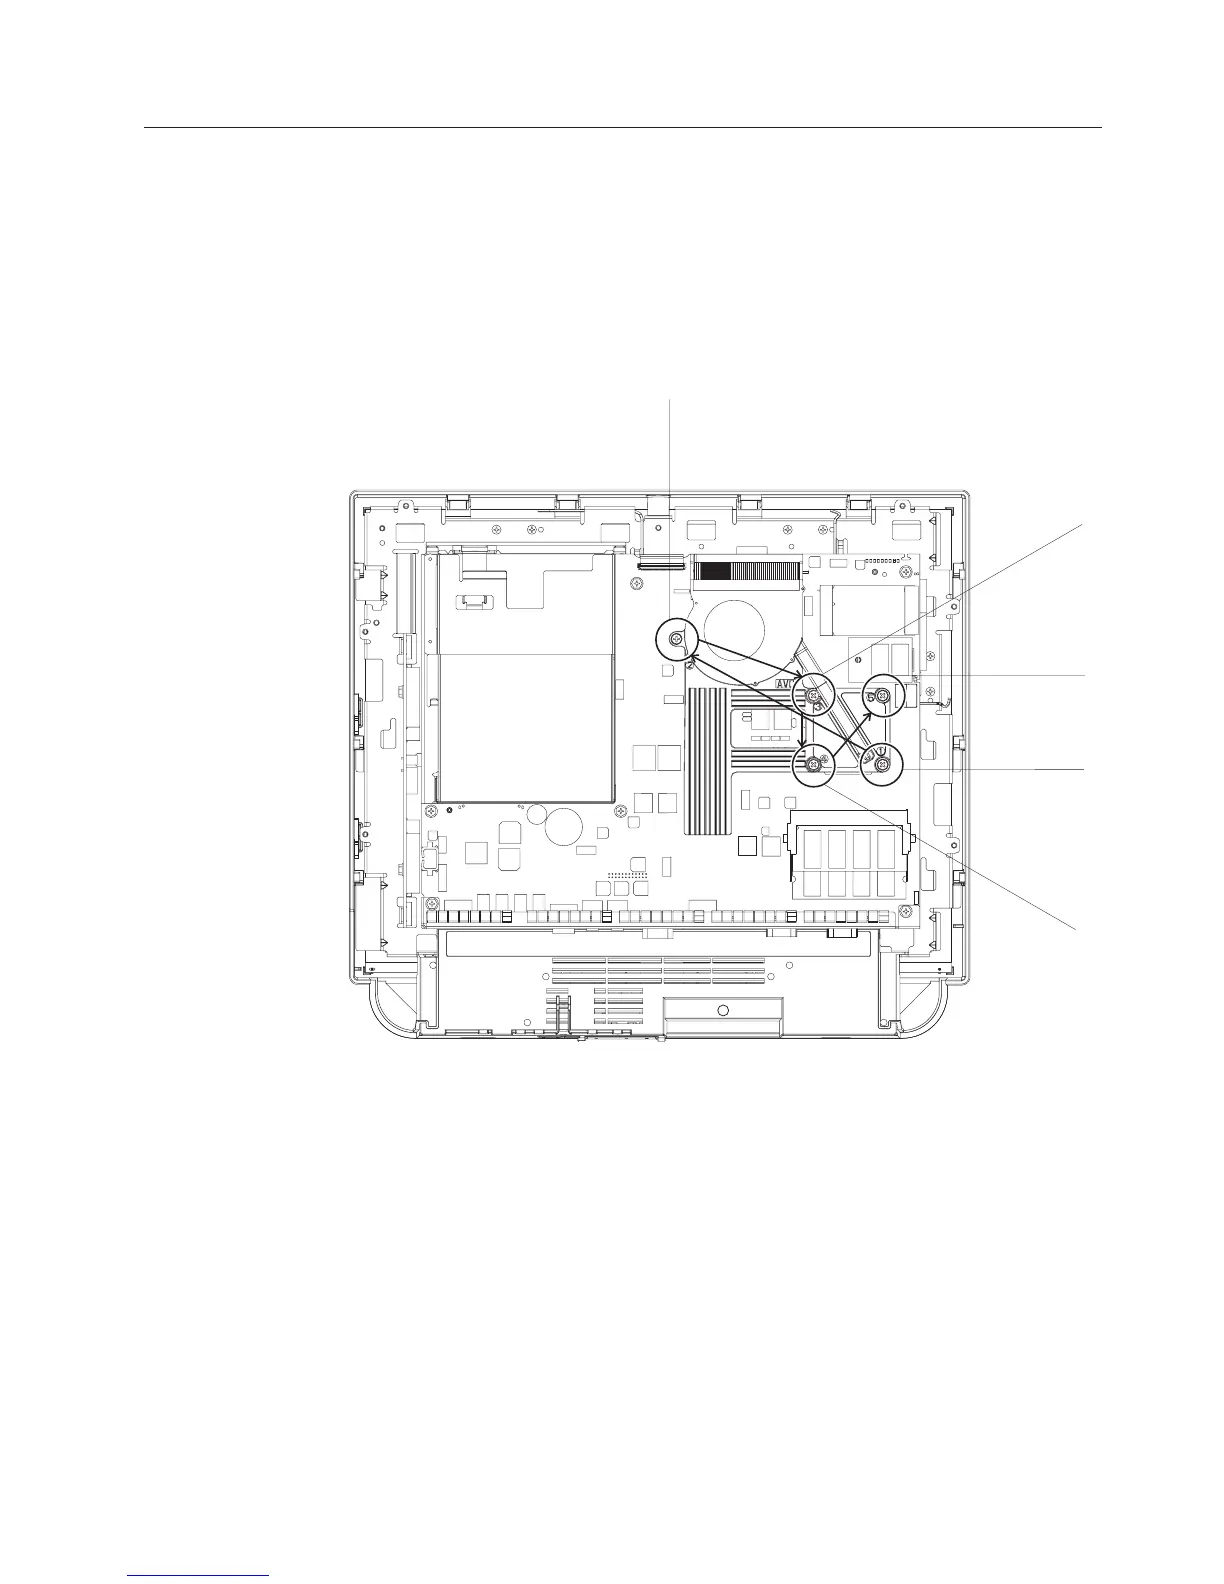
3. See Figure 24 and loosen the 5 screws retaining the heat sink and fan assembly
in the order that they are numbered (1 through 5).
4. Unplug the fan cable, and lift out the CPU fan sink assembly
Note: To replace the processor, go to “Removing the processor” on page 44.
To replace, follow these steps:
1. Place the CPU fan sink assembly such that it aligns the matching holes on the
system board.
2. Tighten the five retainer screws one turn in the numerical order that is shown
beside of each screw. See Figure 24.
3. Then, repeat Step 2 to secure the screws, but do not overtighten.
4. Plug in the fan cable.
2
3
5
1
4
Figure 24. Removing the CPU fan sink assembly
Removing and replacing FRUs
Chapter 4. Removing and replacing FRUs 43