Removing the system board
Attention: Establish personal grounding before touching this unit. See
“Electrostatic discharge” on page 94.
Follow these steps to remove the system board:
1. Switch OFF the power to the IBM AnyPlace Kiosk. Unplug the power cord
from the external power source.
2. Remove the rear cover as described in “Removing the rear cover” on page 39.
3. Follow the steps in Figure 22 on page 41.
4. Detach the following cables from the system board:
v Backlight inverter card
v Touch assembly
v HDD fan
5. If installed, remove the wireless card, leaving the three antenna cables attached.
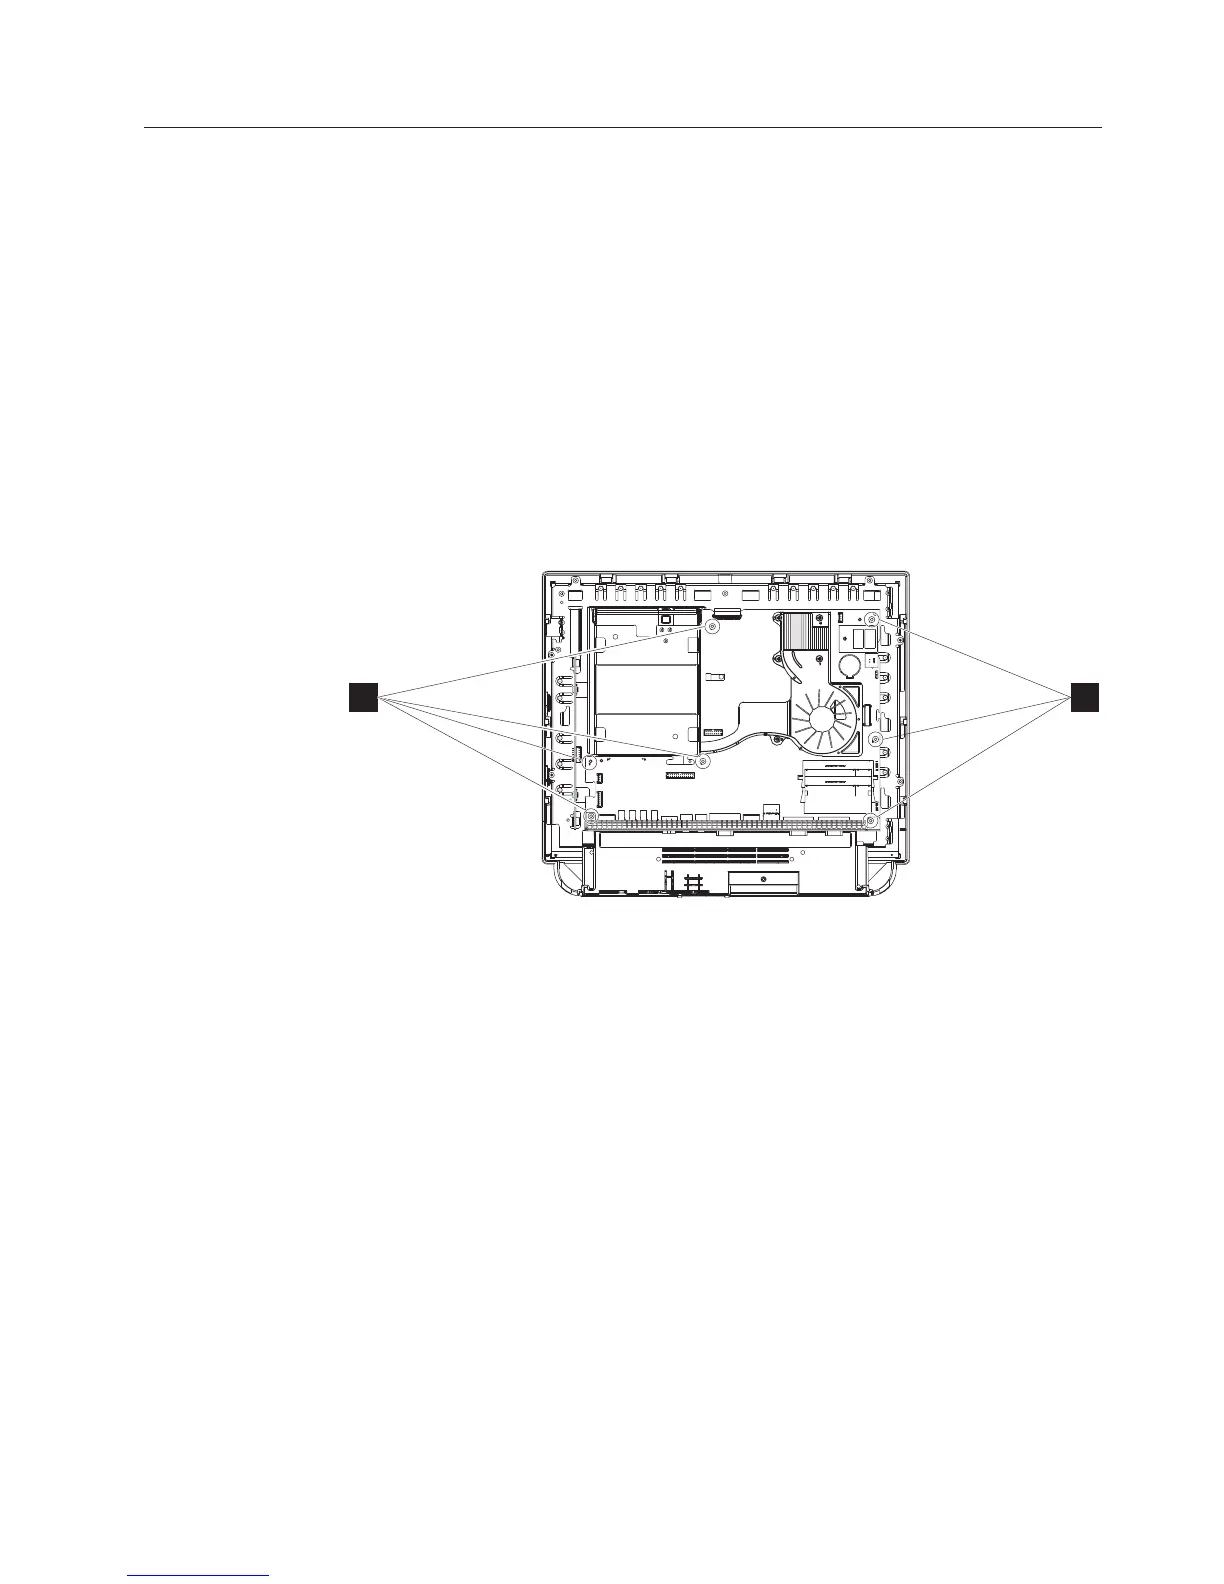
6. See Figure 33 and remove the 6 non-captured screws (A) that hold the system
board.
7. Detach the control card cable and LCD LVDS cable. Both are located on the
back side of the system board.
8. Remove the following components from the defective system board for later
installation:
v Heatsink and fan assembly: “Removing the CPU fan sink assembly” on page
43
v Processor: “Removing the processor” on page 44
v Memory: “Removing the memory card” on page 49
v Flash drive: “Removing the flash drive” on page 51
9. Carefully lift to remove.
Replacing and programming the system board
Follow these steps to replace the system board:
1. Reverse the procedures described in “Removing the system board” noting to
align the board with the two alignment pins for the correct positioning.
AA
Figure 33. Removing the system board
Removing and replacing FRUs
Chapter 4. Removing and replacing FRUs 53