Chapter 4. Installing an optional 5U SAS expansion
enclosure
Up to eight optional high-density SAS expansion enclosures can be connected to each I/O group in the
system. To install a 2U SAS expansion enclosure, see the previous chapter.
Installing an optional SAS expansion enclosure requires the following steps:
1. Familiarize yourself with the safety requirements for the enclosure.
2. Remove the parts from the shipping container.
3. Install the enclosure in the rack by using the provided support rails.
4. Install the fascia.
5. Install the drives.
6. Install the cable management arm.
7. Connect the SAS expansion enclosures to the 2145-SV1.
For more detailed information on these steps, see “Unpacking and installing the enclosure: 2145-92F ”
on page 53
Safety notices and considerations: 2145-92F
Before you install, service, or move the expansion enclosure, always read and follow the safety notices
and guidelines.
Safety notices
Use the reference numbers in parentheses at the end of each notice (for example, D005) to nd the
matching translated notice in IBM System Storage SAN Volume Controller Safety Notices.
DANGER:
DANGER: Serious injury or death can occur if loaded lift tool falls over or if a heavy load
falls off the lift tool. Always completely lower the lift tool load plate and properly secure the load
on the lift tool before moving or using the lift tool to lift or move an object. (D010)
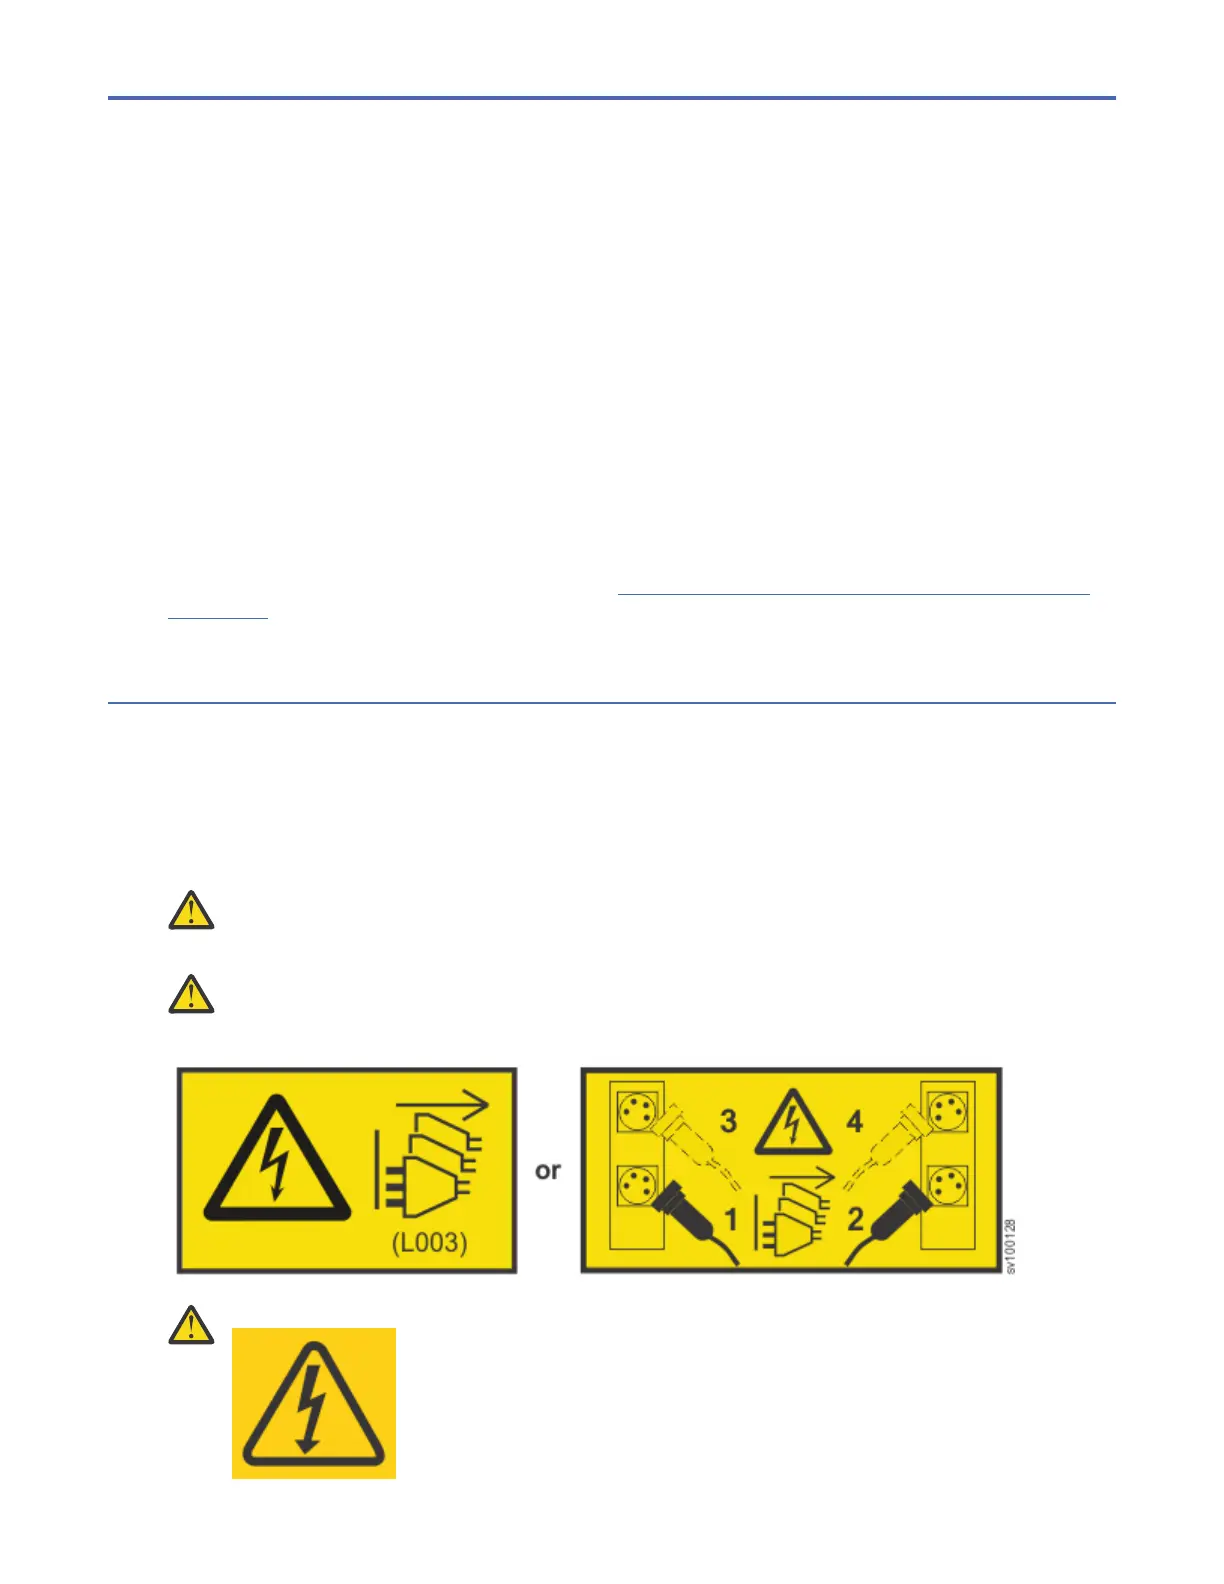
DANGER: Multiple power cords. The product might be equipped with multiple AC power cords or
multiple DC power cables. To remove all hazardous voltages, disconnect all power cords and
power cables. (L003)
DANGER:
©
Copyright IBM Corp. 2014, 2018 41
 Loading...