5. Slide the blue release tab to the right with one finger while using another
finger to grasp the black drive handle and pull the hard disk drives out of the
server slightly to disengage them from the hard disk drive backplate (see
“Removing simple-swap hard disk drives” on page 145).
6. Remove the simple-swap hard disk drive backplate assembly. Based on the
server configuration, the simple-swap hard disk drive backplate assembly may
appear as either of the following two.
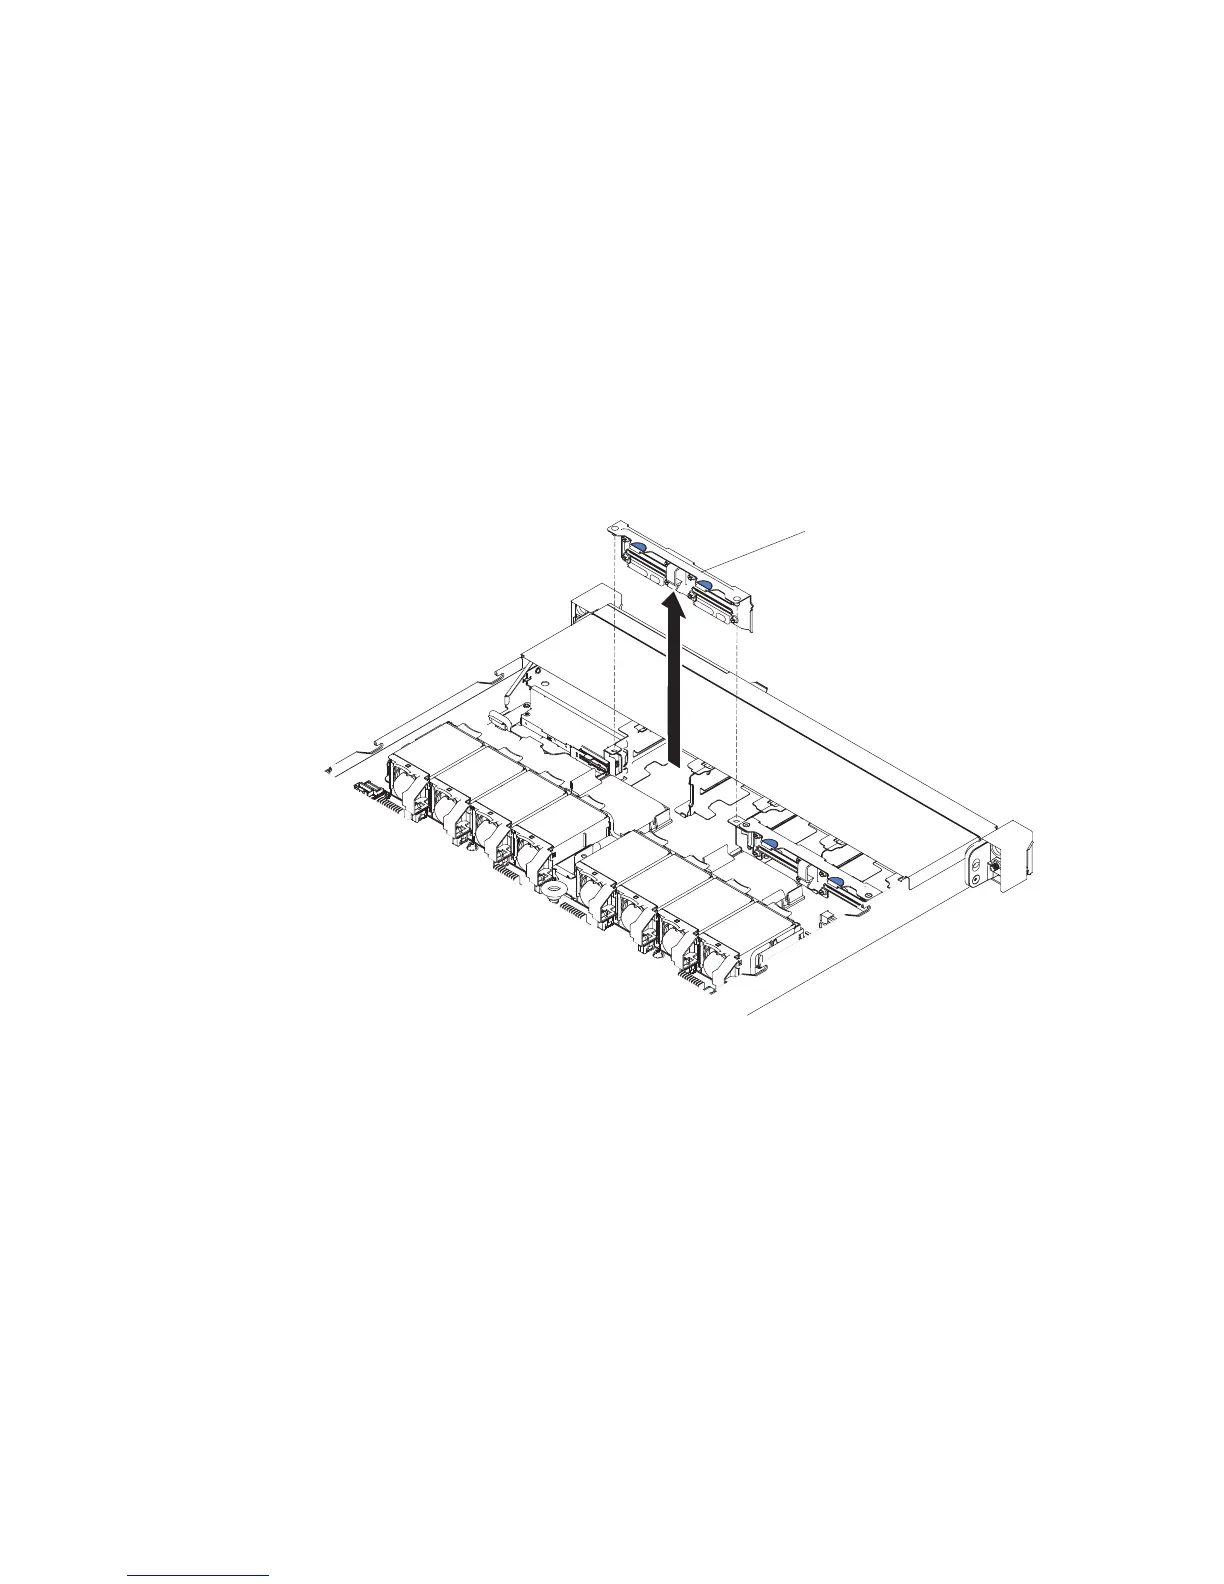
Steps for removinga4x2.5-inch simple-swap hard disk drive backplate
assembly.
Note: Two 4 x 2.5-inch simple-swap hard disk drive backplate assemblies are
used for the eight 2.5-inch hard disk drive server configuration.
a. Carefully lift the backplate assembly out of the chassis by pulling outwards
and lifting it up.
Steps for removinga4x3.5-inch simple-swap hard disk drive backplate.
a. Lift the release latches that secures the backplate assembly to the chassis.
b. Carefully lift the backplate assembly out of the chassis by pulling outwards
and lifting it up.
4 x 2.5-inch hard disk drive backplate
Figure 127. 4 x 2.5-inch simple-swap hard disk drive backplate assembly removal
210 IBM System x3550 M5 Type 5463: Installation and Service Guide

 Loading...


