40
HDK-99 1803 VER1 (E)
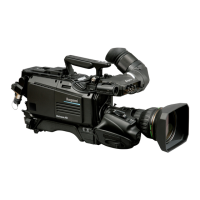
3.2 Camera and Peripheral Installation and Connection
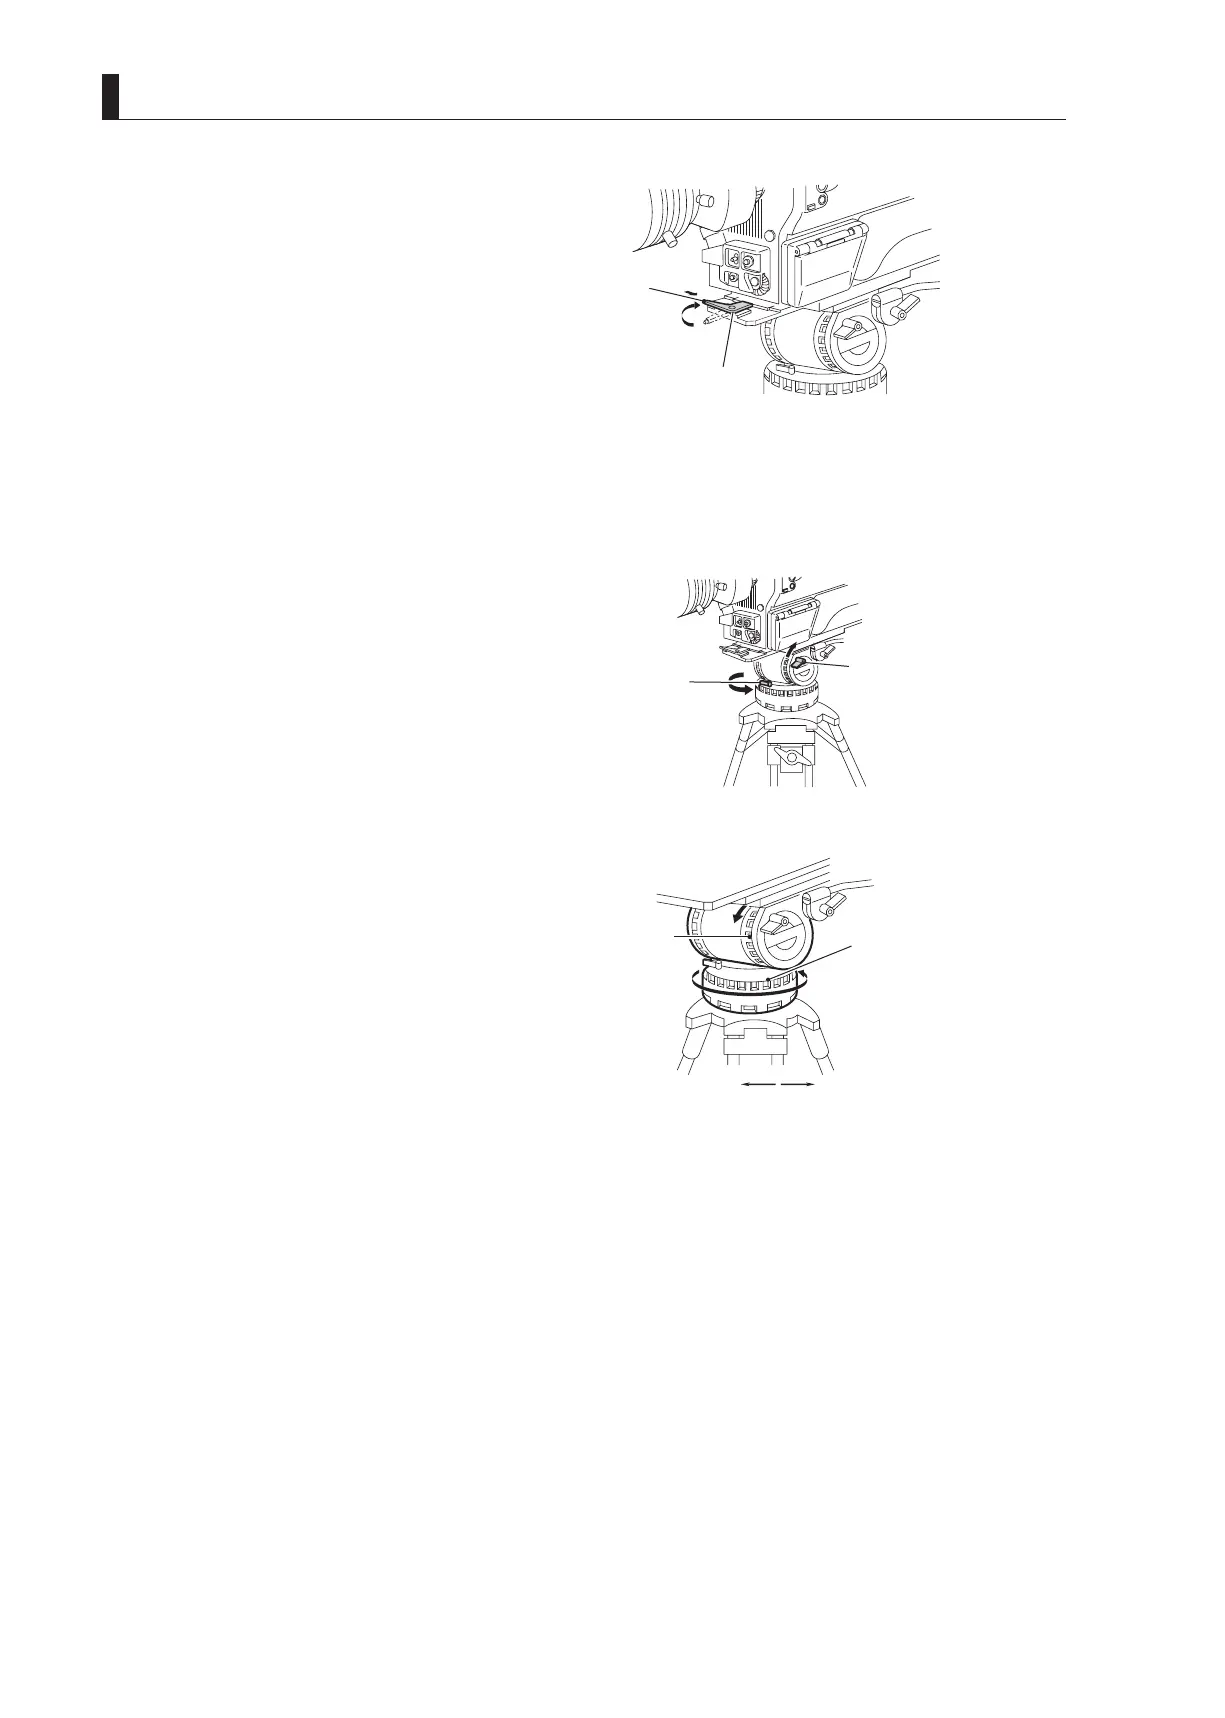
5 After inserting the front wedge of the camera,
tighten the lock lever until the camera is completely
fixed.
Turn the lock lever until it clicks. You will hear a click
sound when the lock lever is locked.
6 Make sure that the camera is fixed to the tripod
mount plate completely and does not wobble.
CAUTION:
Be sure to mount the camera on a tripod securely, or
the camera might fall and get damaged and you can be
injured.
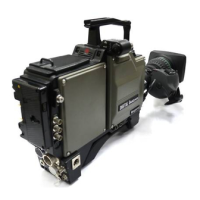
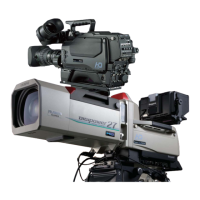
7 Loosen the tilt lock and pan lock and adjust the
pan and tilt of the camera.
Setting the pan brake and tilt brake to a low number
will minimize friction and ensure smooth movement.
8 After positioning the camera to the desired pan
and tilt, tighten the tilt lock and pan lock to lock the
camera.
■
Removing the Camera from the Tripod
This section explains how to remove the camera from the tripod.
1 Press the red button on the lock lever to unlock the camera.
Be sure to hold the handle while pressing the button to prevent the camera from falling.
2 Lift the camera and remove the wedges from the tripod mount plate.
Lock lever
⑤ Tighten the lock lever until
the camera is completely fixed.
Pan brake
01234567
Loosen Tighten
⑧ Tighten the tilt lock and pan lock to
⑦ Loosen the tilt lock and pan lock and
adjust the pan and tilt of the camera.
Tilt lock
Pan lock
Tripod