60
HDK-99 1803 VER1 (E)
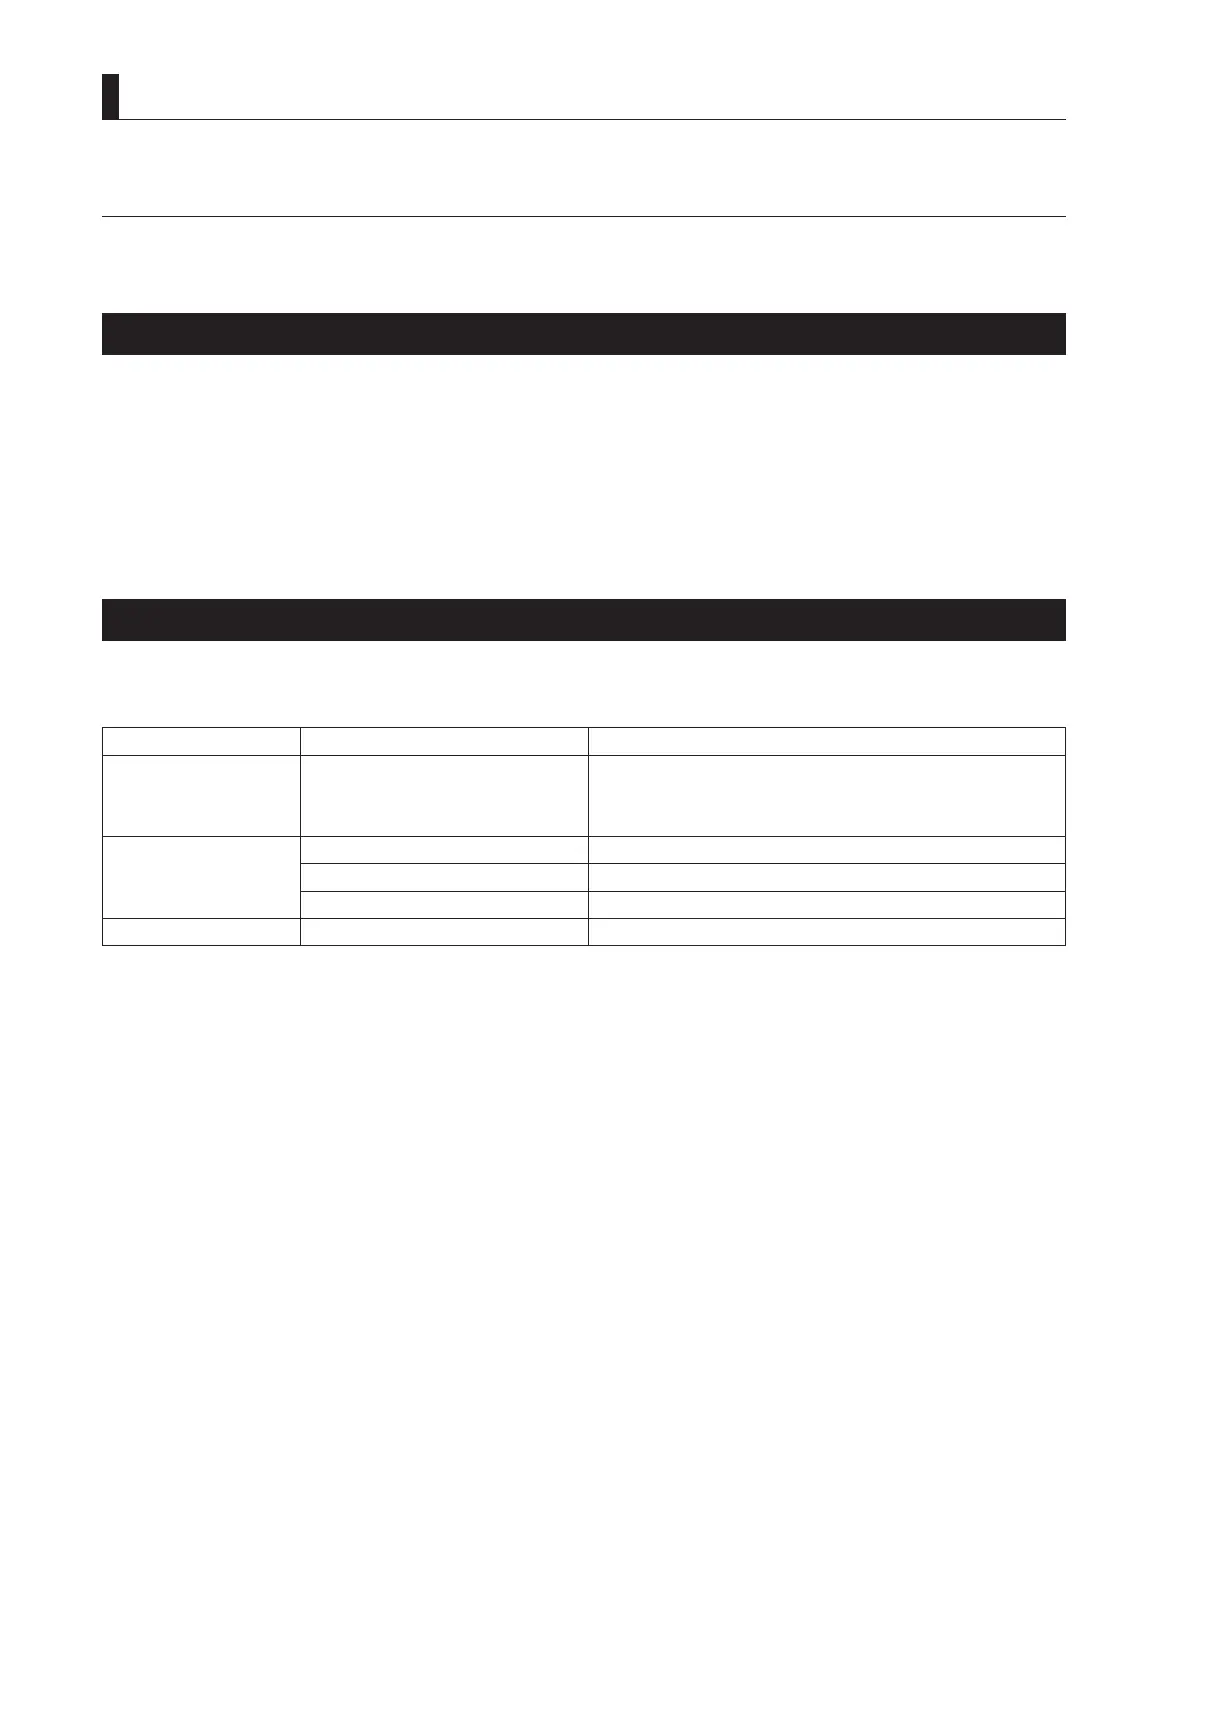
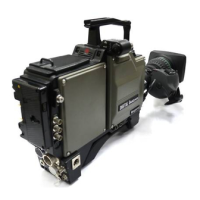
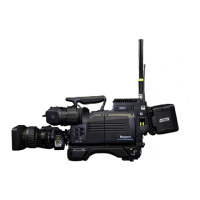
4.3 Turning ON Power
4.3 Turning ON Power
The procedure for turning the power ON/OFF depends on how power is supplied to the camera. This section explains how to
supply power from an AC Adapter (External power) and the CCU.
Power Supply from AC Adapter
Before turning the camera ON, make sure that the POWER switch on the AC Adapter is ON and its POWER indicator lights.
Reference:
Refer to
"3. INSTALLATION and CONNECTION : Power Supply from AC Adapter" (P47)
for how to connect the camera to the
AC pack and how to turn the power ON.
1 Set the POWER switch on the camera to EXT.
Power will be supplied to the camera, and the POWER indicator will light in green.
Power Supply from CCU
Before turning the camera ON, set the switches to the following positions in normal operations. The power is turned ON/OFF by
the MAIN POWER switch on the CCU.
Switch Switch Position
Camera POWER switch
CCU : To supply power from the CCU to the camera via a fiber
cable
EXT : To supply power from the POWER via the DC IN
connector.
CCU CCU MAIN POWER switch OFF
HEAD POWER switch I
POWER REMOTE/LOCAL switch LOCAL
OCP(*) CAM POWER switch ON
(*) When OCP-300 is used, the setting for the CAM POWER switch is not necessary.
1 Turn ON the MAIN POWER switch on the CCU.
The BS checks the ber cable connection and supplies power to the camera if the cable is properly connected. The CABLE
indicator on the CCU will indicate the connection status of the ber cable.
NORMAL (green) : Lights when the ber cable is normally connected. The CCU checks the camera code transmitted
from the camera to conrm that the camera is an applicable model, and then supplies power to the
camera.
OPEN (red) : Lights when the ber cable is not connected or there is an "open" in the ber cable.
SHORT (red) : Lights when a short circuit occurs in the ber cable due to a cause such as water.