Chapter 4 — Troubleshooting and Maintaining the Printer
EasyCoder PD42 Printer User’s Guide 55
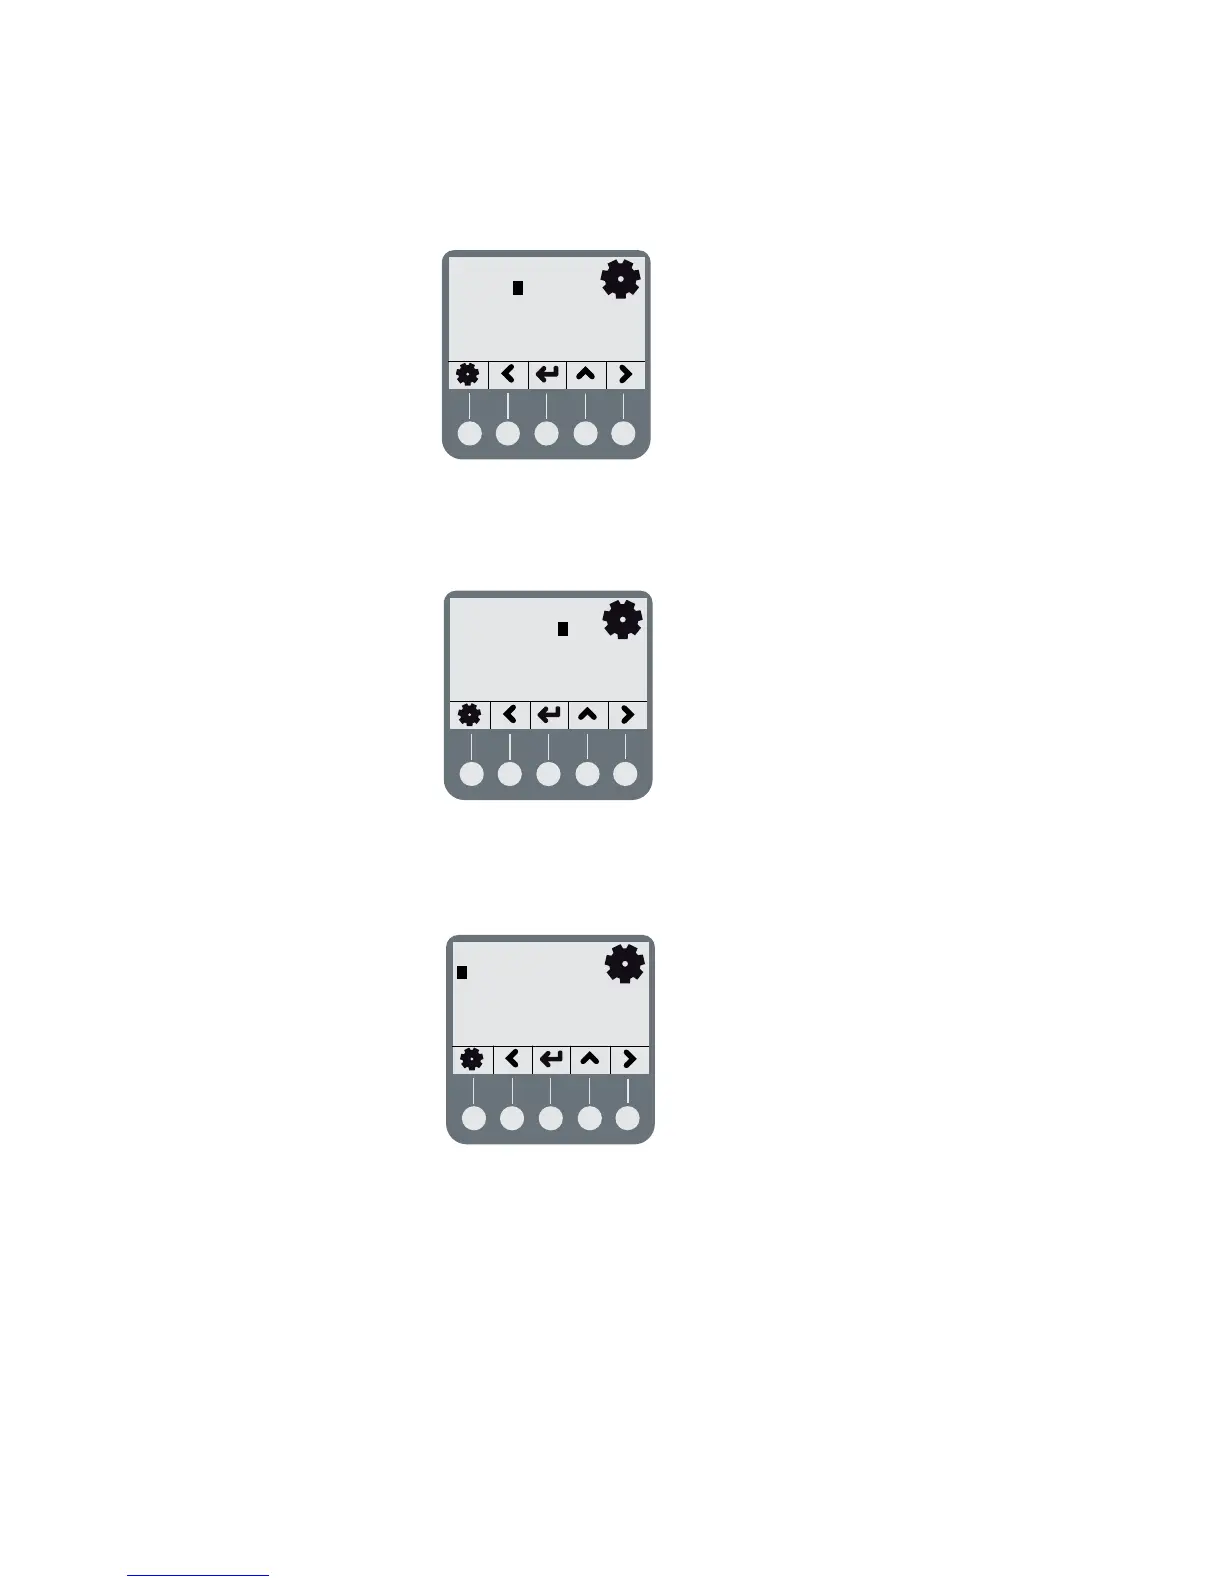
6 Navigate to Print Defs > LSS Test > LSS Auto. The cursor
should be placed in the center, as below.
7 Gap or slot detection: Lift the printhead and slowly pull out
the media (in the media feed direction). When the LSS
detects a gap or a detection slot, the cursor moves to the right.
8 Black mark detection: Lift the printhead and slowly pull out
the media (in the media feed direction). When the LSS
detects a black mark, the cursor moves to the left.
9 If the cursor behaves as decribed in Steps 7 and 8, the LSS is
working and is properly aligned with the gaps, slots or black
marks.
10 If the cursor does not react on a gap, slot or black mark,
control the following:
• Is the LSS laterally aligned with the slots or black marks?
LSS AUTO
LSS AUTO
LSS AUTO