PM43 Service Work Instructions
Intermec Proprietary Document
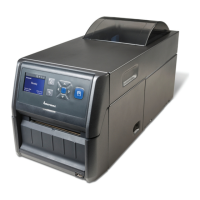
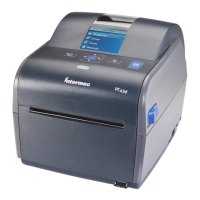
This printer is available as a Full Touch or ICON front panel printer for both PM43 and PM43c.
Tools Required
Parts Required
Assy, UI Full Touch Module, Spare, PM43 (complete assembly include mounting screws)
Assy, UI Full Touch Module, Spare, PM43c (complete assembly include mounting screws)
Module,UI One Button, Assy, Spare, PM43 (complete assembly include mounting screws)
Assy, UI, One-Button, Spare, PM43c(complete assembly include mounting screws)
Replacing the Front Panel assembly Full Touch and One Button ICON
1. Remove the Media and Electronics covers as shown on pages 7 through 9.
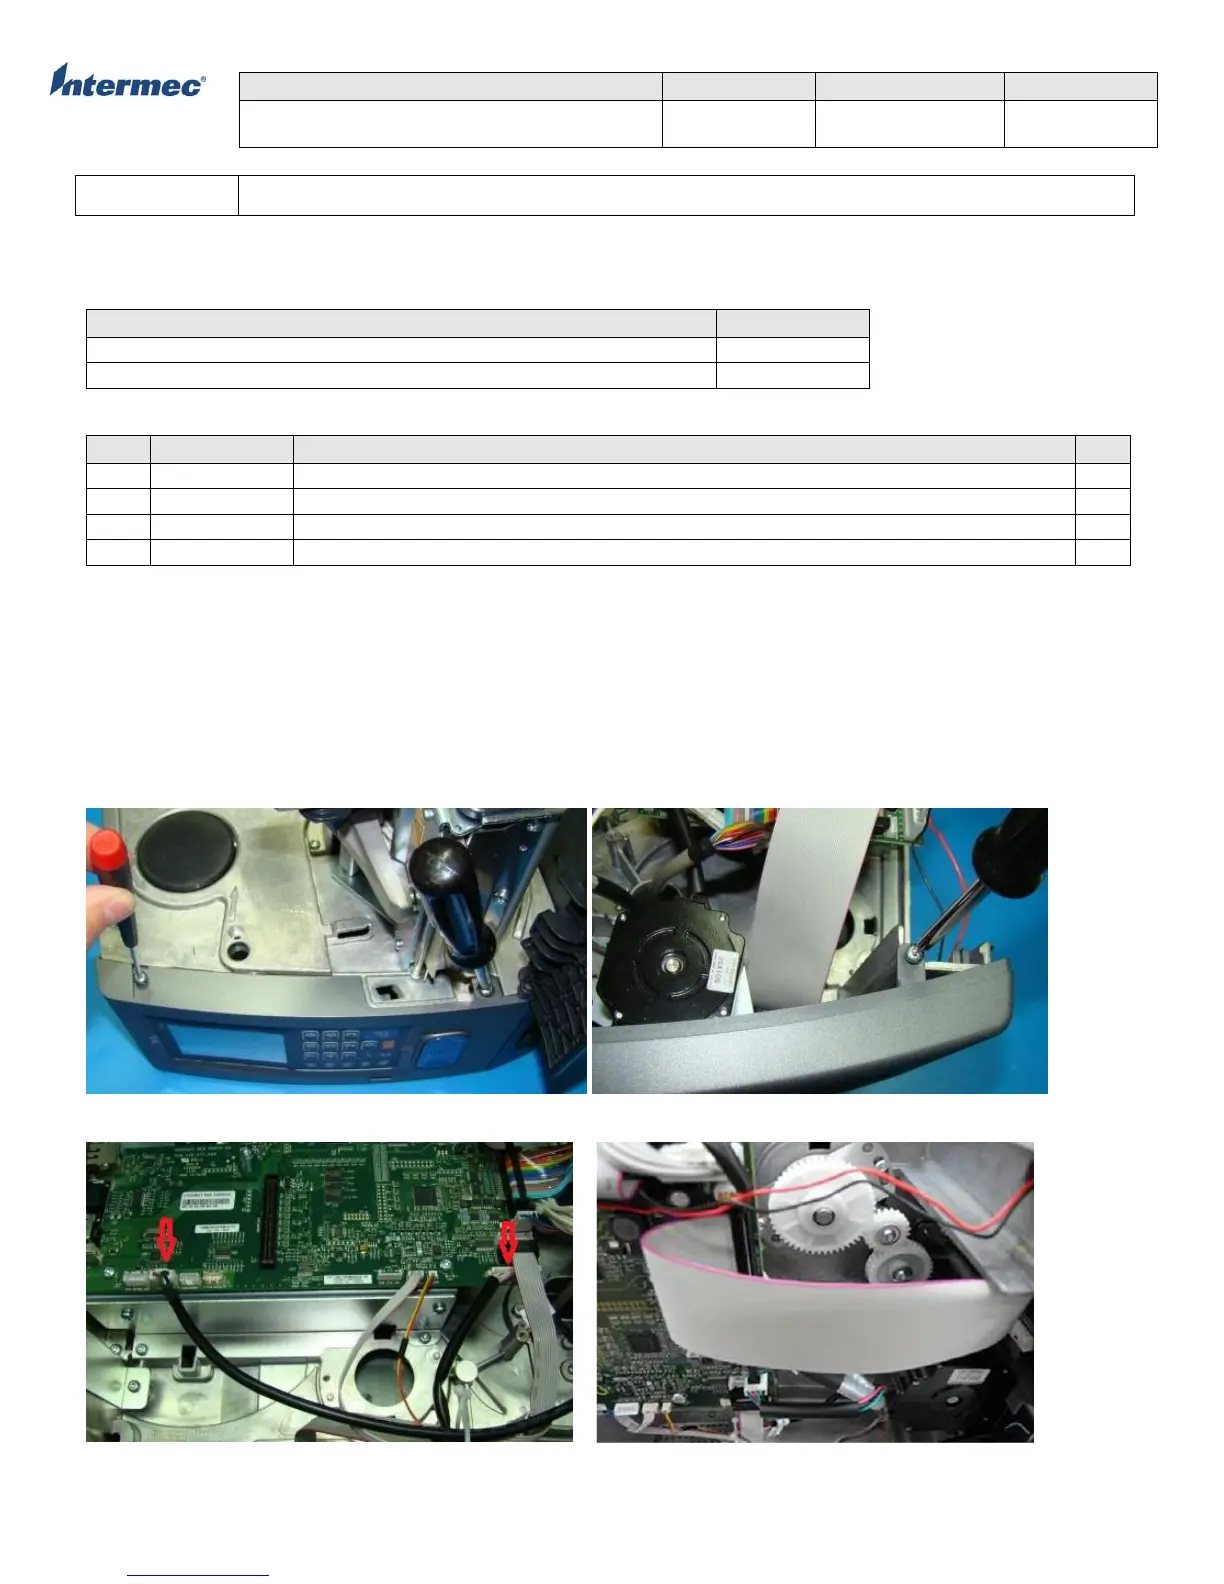
2. Remove the two M4 x 5 screws on the front panel media side, see Figure 1. For PM43c printer, the access door will
need to be removed first. See page 26 on how to remove the access door.
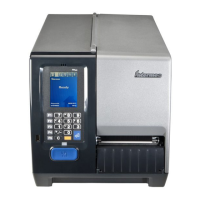
3. Remove the screw on the Electronics side top side, see Figure 2
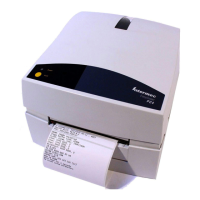
4. Unplug P16 UI USB and P20 Touchless MLB Connectors, see Figure 3
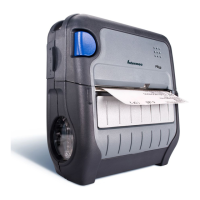
5. Unplug the main front panel to MLB ribbon able connector, see Figure 4
6. Remove the Gnd Wire (3) and release two locking taps (1 & 2) Figure 5 and pull the front panel out
7. Replace with the new front panel by reversing the order of removal instructions
Figure 1 Figure 2
Figure 3 Figure 4