Wireless Access Point
User Guide
7.2 Changing the LAN IP address of the AP
7.2.1 Dynamic IP address
This IP address type enables your AP to obtain an IP address, a subnet mask, a gateway IP address, DNS
server IP addresses from a LAN DHCP server automatically. If a large number of APs are deployed, you are
recommended to adopt this type to prevent IP address conflicts and reduce your workload.
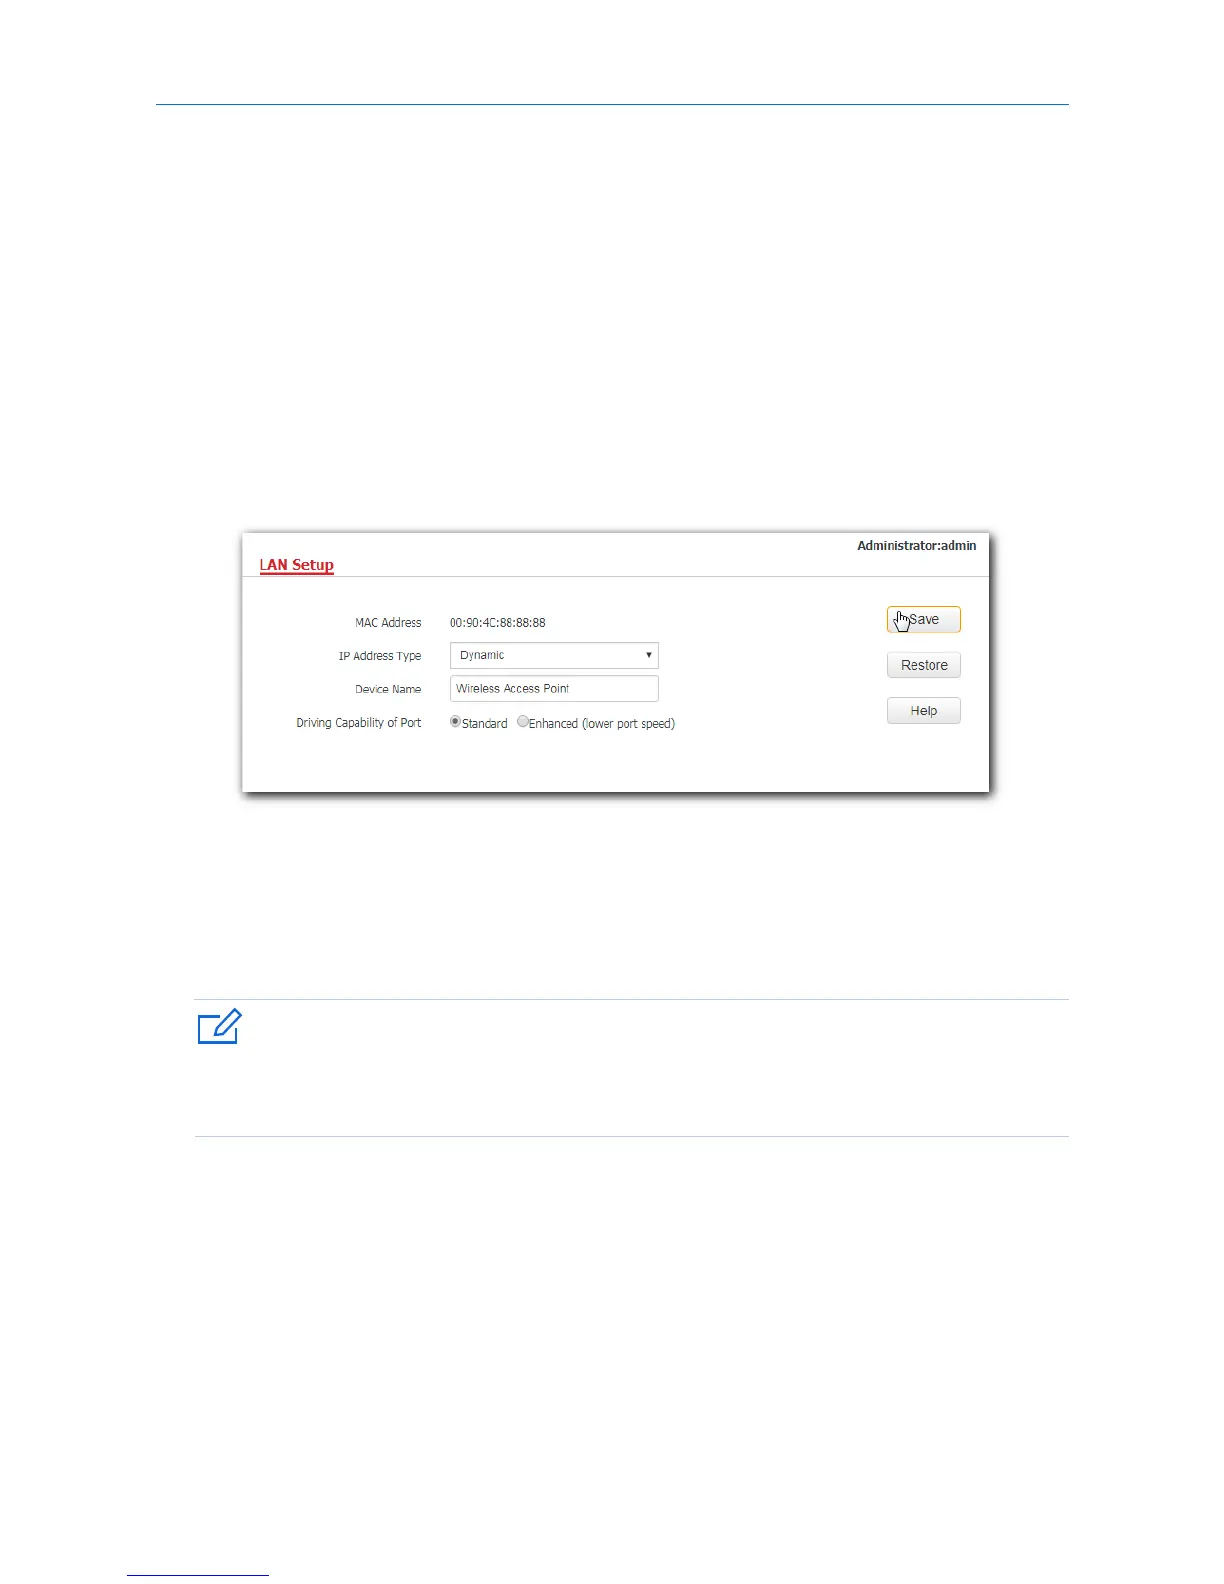
Procedure:
1. To access the configuration page, click Network > LAN Setup.
2. Set IP Address Type to Dynamic.
3. Click Save.
---End
After the configuration, if you want to log in to the web UI of your AP, first find the IP address of the AP
from the client list of the DHCP server, then ensure that the IP address of your computer and the IP
address of the AP belong to the same network segment, finally log in to the web UI of your AP using its
new IP address.
If the IP address of your computer is not in the same network segment with the new IP address of your AP,
please set an IP address for your computer which is in the same network segment as the AP’s new IP
address. For detailed steps to set an IP address for your computer, refer to Appendix A in this user guide.
7.2.2 Static IP address
If you want to set AP’s IP address yourself, set IP Address Type to Static first, then configure IP address,
subnet mask, gateway IP address, and DNS server IP addresses for your AP manually. This type is
recommended only when you need to deploy just a few APs.
Procedure:
1. To access the configuration page, click Network > LAN Setup.
2. Set IP Address Type to Static.
3. IP Address: Enter the static IP address for your AP, which is 192.168.0.250 in this example.
29