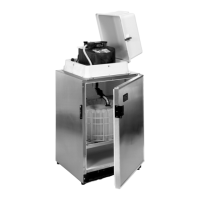
6700SR Refrigerated Sampler
38
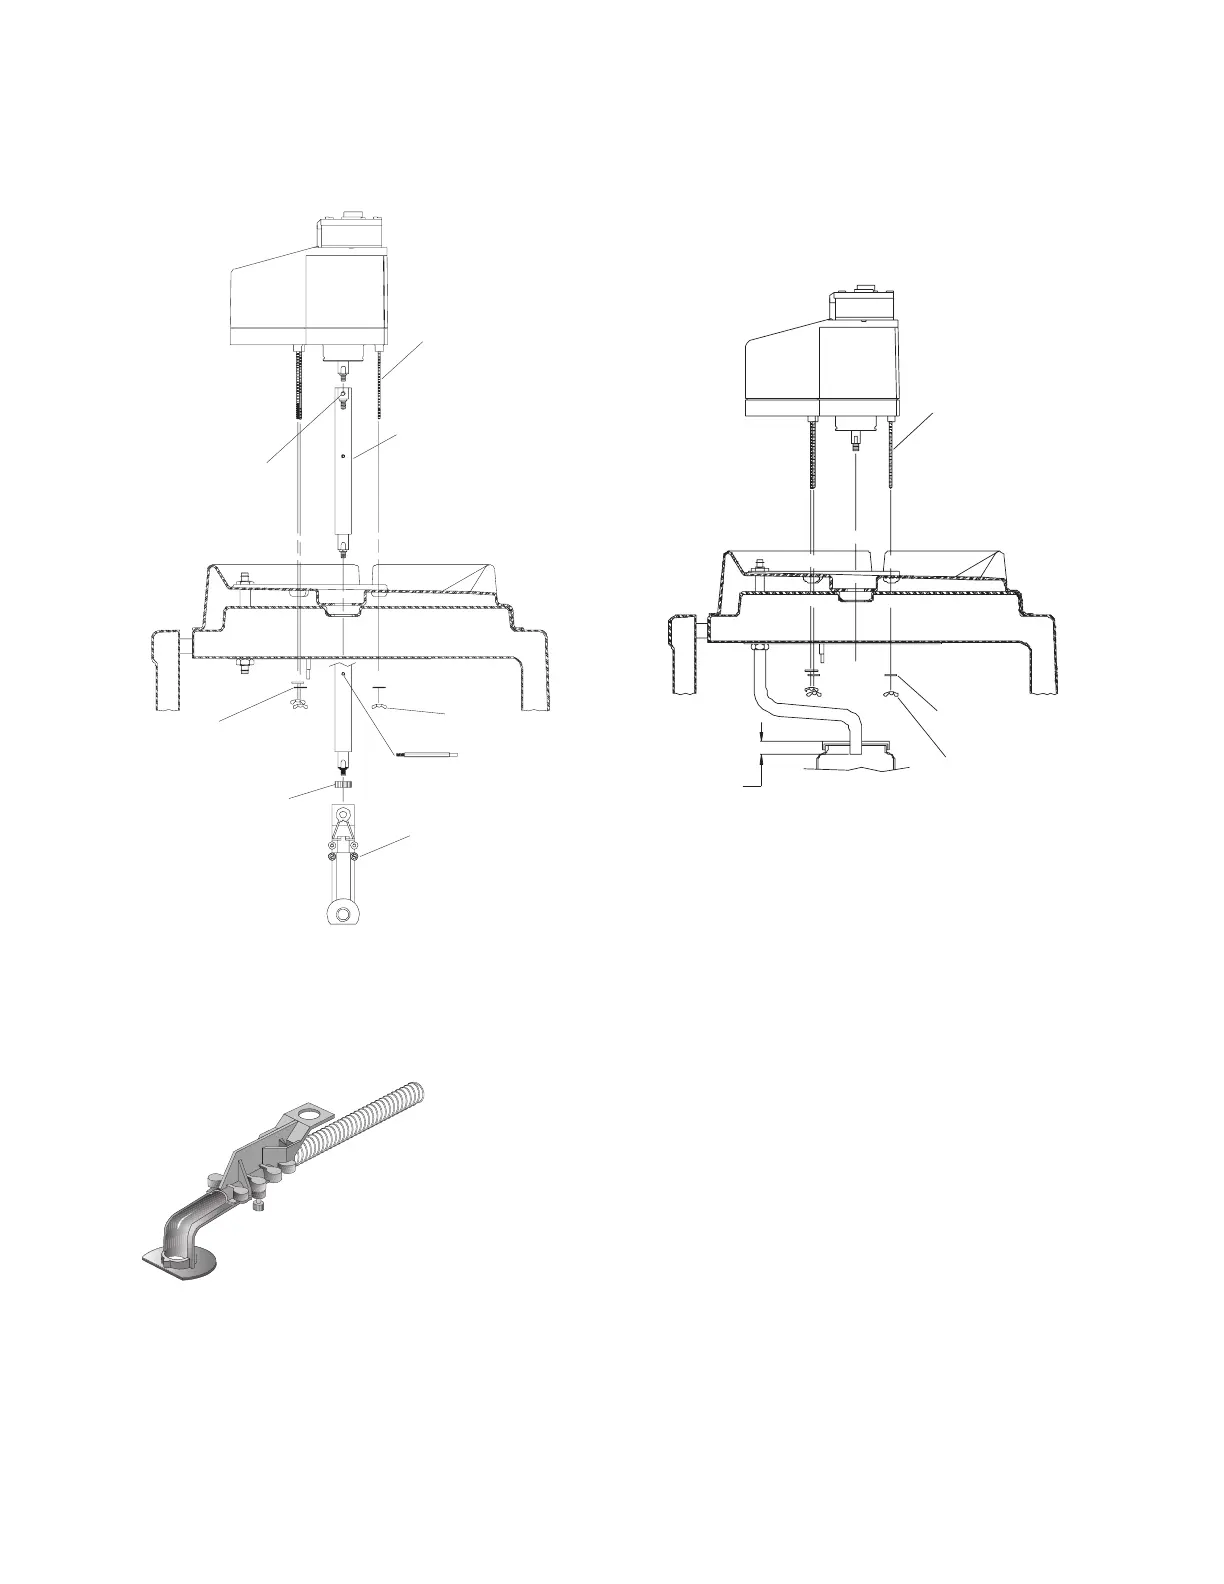
Installing the Distributor Arm and Discharge Tube
The distributor arm is adjustable so that you can position the dis-
charge tube over the bottles of each kit. Each bottle kit also uses a
discharge tube of a specific length.
Table
6
lists the correct dis-
charge tube length for each bottle kit. If using bulk tubing to cut
your own tubes, cut the ends of the tube square, not at an angle,
and cut the length accurately.
The two piece arm has four positions, marked on the underside
with the letters A, B, C, and D. Adjust the arm to the correct posi-
tion for the bottle kit being used.
Table
6
shows the correct position
for each kit. Thread the discharge tube through the spring and arm
so that the tube protrudes from the arm
1
/
16
- to
1
/
8
-inch.
Attach the arm to the distributor shaft extension. Secure the arm
to the extension with the black plastic nut. Slide the free end of the
discharge tube onto the bulkhead fitting. After installing the dis-
tributor arm and discharge tube, run the distributor to each bottle
position to ensure proper installation.
Figure 2 Mounting the Controller
Mounting Rod
Flat Washer
Wing Nut
End of discharge tube
below neck of bottle.
Wing Nut
Stop Arm
Distributor arm
Assembly
1/4-20 Set Screw
Distributor arm
Nut
Distributor Shaft
Extension
Mounting Rod
Composite Sampling
Multiple-Bottle Sampling
Flat Washer
Distributor Arm