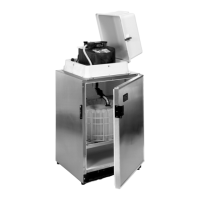
6700SR Refrigerated Sampler
17
Clock and Calendar
You may have to set the internal clock or calendar. The samplers
are shipped with their docks set to central time. If your sampler op-
erates in a different time zone, you will have to reset the clock.
Ex-
ample
2
shows you how to find the time and date screen.
When setting the clock and calendar, use a 24-hour clock for times
and the day-month-year format for dates. In screen e, the illustration
shows blanks for each position that accepts an entry. The positions
are called fields. When screen e appears on your sampler, the fields
contain the sampler’s current settings for the time and date.
• To move from one field to another without changing the setting,
press the arrow keys. Use this technique when you want to
change only one or two settings.
• Change the setting by typing a new number. Press
↵
(Enter) to
accept the new setting.
For example, to enter 2:00 p.m. (2:00 p.m. is 14:00 on a 24-hour
clock), type 14. Press
↵
(Enter). Next, type 0 (zero) for the minutes,
and press
↵
(Enter). To enter a date, such as January 22, 1995,
type: 22
↵
(Enter) 01
↵
(Enter) 95
↵
(Enter).
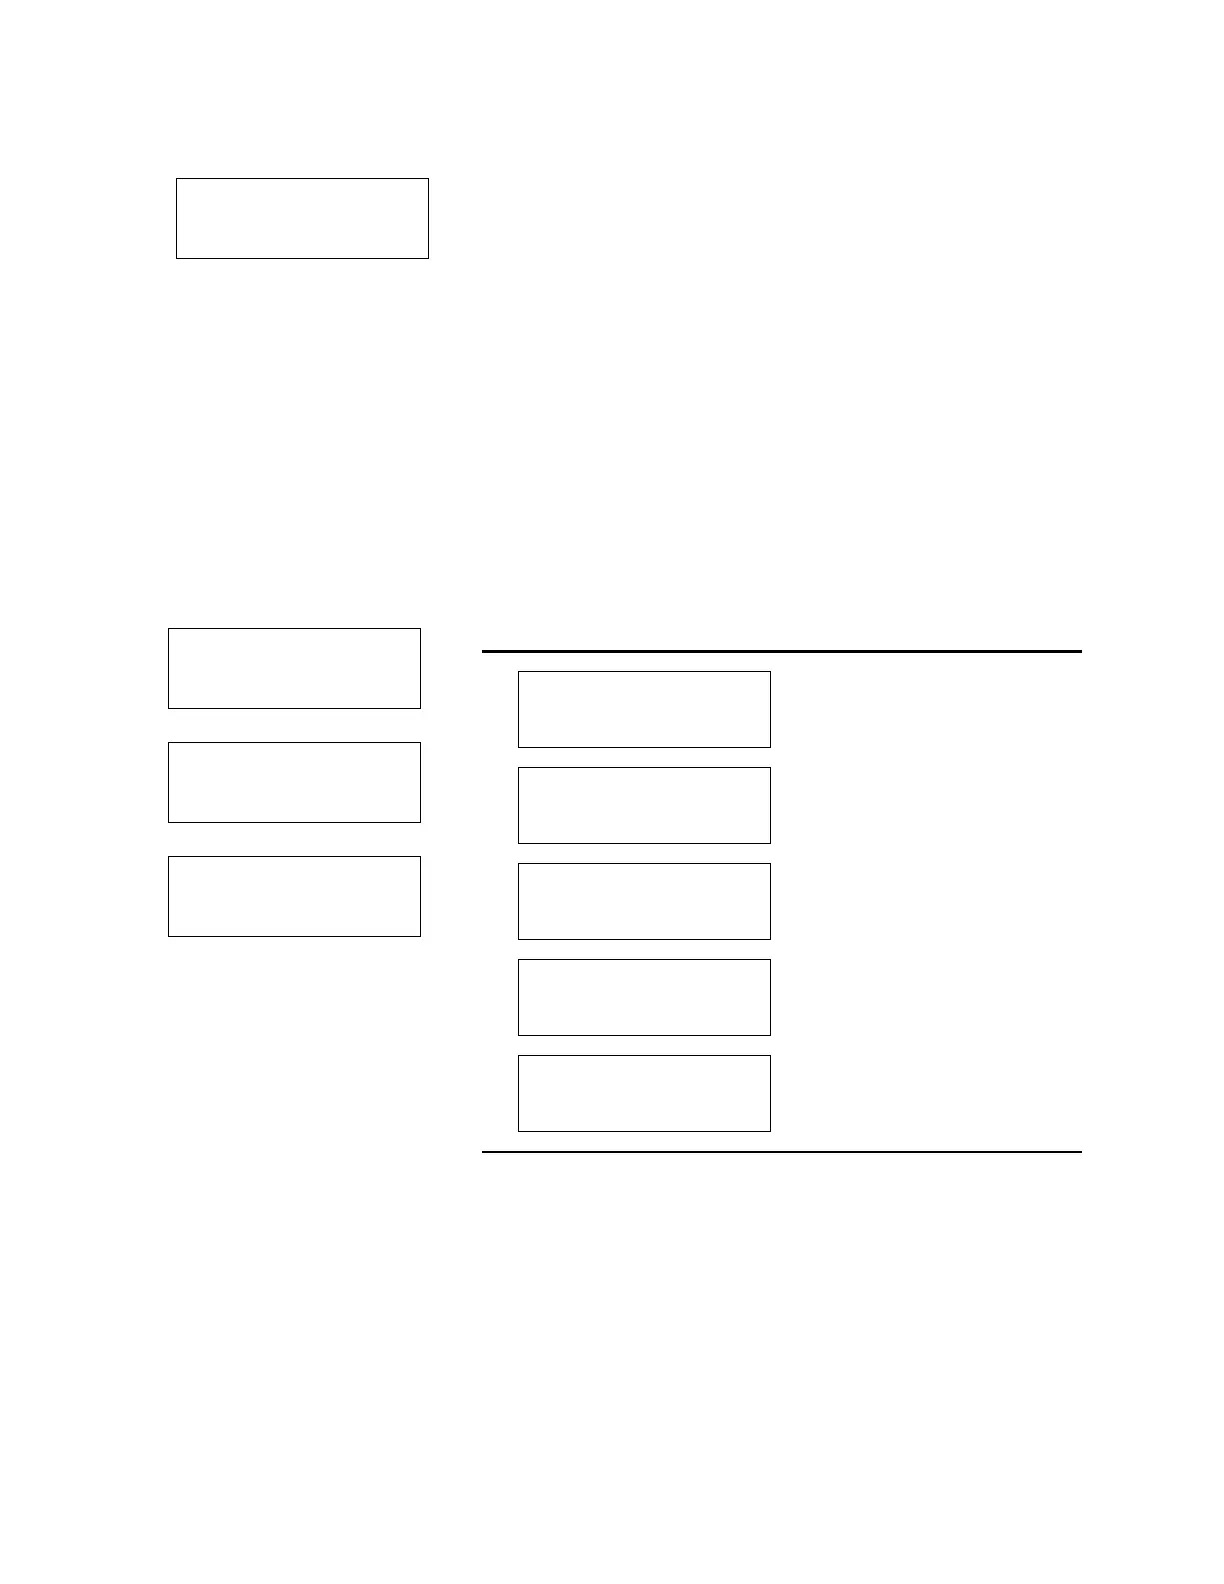
Example 2 Setting the Clock and Calendar
Menu Screens: Clock Start Times
There are three start time settings you can use in a sampling pro-
gram. This section discusses only one of these settings, the clock
start time. A clock start time lets you set up a sampling program
that starts at the same time on one or more days of the week. For
example, you may want to begin sampling at 6:00 a.m. on Monday
through Friday (screen g in the margin).
1
RUN
PROGRAM
VIEW REPORT
OTHER FUNCTIONS
Select OTHER FUNCTIONS.
2
MAINTENANCE
MANUAL FUNCTIONS
PROGRAMMING STYLE
Select MAINTENANCE.
3
SET CLOCK
SET PUMP TUBE ALARM
INTERNAL BATTERY
DIAGNOSTICS
Select SET CLOCK.
4
ENTER TIME AND DATE:
HH:MM DD-MON-YY
14:00 22-JAN-95
Enter the time and date.
5
MAINTENANCE
MANUAL FUNCTIONS
PROGRAMMING STYLE
Press Stop to return to the main
menu.
Entering Times and Dates
e
ENTER TIME AND DATE:
HH:MM DD-MON-YY
__:__ __-__-__
• Move from one field to another
by pressing the arrow keys.
• Change a setting in a field by
typing a number. Press enter
to accept the new setting.
Using the Clock Start Time
Menu
f
NO DELAY TO START
DELAYED START
CLOCK TIME
• Select CLOCK TIME.
g
FIRST SAMPLE AT:
06:00
• Type the time of day.
h
SELECT DAYS:
SU
MO TU WE TH FR
SA
DONE
• Press an arrow key until the
cursor is on the correct day.
Then press enter.
• Repeat these steps
until each day you want
is blinking.
• Press an arrow until DONE
blinks. Press
enter
.