P/N 960-000180R_Rev. 1 {EDP #233427} © 2016, JAPAN CASH MACHINE CO., LTD.
Calibration and Testing DBV® Series DBV-400 Banknote Validator Section 6
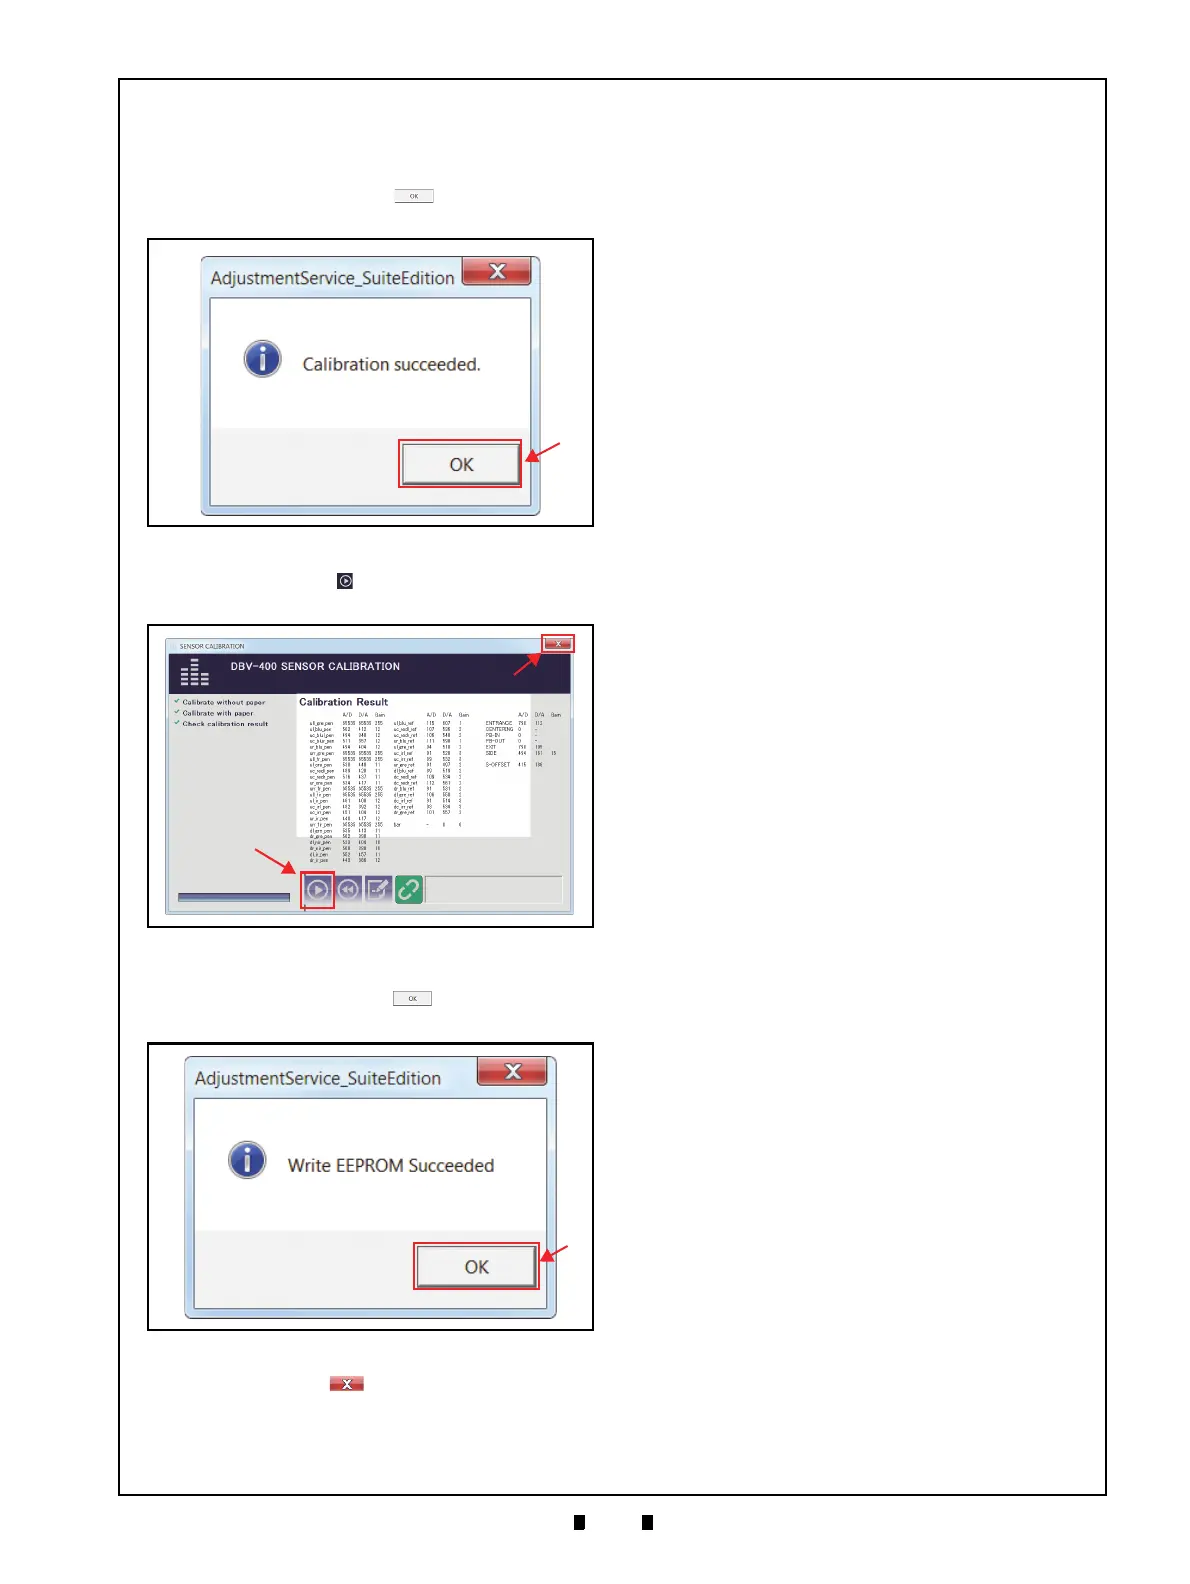
11. Once the Serial Number Setting is completed,
Calibration Data will be written on the EEPROM.
When the data writing finishes normally, the
“
Calibration Succeeded.” message dialogue box
appears. Click the “
OK” button (Figure 6-42
a) to close the message dialogue box.
12. Click the “
Start” button (Figure 6-43 a) to save
the calibration settings.
13. When the “
Write EEPROM Succeeded.” screen
appears, click the “
OK” button (Figure 6-44
a).
14. Click the Close button (Figure 6-43 b) to
shut down the Calibration application.
This completes the Sensor Calibration procedures.
Figure 6-42 Calibration Succeeded Message
Figure 6-42 Calibration Succeeded Message
Figure 6-43 Calibration Result
Figure 6-43 Calibration Result
Figure 6-44 Write EEPROM Succeeded
Figure 6-44 Write EEPROM Succeeded