Figure 36: Mounting the Switch on a Wall
g020723
Hang attached brackets
on wall-mounted screws.
Front
panel
Rear
panel
Baffle for PoE Models
(EX2200-24P and EX2200-48P)
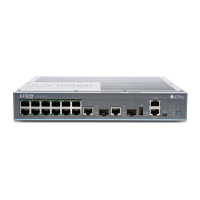
Mounting an EX2200-C Switch on a Wall
You can mount an EX2200-C switch, the compact, fanless model, on a wall by using the
flexible mounting slots on the bottom of the chassis to fix to the screws on the wall.
WARNING: When mounting an EX2200-C switch chassis in a verticalposition,
orient the front panel of the chassis downward to ensure proper airflow and
meet safety requirements in the event of a fire.
NOTE: Do not block the vents on the top of the EX2200-C switches. Doing
this can lead to overheating of the switch chassis.
Before mounting the switch on a wall:
•
Verify that the site meets the requirements described in “Site Preparation Checklist
for EX2200 Switches” on page 51.
•
Read “General Safety Guidelines and Warnings” on page 155, with particular attention
to “Chassis Lifting Guidelines for EX2200 Switches” on page 166.
Ensure that you have the following parts and tools available:
•
3 wall mounting screws (M4 x 30mm or 8-32 x 1.25 in. Phillips pan-head machine
screws—not provided)
•
Phillips (+) screwdriver, number 2
•
1 cable guard and 3 number-8 Phillips truss-head screws (optional and separately
orderable) to secure the cable guard to the switch
•
1 standard cable lock (optional and separately orderable) to secure the switch from
theft by connecting the cable to a security slot on the switch
91Copyright © 2011, Juniper Networks, Inc.
Chapter 8: Installing the Switch

 Loading...