The modem sends an OK response to verify that it can communicate successfully
with the COM port on your desktop or notebook computer.
6. To configure the modem to answer a call on the first ring, type ats0=1 at the prompt.
Press Enter.
7. To configure the modem to accept modem-control DTR signals, type at&d1 at the
prompt. Press Enter.
8. To disable flow control on the modem, type at&k0 at the prompt. Press Enter.
9. To set the fixed serial port speed on the modem, type at&b1 at the prompt. Press
Enter.
NOTE: You must set the serial port to the fixed speed so that the modem
will not adjust the serial port speed to the negotiated line speed.
10. To save the new modem settings, type at&w0 at the prompt. Press Enter.
The modem sends an OK message. The modem is now ready to be connected to the
switch.
Connecting the Modem to the Console Port
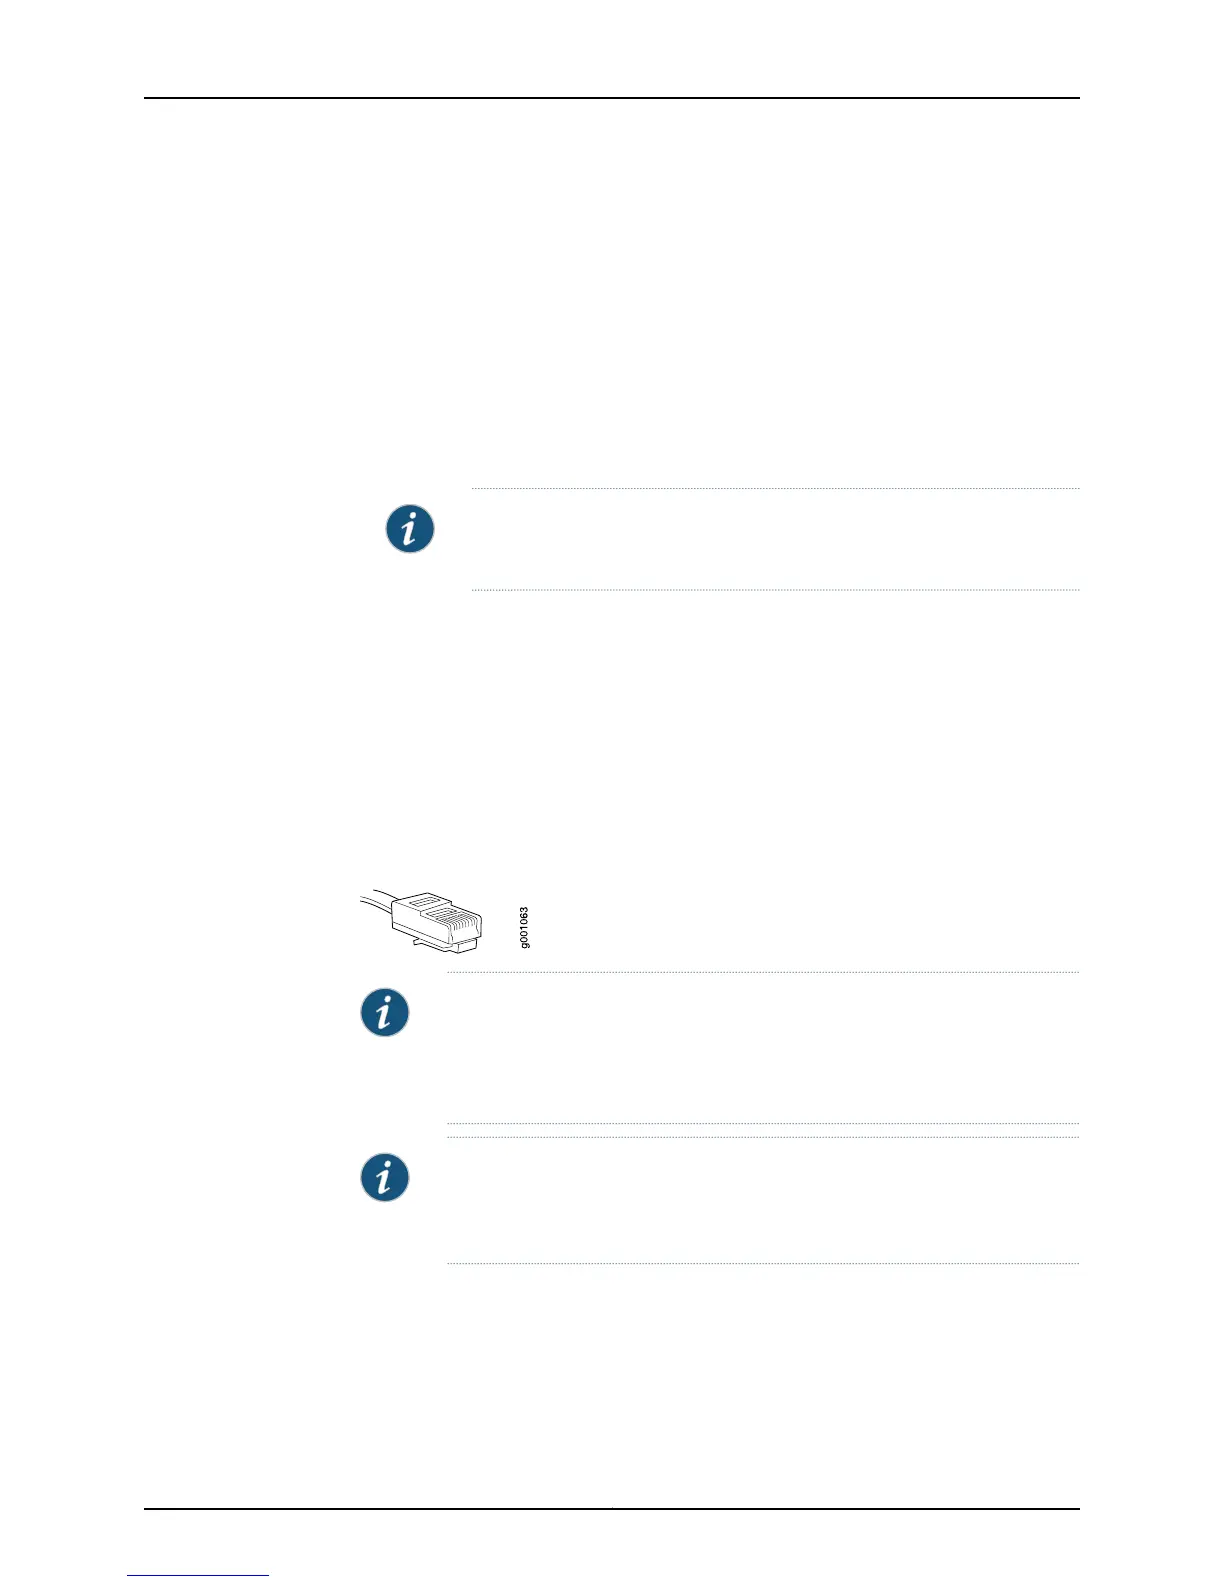
The console port on every EX Series switch accepts a cable with an RJ-45 connector.
Figure 55 on page 120 shows the RJ-45 connector of the Ethernet cable supplied with the
switch.
Figure 55: Ethernet Cable Connector
NOTE: If your laptop or PC does not have a DB-9 male connector pin and you
want to connect your laptop or PC directly to the switch, use a combination
of the RJ-45 to DB-9 female adapter supplied with the switch and a USB to
DB-9 male adapter. You must provide the USB to DB-9 male adapter.
NOTE: Most modems have an RS-232 DB-25 connector.Youmustseparately
purchase an adapter to connect your modem to the RJ-45 to DB-9 adapter
and Ethernet cable supplied with the switch.
To connect a modem to the console port:
1. Turn off power to the switch.
2. Turn off power to the modem.
Copyright © 2011, Juniper Networks, Inc.120
Complete Hardware Guide for EX2200 Ethernet Switches

 Loading...