2-14 Calibration
AC current calibration
After the 700VAC at 1kHz point has been calibrated, the unit will prompt you for 100mA at
1kHz. Follow these steps for AC current calibration:
1. Connect the calibrator to the AMPS and INPUT LO terminals of the Model 2015 as
shown in Figure 2-3.
2. Perform the calibration steps summarized in Table 2-7. For each step:
• Set the calibrator to the indicated current and frequency, and make sure the unit is
in operate.
• Press ENTER to complete each calibration step.
• Allow the unit to complete each step before continuing.
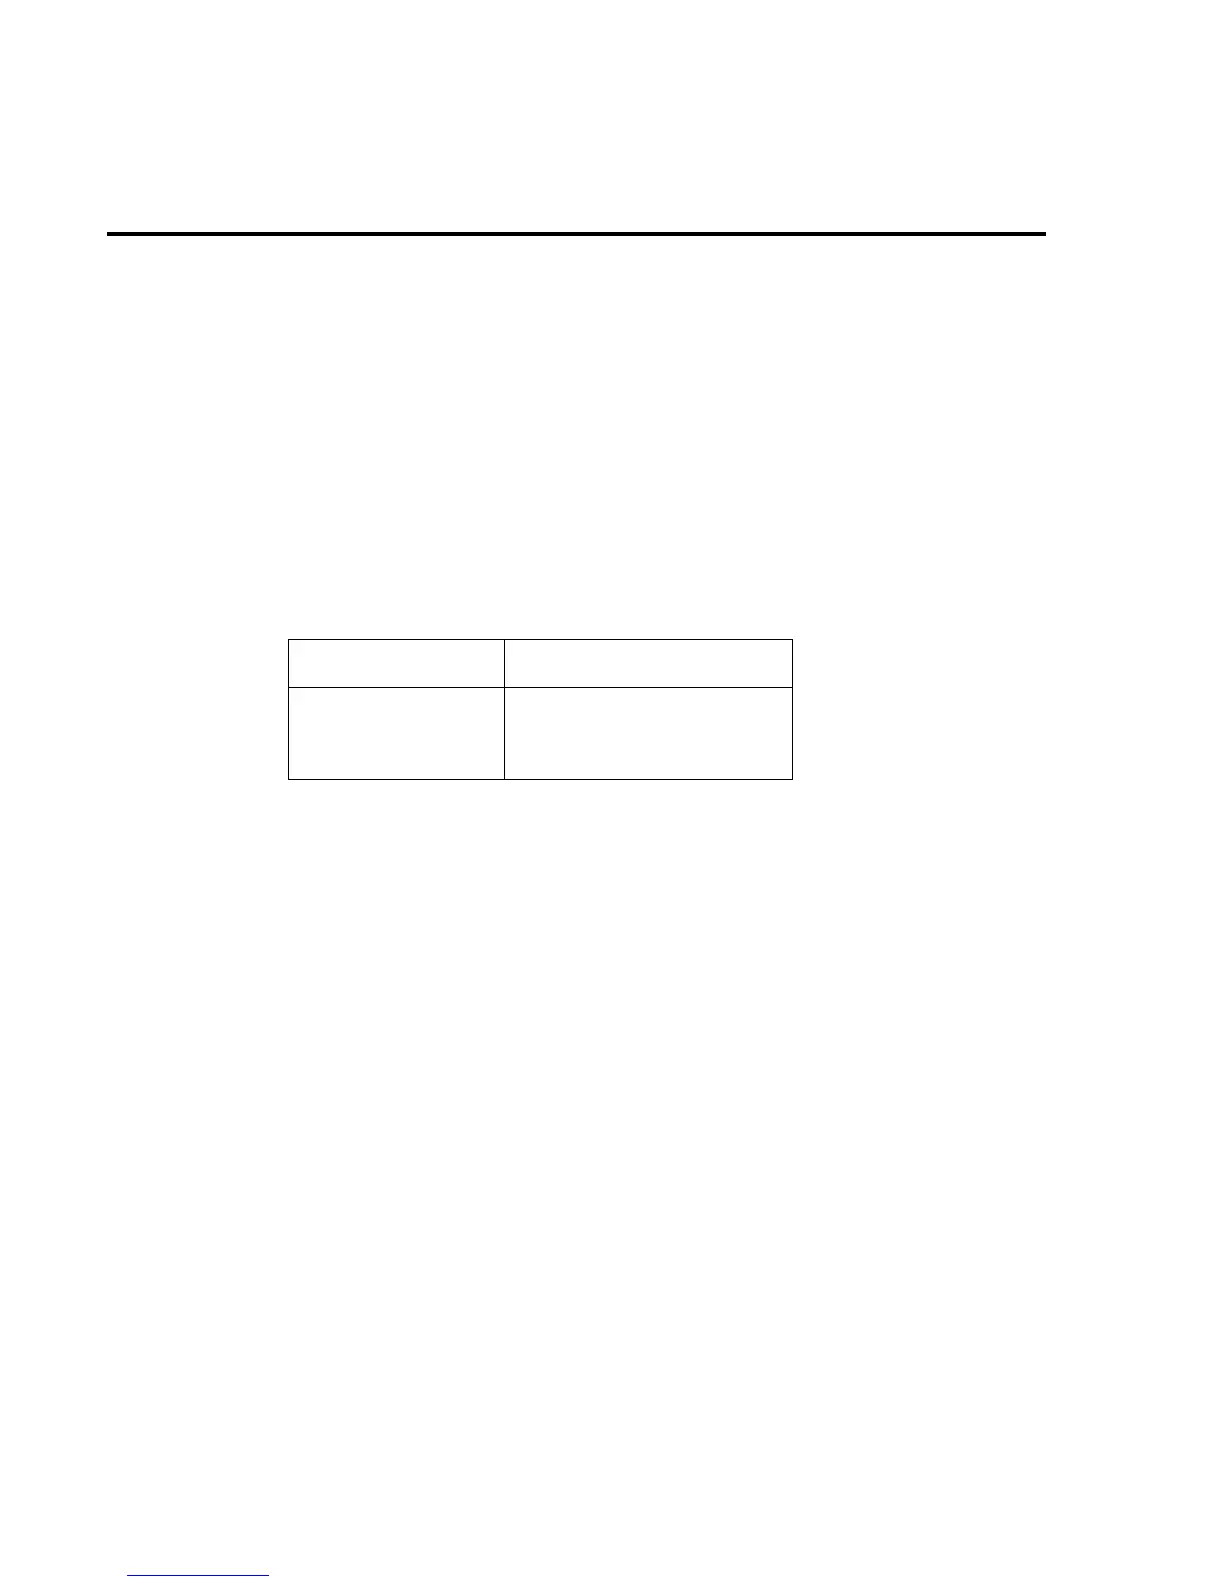
Table 2-7
AC current calibration summary
Distortion calibration
1. Following AC current calibration, the Model 2015 will prompt you for the first distortion
calibration point (see Table 2-8):
1V AT 137 HZ
2. Connect the low-distortion function generator to the front panel INPUT jacks (see Figure
2-5).
3. Set the function generator to output a 1V RMS sine wave at a frequency of 137Hz.
4. Press the Model 2015 ENTER key to complete the 137Hz calibration step. The unit will
prompt you for the second distortion calibration point:
1V AT 844 HZ
5. Set the function generator to output a 1V RMS sine wave at a frequency of 844Hz.
6. Press ENTER to complete the 844Hz calibration step.
Calibration step Calibrator current, frequency
100mA at 1kHz
1A at 1kHz
2A at 1kHz
100.0000mA, 1kHz
1.000000A, 1kHz
2.000000A, 1kHz