Basic PavingBasic Paving
1. Spray down the machine. (Page 4-35)
2. Heat the screed. (Pages 4-39 to 4-40)
3. Position paver at the starting point for the mat.
4. Open the Under Auger Material Cut-Off. (Page
4-38)
Never back up with cut-off open.
5. Adjust screed as needed. (Pages 4-41 to 4-43)
6. Open hopper wings to accept asphalt from the ma-
terial truck. (Pages 4-36 to 4-37)
NOTE: Allow only a partial load of asphalt to enter
the hopper when rst starting to pave.
6. Turn the left and right conveyors on to the AUTO
position. (Page 4-36)
• Ensure the sonic auger sensor is connected.
(Page 4-39)
• Press the left and/or right auger button to manual
and set the desired auger speed, OR connect the
sonic auger sensor and set the button to AUTO (to
control the material height at the end gate).
• When the material starts moving into the
sonic range, the sonic auger will automatically
regulate auger operation.
7. When the material begins to discharge from under
the screed, press the Screed Down button to oat
the screed.
8. Begin paving, move slowly at rst to adjust the
screed if needed.
• Use the hydraulic tow points, grade/slope functions,
and/or ight screws as needed while paving.
• The procedures for setting the crown and making
AOA (Angle of Attack) adjustments for asphalt mat
texture are described on the following pages.
9. Make a paving pass until the asphalt level in the
hopper is low.
NOTE: To prevent excessive handwork, set the left
and right conveyor switches to the OFF
position and set both cut-off switches to the
CLOSE position about three feet from the
end of the pull.
10. Return paver back to starting position to begin the
next pull.
Setting the CrownSetting the Crown
The screed can also be set to control the pavement
valley, or crown. A pavement crown is the elevation of
the middle in relation to the edges, and insures proper
drainage of the pavement.
NOTE: Maximum crown is two inches.
To set the crown:
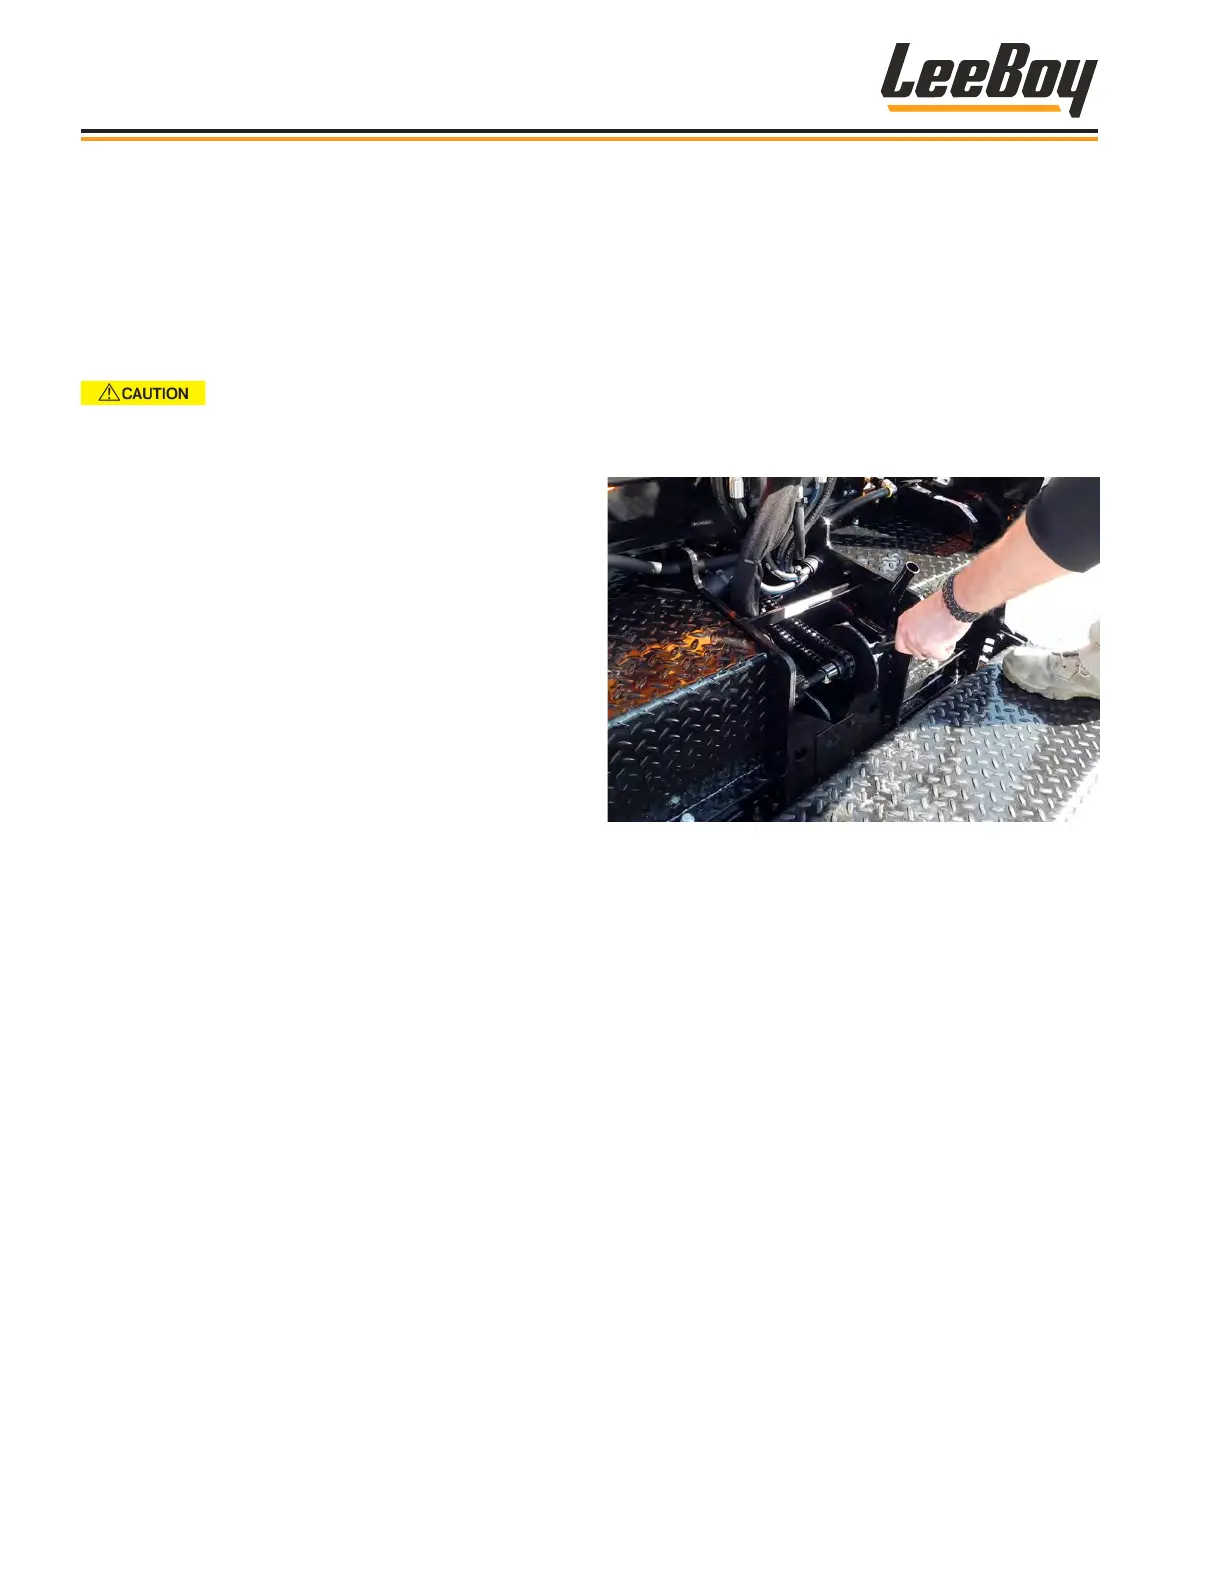
1. Loosen the lock-down bolts in slotted bars before
adjusting crown and valley mechanism. (Figure
4-54)
Figure 4-54. Setting the Crown
2. Use the crown handle adjuster for setting positive or
negative crown:
• For increased positive crown push down on
adjuster.
• For increased negative crown pull up on
adjuster.
• To put leading edge crown in the screed, you
must make the adjustment with the crown
handle. Once leading edge is set where you
want, remove the four locking bolts, then set the
trailing edge at and reinstall the locking bolts.
3. Use the gauge at the center of the screed above the
screed platform as a visual reference.
• If the needle is above the zero, you will have
positive crown.
• If the needle is below the zero, you will have
negative crown.
Operation
LeeBoy Model 5300B Compact Paver4-44