5555
LeeBoy 8520C Conveyor Paver 5-13
Maintenance
Maintenance Adjustments
Certain components of the paver need adjustments for
optimum performance, operation and general main-
tenance. Keep chains clean, lubricated and properly
adjusted.
Conveyor Flight ChainsConveyor Flight Chains
The conveyor ight chains must be adjusted every 100
hours. If irregular movement of the conveyor occurs, an
adjustment is needed regardless of the time interval.
NOTE: If the adjustment bolt has reached its
maximum adjustment level, remove two links in
the conveyor chain and add a half link. This repair
should bring the adjustment bolts back to full travel.
Entanglement hazard! DO NOT run
the engine while checking and servicing conveyor
components. NEVER perform any adjustments while
the engine is running.
In cold weather, keep conveyor
ight chains properly oiled with cleaning solvent
or release agent. This will prevent conveyor bars
from sticking. Neglect could result in conveyor bar
damage or drive chain failure.
DO NOT adjust the conveyor ight
chains too tight! Clearance (slack) is required for
material to pass under and between chain rollers and
the front idler sprocket. There must be mild tension-
-just enough to take up slack and prevent the chains
from “knuckling.”
The feeder-breaker chain operates most efciently with
a slight amount of slack on the return side. The chains
should not:
• Be pulled too tight.
• Hang too loose.
• ALWAYS adjust both chains exactly the same.
The chains should be slightly slack with constant
tension, measuring slack of 2 - 2-1/2 inches from
the conveyor bed. A chain(s) “popping and cracking”
indicates the chain is climbing the sprocket, which can
be caused by:
• Excessive run-out of the front sprockets:
• Check to verify sprocket run-out pin on the
shaft. Run-out should not exceed .030 inches.
• If excessive, replace chain or sprocket.
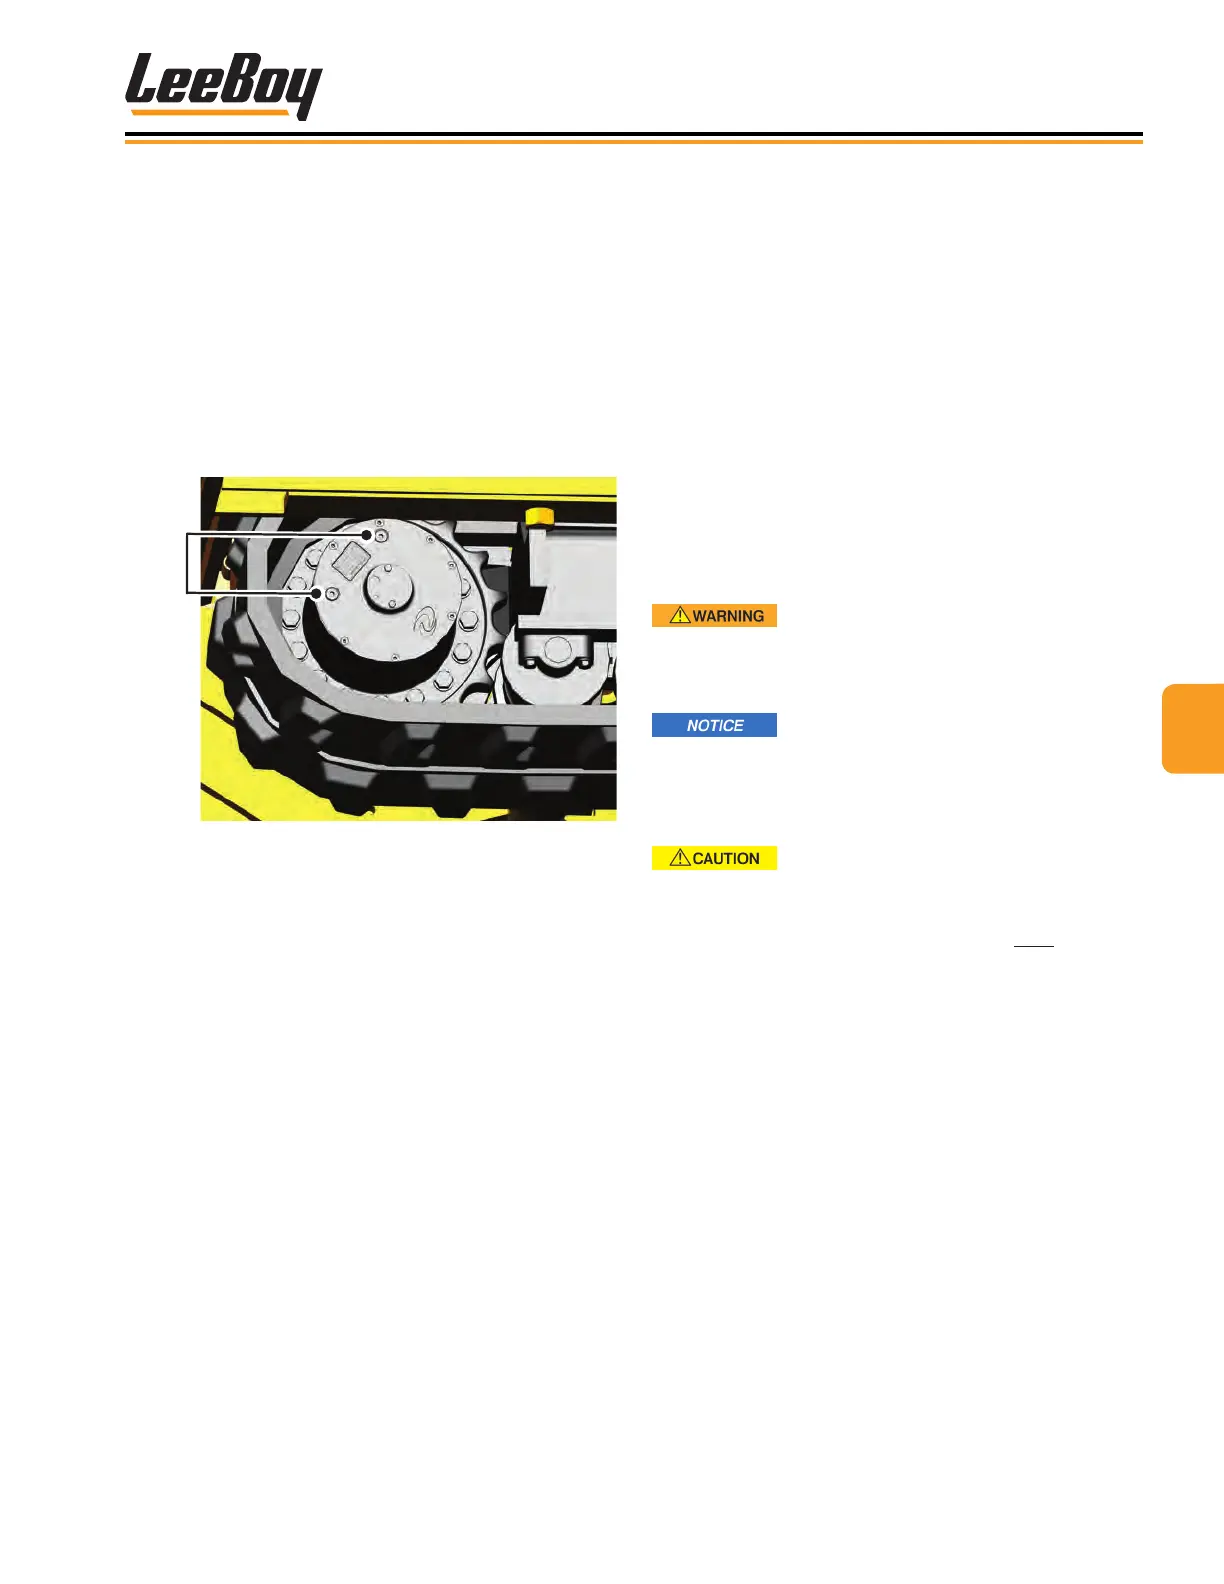
Torque Hub LubricationTorque Hub Lubrication
1. Remove the plug in the 3 o’clock or 9 o’clock
position. (Figure 5-9)
2. If oil comes out, no oil is needed. Reinsert the plug
and tighten.
3. If oil does not come out, remove the top plug and ll
with SAE 90 WT gear oil until oil starts to appear at
the 3 o’clock plug.
4. Replace both plugs and repeat process on the
other torque hub.
Plugs
Figure 5-9. Torque Hub Plugs