44
LeeBoy 8520C Conveyor Paver 4-33
Operation
7. If the endgate digs into the asphalt at the front,
adjust the tilt screw until the endgate tilts back more.
8. On the rst pass, leave approximately six to eight
inches of unrolled asphalt where the joint will be
made.
Figure 4-70. Endgate Tilt Screw Adjustment
9. When making a joint, the endgate must be set to
where it ts ush with bottom of screed.
NOTE: Keep runners clean. When making a joint,
spray solvent on the runners.
10. If the joint looks too high or too low, adjust the ight
screw on the screed one turn at a time and allow
four to ve feet of travel to correct itself.
NOTE: Too much adjustment up or down may cause
uneven pavement.
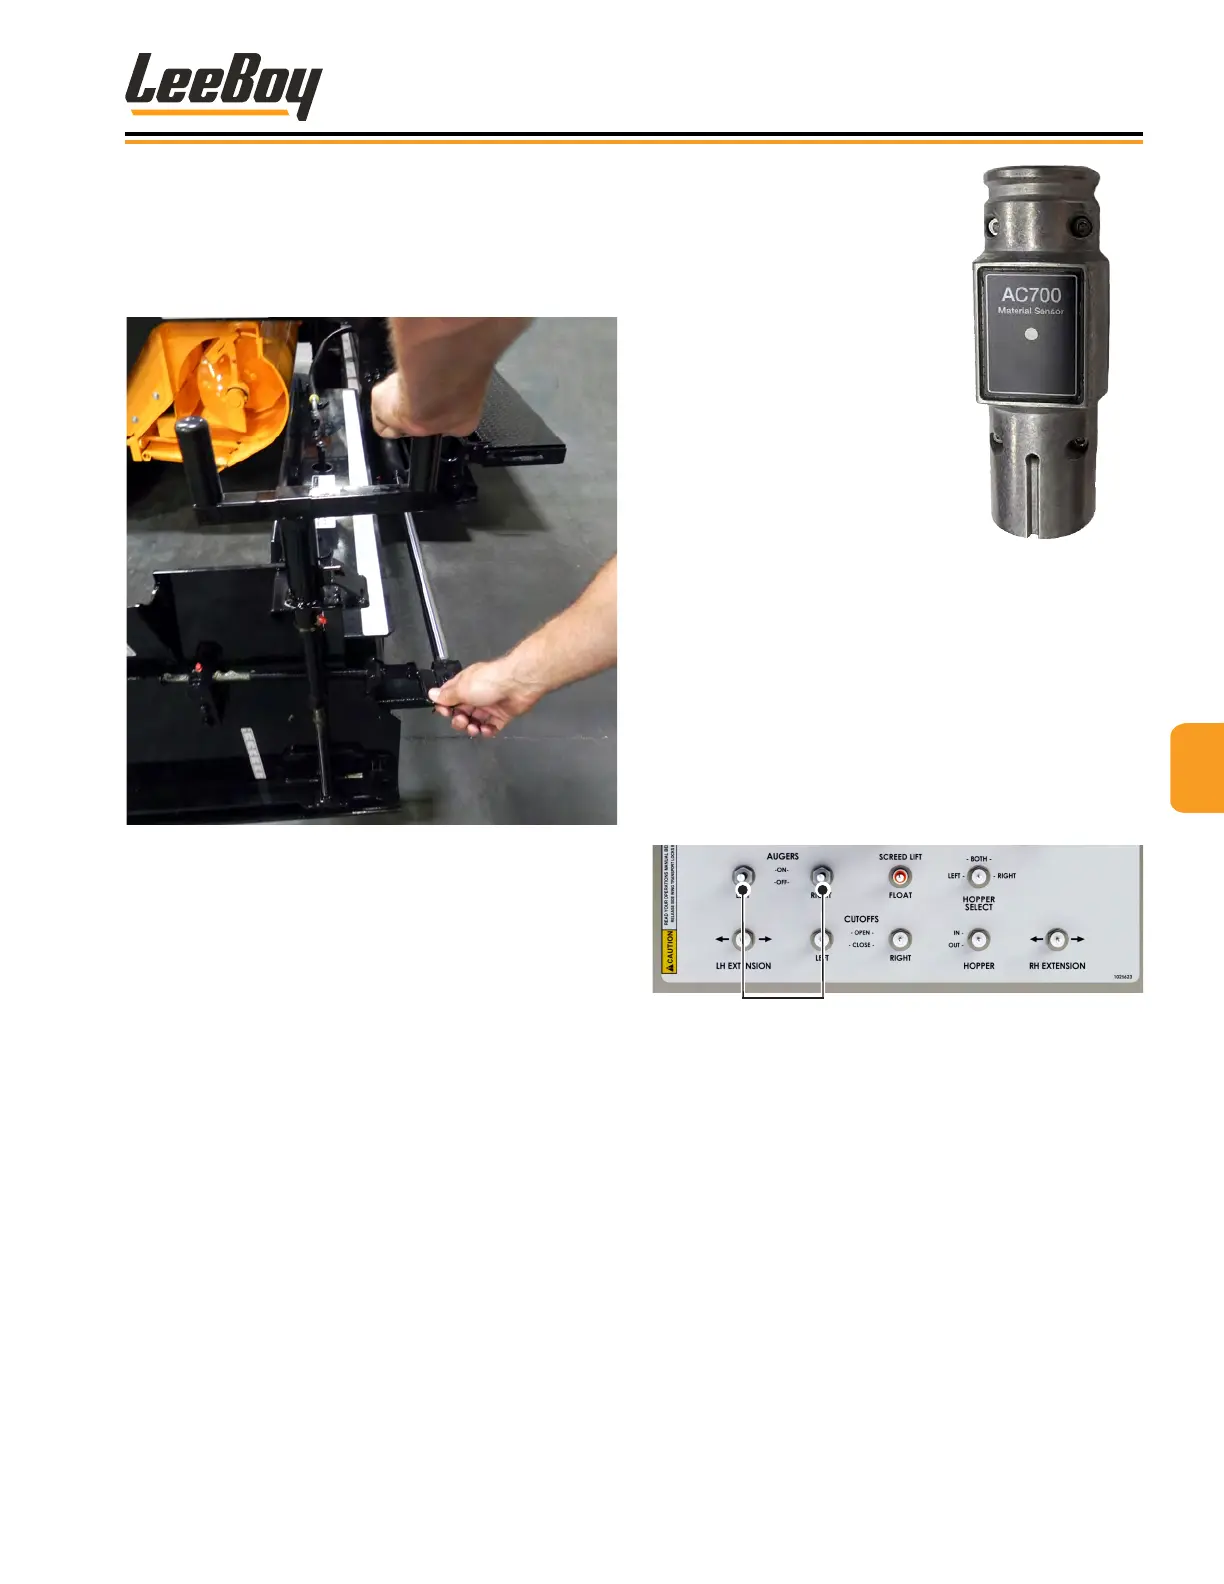
Sonic Auger Sonic Auger
SensorSensor
The augers can be
controlled automatically
when the sonic sensor
system is connected to
either side of the paver. The
sonic auger sensor detects
the amount of material
present and controls its ow
to the end gates, gauging
the amount of paving
material in the extensions.
The sonic auger sensor
sits in the screed mount
and connects to the screed
harness. (Figure 4-71)
Figure 4-71. Sonic
Auger Sensor
NOTE: The augers are not needed when paving under
eight-feet wide.
To operate the sonic auger sensor:
1. Plug the sonic auger sensor unit into the connector
on the end gate.
2. On the main control panel, turn the left or right auger
switches ON. (Figure 4-72)
Figure 4-72. Auger Switches
3. Set the left and right auger Auto/Off/Manual
switches on the screed control box to AUTO.
(Figure 4-69)
4. Adjust material height at the end gate using the
auger dial on the screed control box.
• Turning the dial clockwise increases material
height.
• Turning counterclockwise decreases material
height.
• When the material height moves into the
sonic range, the auger speed will slow down
proportionately and turn off. It will turn back on
when the material level drops.