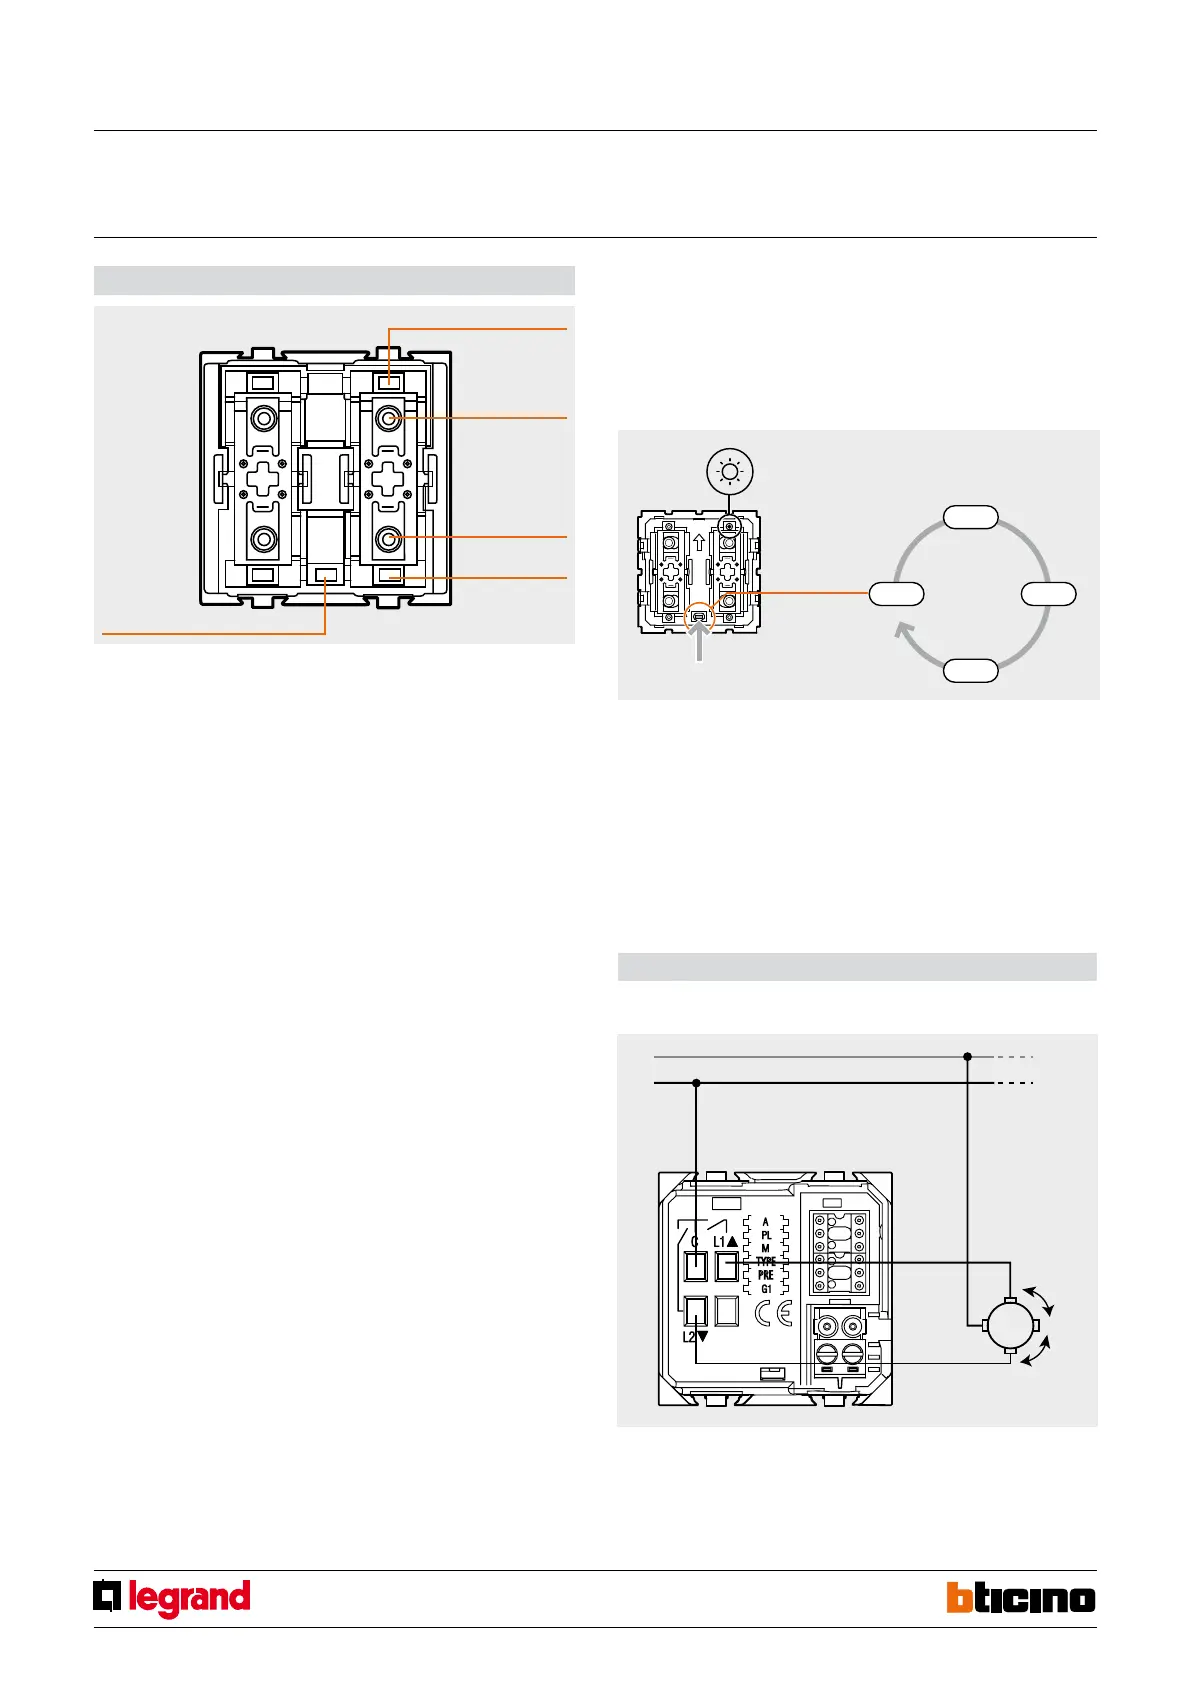
180
DEFAULT
100%
0%
30%
60%
PUSH t > 5 s
M
L1
L2
N
H4661M2 LN4661M2
AM5861M2067557
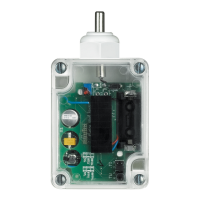
Rolling shutter actuator
MQ00592-c-EN 19/06/2014
LED ADJUSTMENT
1. Press the configuration pushbutton for at least 5 seconds. All the LEDs will come on
orange (green + red), or purple (red + blue) after 3 seconds, and after another 5
seconds will turn green or blue again;
2. Hold down the pushbutton, the brightness of the LED will change every 2 seconds as
shown in the drawing;
3. Once the desired brightness level has been reached, release the pushbutton.
Traditional motor:
Pulse motor
For the connection refer to the indications supplied with the motor interface.
Wiring diagram
Calibration of the shutter position
Manual calibration of the shutter position
This operation is necessary for correct operation of the actuator and enables saving the
shutter opening and closing positions.
If no calibration is performed, the actuator cannot be managed by the control devices,
but only locally, by pressing the corresponding front pushbuttons; in this case, it will
send controls at 5-second intervals to the motor.
1. Press the configuration pushbutton for at least 3 seconds. All the LEDs will come on
orange (green + red), or purple (red + blue).
2. Release the configuration pushbutton. The LED indicating the “UP” position will start
flashing quickly.
3. Press and release the “UP” pushbutton. The shutter will move upwards and the “UP”
LED will flash slowly.
4. Once the shutter has reached the maximum opening position, press the “DOWN”
pushbutton. The shutter will move downwards and the “DOWN” LED will flash slowly.
During this stage, the actuator measures and saves the time it takes the shutter to
close.
5. When the shutter is fully closed, press and release the “UP” pushbutton. The shutter
will move upwards, and the “UP” LED will flash slowly to enable the actuator to
measure and save the time it takes the shutter to open.
6. When the shutter maximum opening position is reached, press the “OWN”
pushbutton again to complete the calibration procedure. The “UP’” position LED will
become green or blue.
WARNING: The calibration precision, and therefore the control of the shutter position,
depends on the accuracy with which the limit switch positions are manually detected
during the calibration itself.
Saving the new rolling shutter position (preset)
The Preset function lets you set the shutter in one of the 9 positions that can be selected
with the configurator in the Pre socket. IT is in any case possible to set a different position
as required by the user. The procedure, which can be performed from the control device,
or the actuator, is as follows:
1. Press the “UP” and “DOWN” pushbuttons to move the shutter into the desired position.
2. Press the STOP pushbutton for at least 10 seconds. The actuator saves the position
of the shutter.
UP PUSHBUTTON
UP LED
DOWN LED
DOWN PUSHBUTTON
Configuration
pushbutton
3. To confirm that the position has been saved correctly, the two LEDs, UP and DOWN,
come on orange (green + red) or purple (red + blue) for 2 seconds.
Irrespective of the shutter position, once this has been stopped by pressing the STOP
pushbutton, it will be possible to move it to the preset position.