500
HD4891
L4891
HC4891
N4891
HS4891
NT4891
067271
573716
067272
573717
1 2
3 4
Main functions that can be set using the softwareInstallation
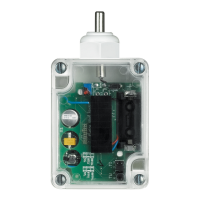
Local Display is installed using a traditional procedure, using a box, support, and cover
plate; the device is not tted with a temperature probe. Therefore, it will not be necessary
to comply with the probe installation requirements.
The recommended installation height is 150 - 160 cm.
Main possible functions using the software:
- selection of the operating mode to set for the device, temperature control, scenarios,
sound system, load management, consumption display.
- conguration of the settings of the probe and of its parameters;
- denition of the type of temperature central unit;
- parameters for the measurement of energy production, or consumption costs;
- conguration of the general device parameters;
- icon style denition.
Scenario programmer
In order to program, change or cancel a scenario, it is necessary to enable the
programming mode of the SCS/SCS Module so that the status LED is green (press the
lock/unlock key on the Scenario Module for at least 0.5 seconds); continue with the
following operations:
1) press one of the four control keys the scenario should be associated to for 3
seconds. The screen shows the name and icon of the selected scenario and
the programming bar, to indicate that the learning procedure has started
If the device does not receive any input for 30 minutes from the start of the learning
procedure, programming will automatically be interrupted;
2) set the scenario using the corresponding controls for the various Automation,
Temperature control, Sound system, etc. functions;
3) conrm the scenario by quickly pressing the display
4) to change or create new scenarios to be linked to the other keys, repeat the procedure
starting from point 1.
To call a set scenario just press its pushbutton on the control quickly.
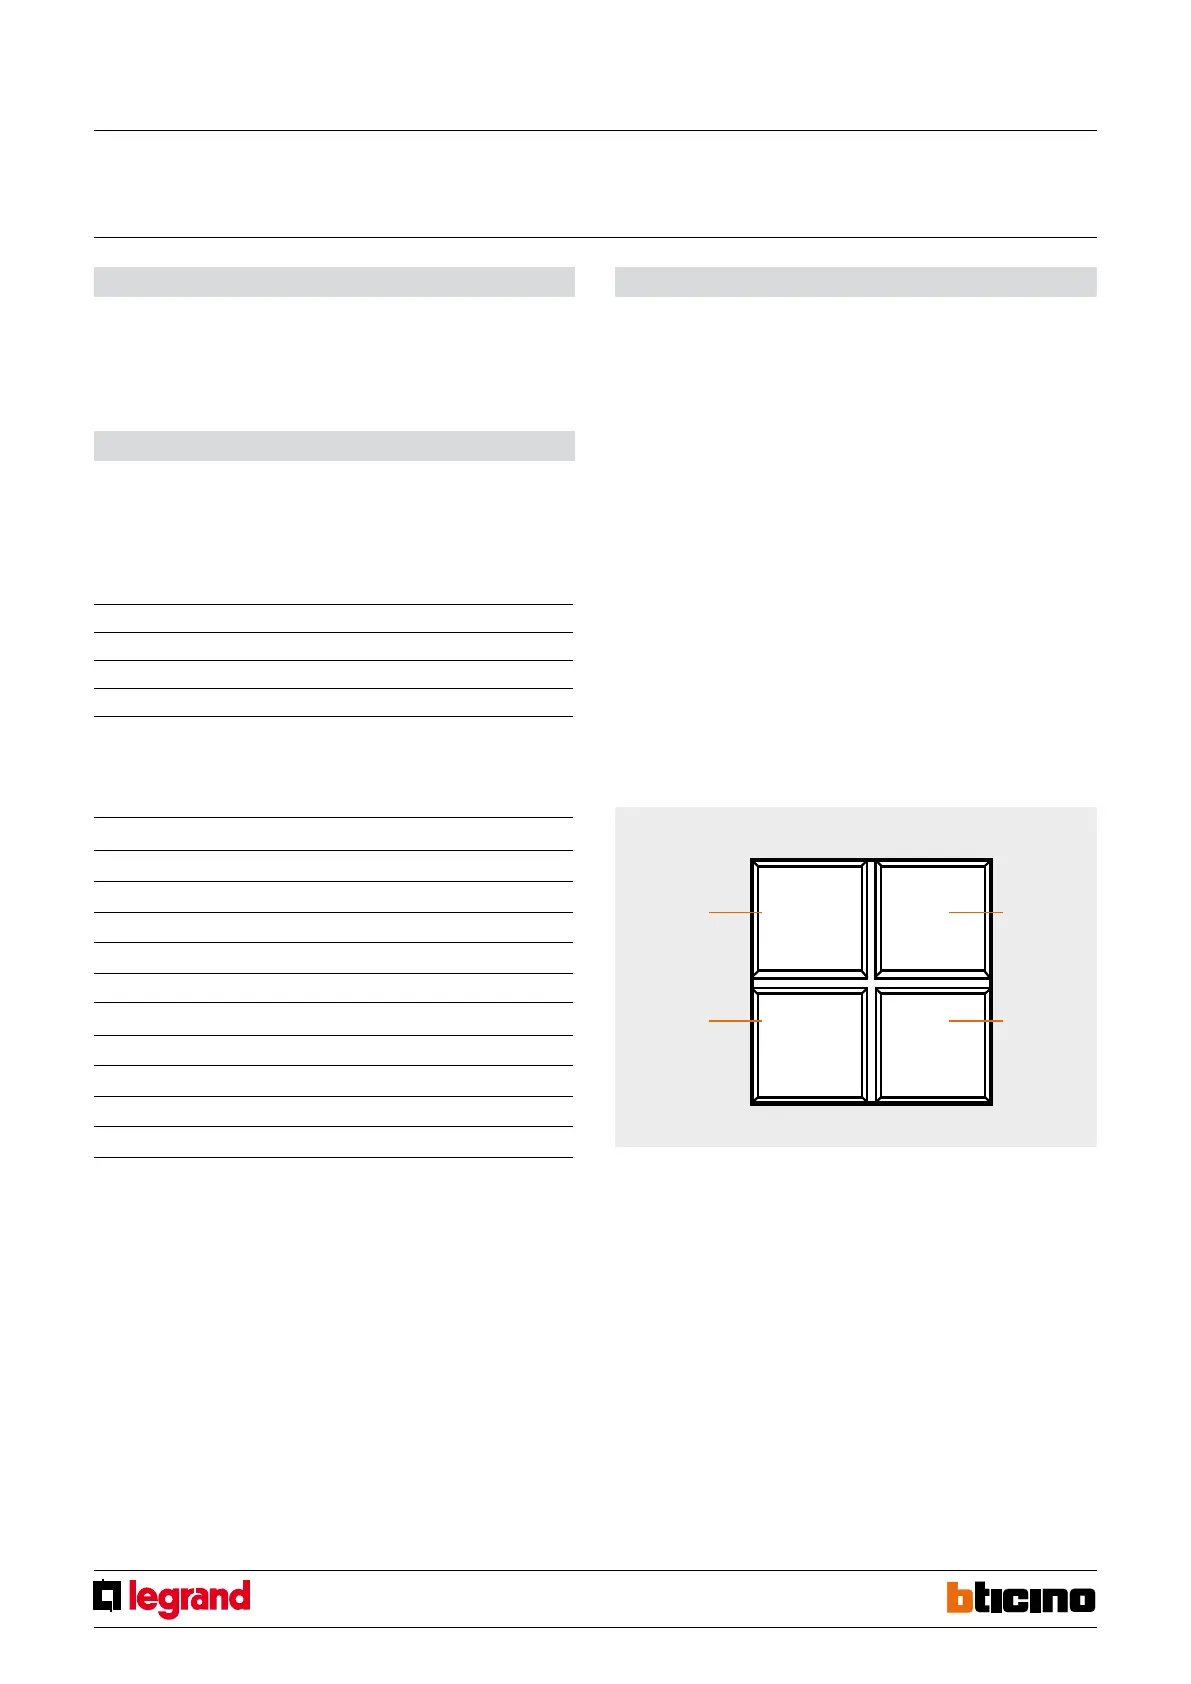
A Room 0 – 9, room of the scenario module item
PL Light point 1 – 9, light point of the scenario module
MOD Mode 1 – 4, scenario number (*)
FUN Function 1
- Scenario control mode - FUN = 1
Thanks to this mode, it will be possible to manage and change 4 dierent associated
scenarios of the scenario module, and activate them by pressing one of the 4 icons shown on
the display.
Local Display physical conguration
(*) Correspondence among the 4 icons and the numbers of the scenarios that can be
saved in the scenario module
Configurator MOD Icon 1 Icon 2
1 Scenario 1 Scenario 2
2 Scenario 5 Scenario 6
3 Scenario 9 Scenario 10
4 Scenario 13 Scenario 14
Configurator MOD Icon 3 Icon 4
1 Scenario 3 Scenario 4
2 Scenario 7 Scenario 8
3 Scenario 11 Scenario 12
4 Scenario 15 Scenario 16
NOTE: Once the operations have been performed lock the programming, pressing the
lock/unlock pushbutton, of the senario module, for at least 0.5 seconds, so that the
corresponding LED becomes red.
To delete a scenario, proceed as follows:
1) the scenario module must be enabled for programming.
2)
press the pushbutton of the scenario you want to cancel for at least 7 seconds
; The
display will conrm that the scenario has been deleted and return to the main screen.
To erase the entire memory keep the DEL pushbutton on the Scenario module pressed
for 10 seconds, the yellow “reset scenarios” LED ashes quickly.
scenario 2
scenario 4
scenario 1
scenario 3
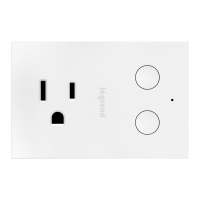
Local display
MQ00692-b-EN 17/04/2014