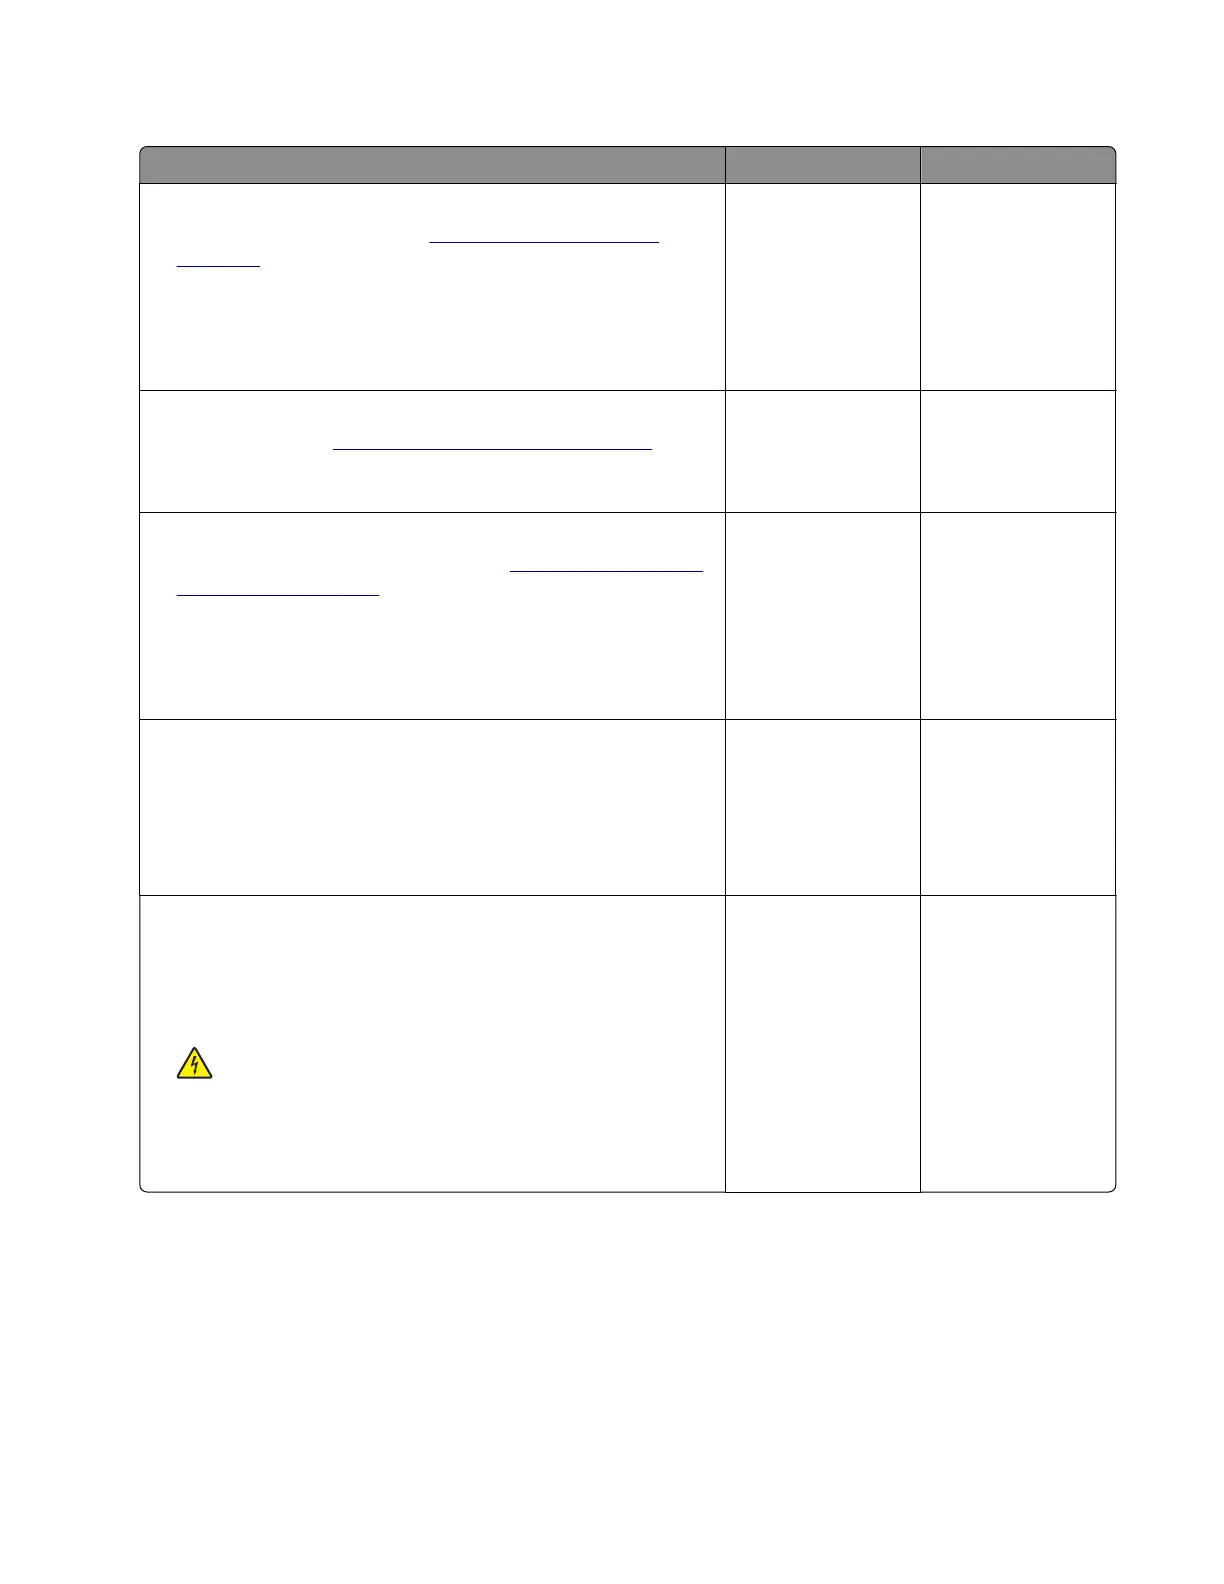
Fuser high temperature error service check
Action Yes No
Step 1
a Remove the right cover. See “Right cover removal” on
page 186.
b Reseat the cooling fan cable on the controller board.
c Check the cooling fan for damage.
Is the fan free of damage?
Go to step 3. Go to step 2.
Step 2
Replace the fan. See
“Cooling fan removal” on page 190.
Does the problem remain?
Go to step 3. The problem is
solved.
Step 3
a Remove the rear door and cover. See “Rear door and cover
removal” on page 234.
b Reseat all the cables from the controller board.
c Reseat all the cables from the power supply.
Does the problem remain?
Go to step 4. The problem is
solved.
Step 4
a Turn o the printer, and then remove the power cord.
b Check if the resistance (between terminals A and D) of the
power supply socket is close to 30 ohms.
Does the socket have a normal resistance value?
Go to step 5. Go to step 7.
Step 5
a Disconnect the fuser cable from the power supply, plug the
power cord, and then turn on the printer.
b Check if the voltage output of the fuser cable socket on the
power supply is normal (100V, 110V, or 220V).
CAUTION—SHOCK HAZARD: To avoid the risk of
electrical shock, do not touch the exposed wires and circuits.
Does the power supply provide the fuser with the normal voltage
value?
Go to step 6. Go to step 7.
4600-830, -835, -895
Diagnostics and troubleshooting
111

 Loading...