Active Deterrence12
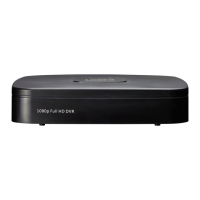
6. Click Setup next to Area to set an active area for automatic deterrence.
• The camera image appears with a grid overlay. The green area is the active area for
deterrence.
• Click or click-and-drag to add / remove boxes from the active area.
• In the example image above, only motion around the garage or on the porch will trigger
the warning light.
• Right-click when finished.
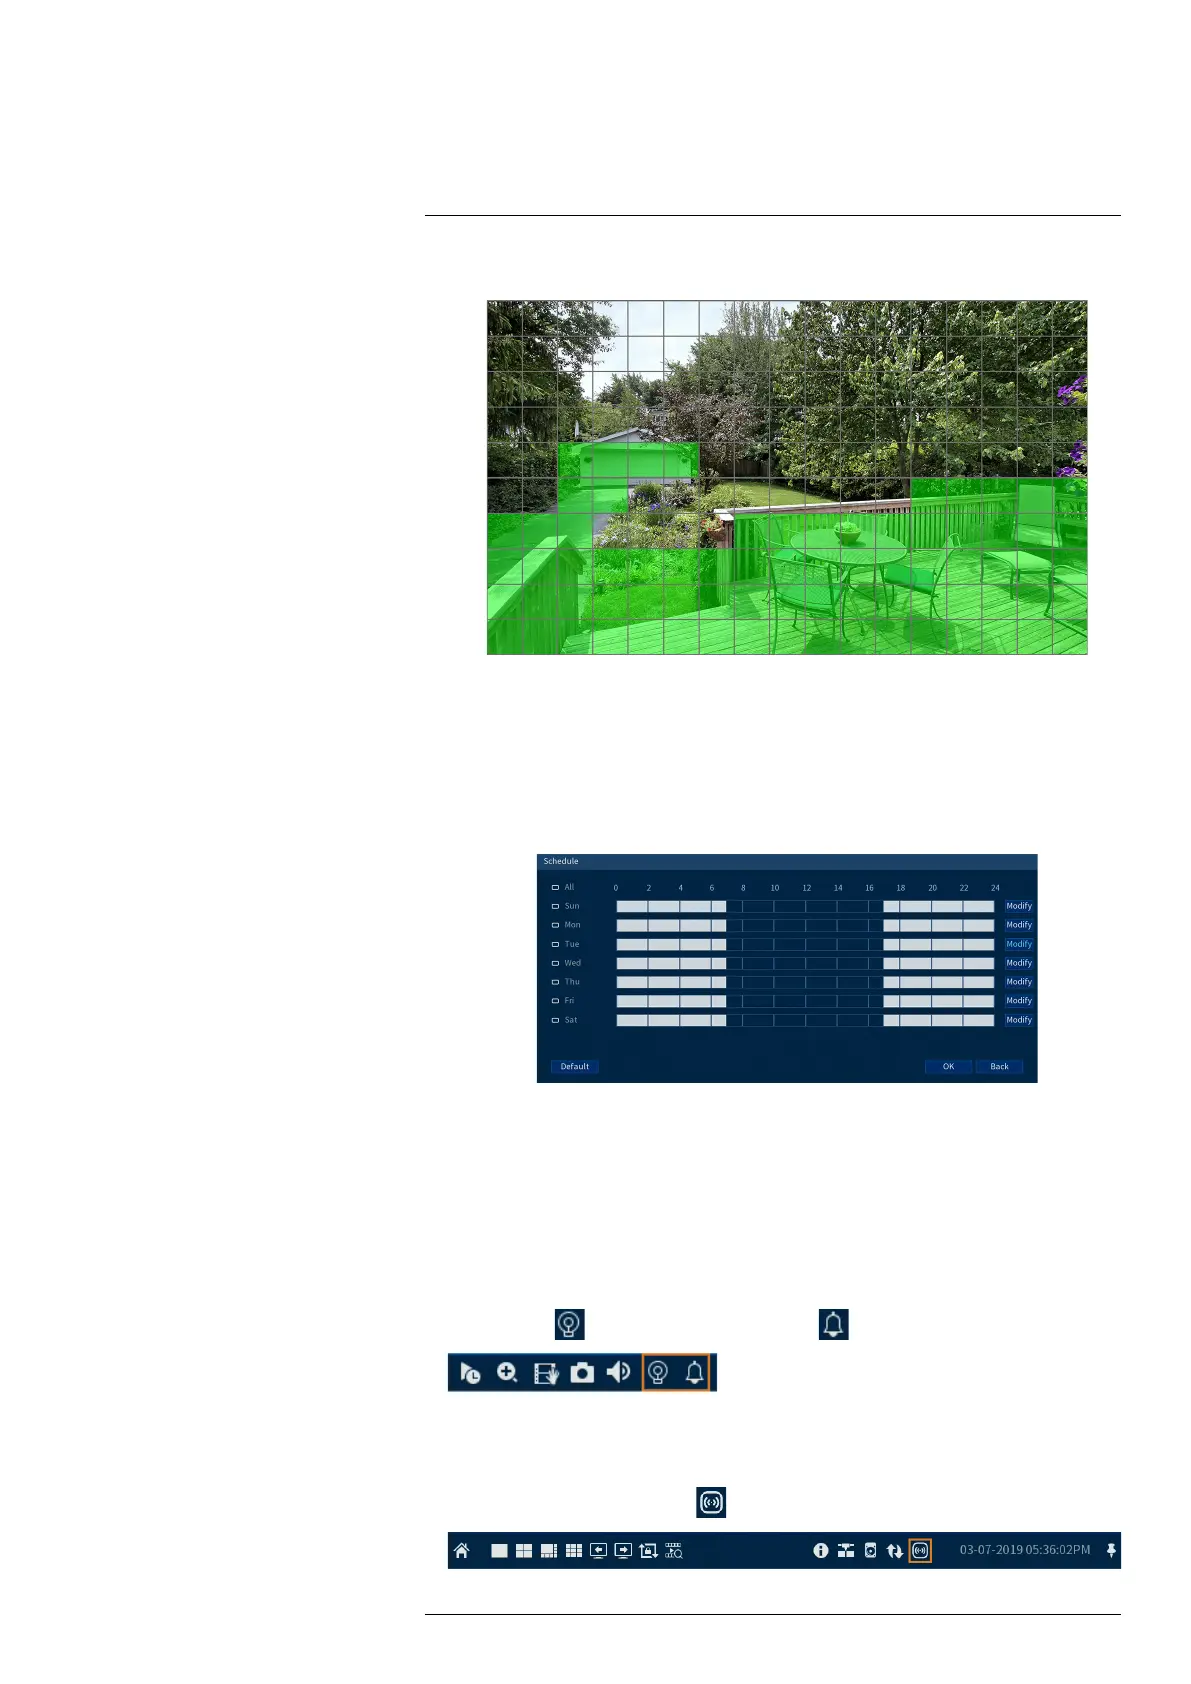
7. Click Setup next to Schedule to set the weekly schedule for automatic deterrence.
• The default schedule is active during the night, between 5pm and 7am.
• Click Modify to change the schedule for the corresponding day of the week.
• Click OK when finished.
12.2 Manually Activate Deterrence Features
The system has multiple options for activating deterrence features.
To activate deterrence features on a single camera:
• Hover the mouse pointer near the top of the camera image in Live View to reveal the Camera
Toolbar. Click
to activate the warning light, or to activate the siren.
• Activate deterrence features using the Lorex Home app. For details, see , page .
To activate deterrence features on all connected cameras:
• From the Live View display, click
on the Navigation Bar.
#LX400111; r. 3.0/56507/56507; en-US 39