Basic System Setup4
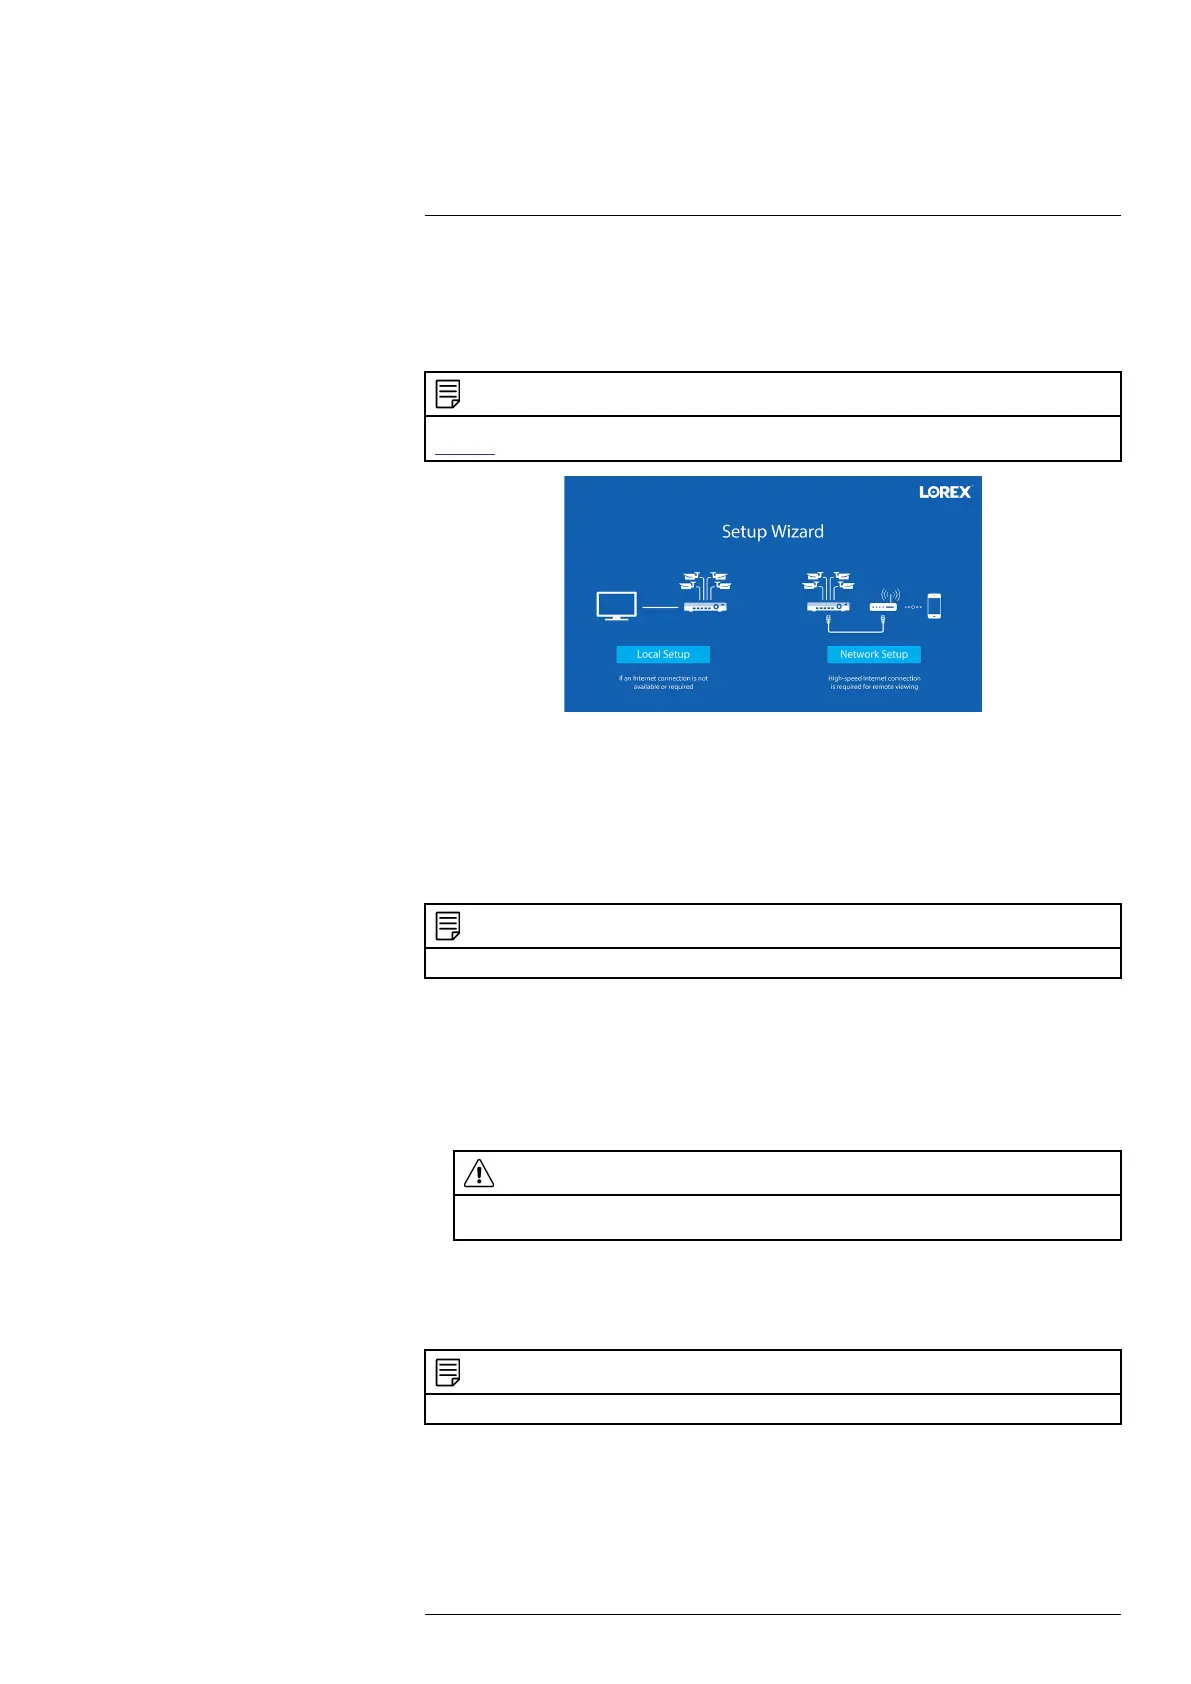
4.6 STEP 6: Lorex Setup Wizard
When you first power up your recorder, the Lorex Setup Wizard will begin. The Wizard will
help you configure core system settings and set up your cameras. It is recommended to review 5
Camera Installation, page 10 before choosing a permanent mounting position for your cameras.
NOTE
For detailed mounting instructions for your particular camera model, refer to your camera’s documentation on
lorex.com.
You will also create a password that will be used to access the unit from now on. For future refer-
ence, it is recommended that you record your password in a secure location.
4.7 STEP 7: Upgrade Firmware to Latest Version (If Available)
If a firmware upgrade is available, you will be asked to install it once the system starts up. It is
required to upgrade your system firmware and client software or mobile apps to the latest ver-
sion to enable remote connection to the system.
NOTE
You must connect your recorder to a router with Internet access in order to get automatic firmware upgrades.
If a firmware upgrade is available:
1. After startup, a notification will appear asking you to upgrade the firmware. Click OK to
upgrade.
2. Enter the system user name (default: admin) and your secure password, then click OK. Wait
for the firmware update to complete. The system will restart once the firmware has been
upgraded.
CAUTION
DO NOT POWER OFF THE SYSTEM OR DISCONNECT THE POWER CABLE DURING FIRM-
WARE INSTALLATION.
4.8 Quick Access to System Information
Perform one of the following actions to bring up the system information window. This window
contains vital system information including the model number, serial number, and device ID.
NOTE
The QR code shown on this screen can be scanned during mobile setup to enter the system’s device ID.
#LX400111; r. 3.0/56507/56507; en-US 8