72
APPENDIX I: TAKING SCREENSHOTS
If your system has 8 or 16 channels, you can take screenshots (screen captures) of the main
display of your system. You can take a screenshot at any time: during live viewing, search, and
playback, or in any system menu. Screenshots are useful if you need to provide a still image of
your security footage to the authorities.
NOTE: A USB
flash drive mus
t be connected and formatted to the system in order to take
screenshots.
To take a screenshot:
1. Connect a USB flash drive (not included) to the USB port on the front panel of the system.
Format the USB flash driv
e if you have not already done so. For more details, see “Formatting
the USB Drive” on page 31.
2. If you want to capture a point in live viewing or playback, select the display view for the
scr
eenshot: single, quad, or s
plit-screen.
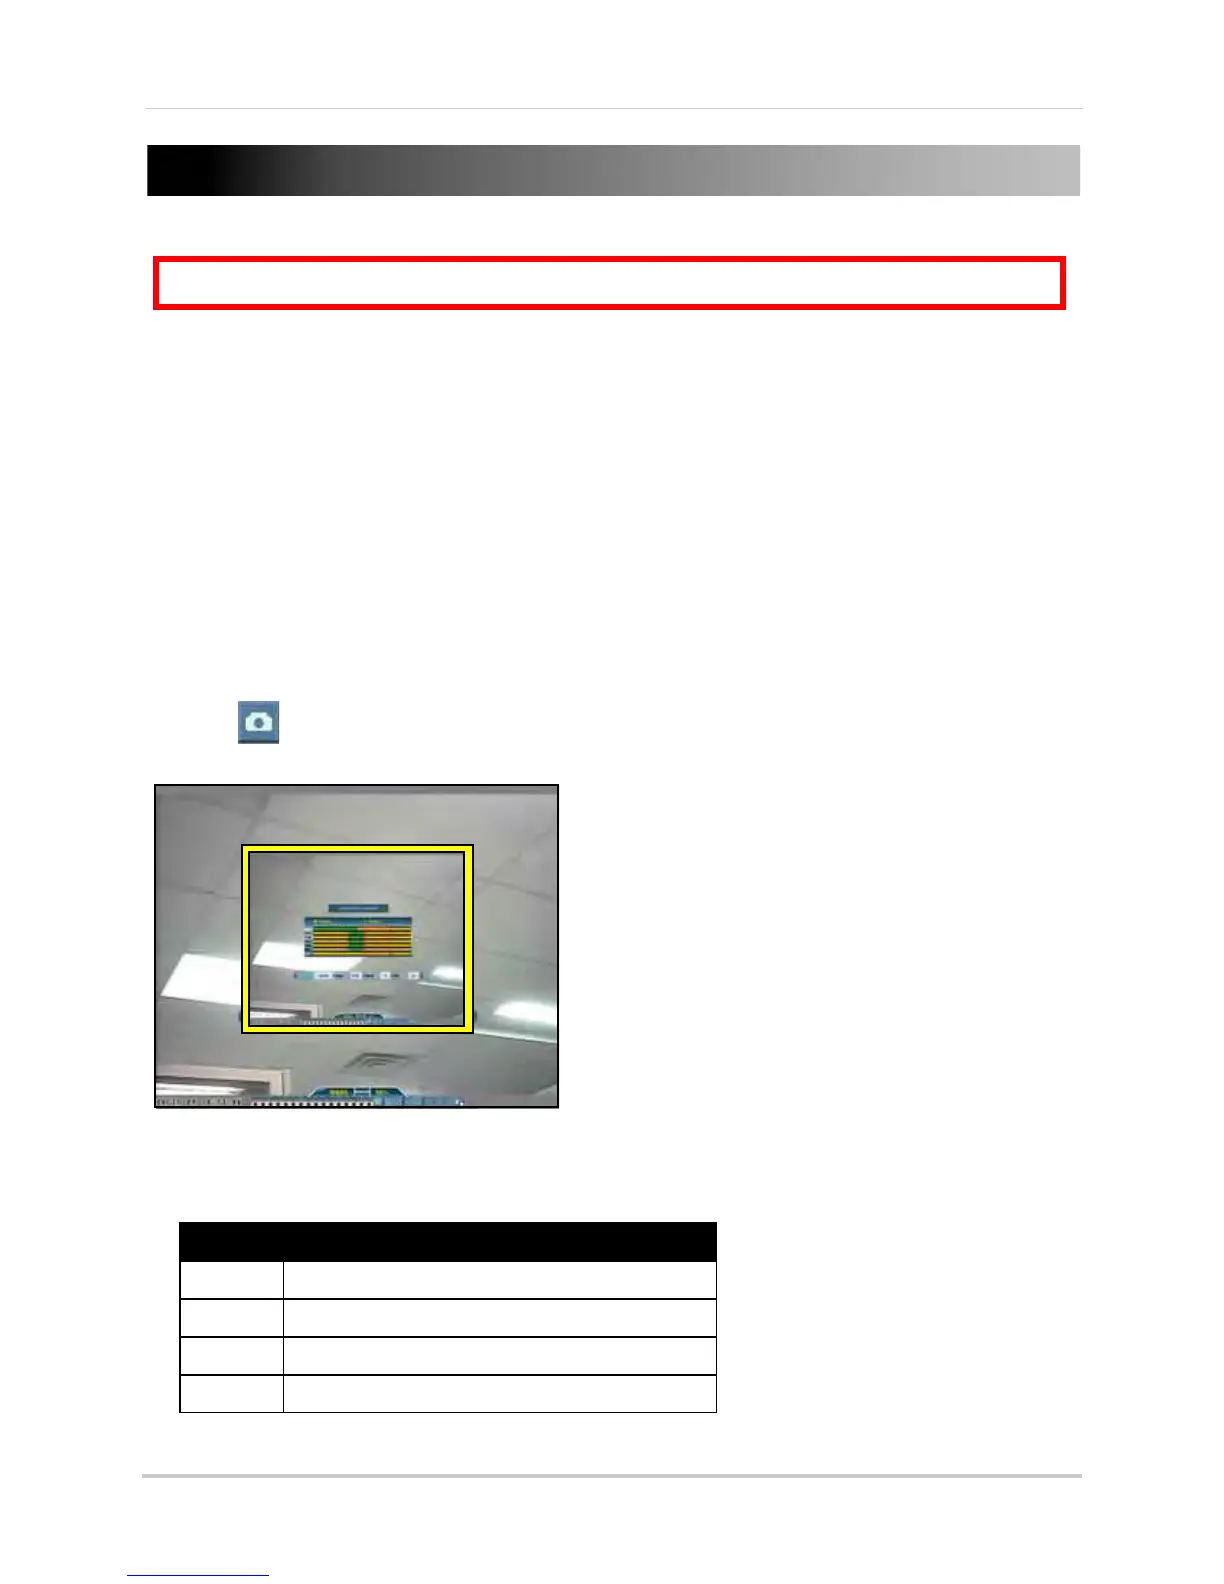
3. Click . The screenshot will appear in the centre of the main display, followed by the file
name. Screenshots are saved to the
Picture folder
on the USB flash drive.
NOTE:
Screenshots are saved as JPEG files with the following naming convention: KMMDD00x.jpg
Filename Definition
K System file marker (all screen caps begin with
K
)
MM Month
DD Day
x Numeral (i.e. 001, 002, 003, etc.)
ATTENTION:
8/16-channel models
only
.
Figure 29.0 Screenshot being taken on the system