25
Using the Main Menu
• Fan Speed: Click to set the fan speed to
Low, Middle, or High. The higher the fan
speed the cooler the HDD temperature (8/
16-channel
only
).
• Date/Time Setup: Click to open Date/Time
Setup. See “Setting the Date and Time” on
page 13.
• DVR Password: Click to open the
password menu. See “Managing
Passwords” on page 21.
• Information: Click to view system
information: software, hardware, disk,
and LAN.
3. To save your settings, right-click until you
return to the main screen.
Record
Set recording parameters, image quality,
resolution, set the recording schedule, and
format the hard drive.
4-channel
NOTE: As you make changes to the recording
parameters, the storage calculator at the
bottom of the menu displays the time remaining
on the hard drive.
To configure record settings:
1. From the Main Menu, click . The
Record menu opens.
2. Configure the following:
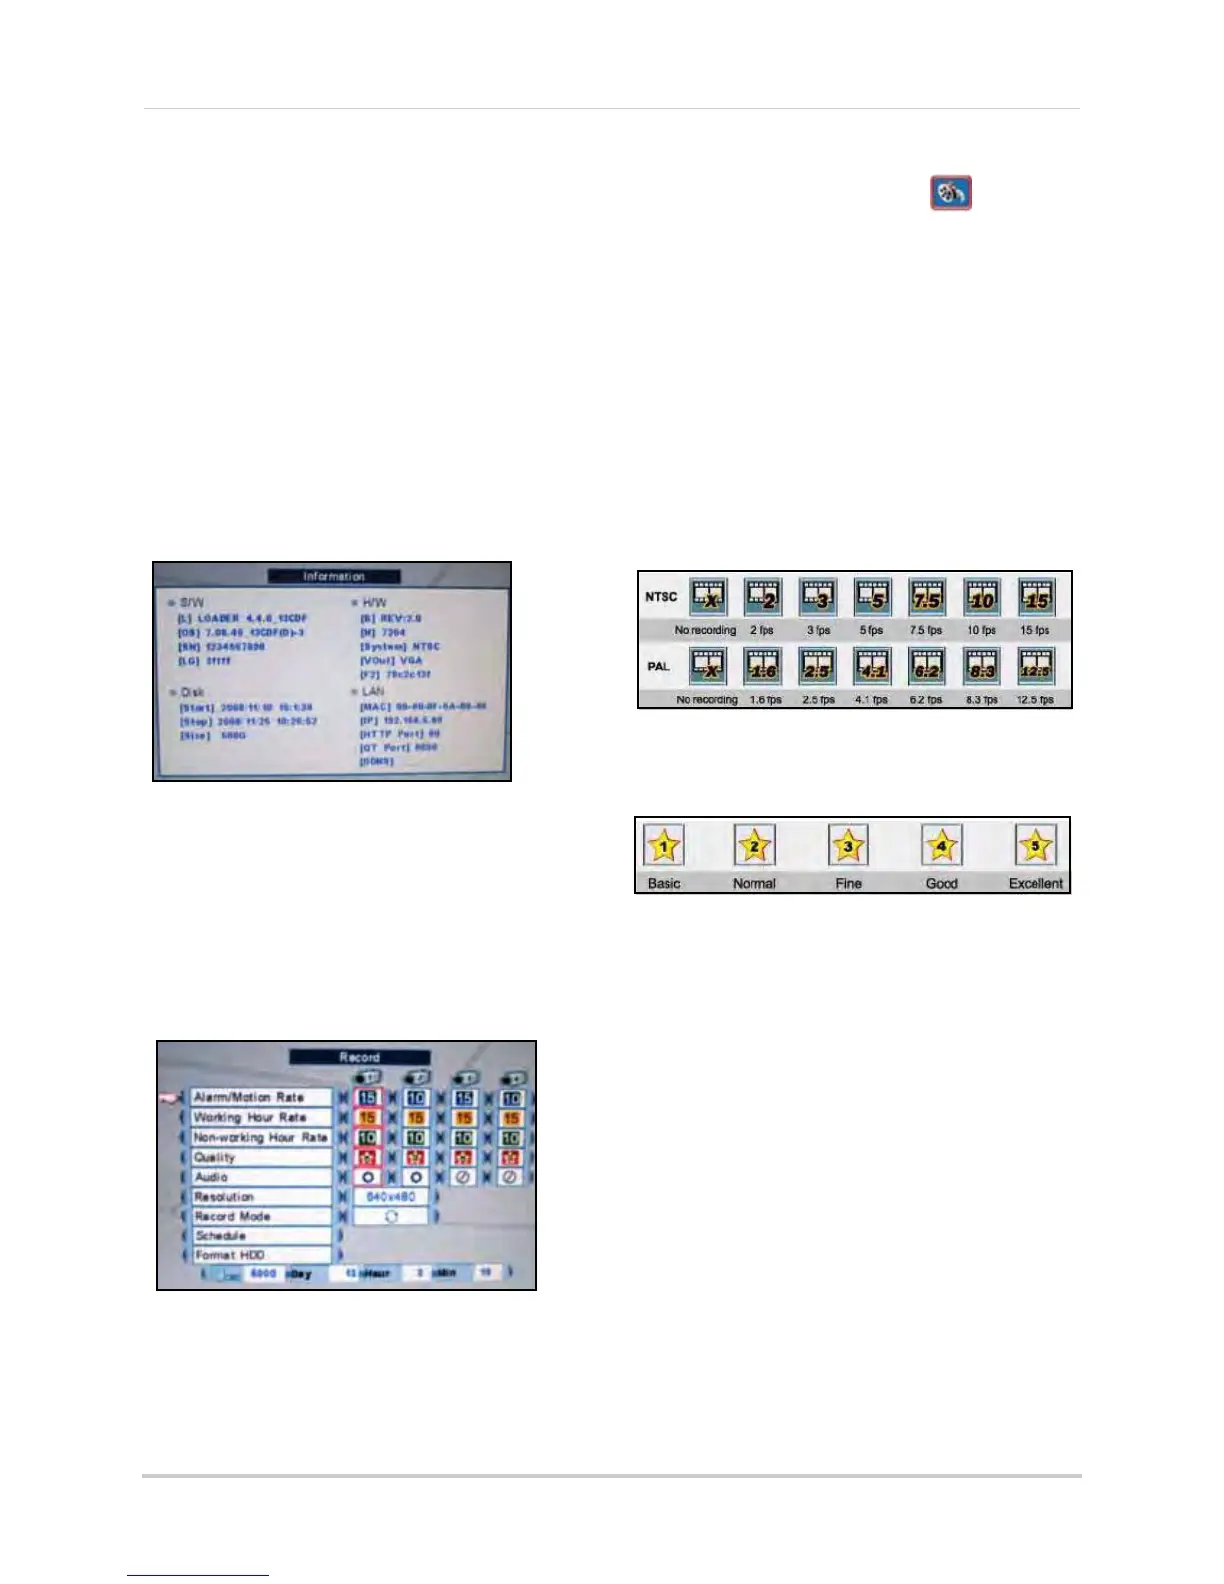
• Alarm/Motion Rate: Click under each
camera and select X, 2, 3, 5, 7.5, 10, or
15 (fps).
• Wo
rking Hour Rate: Click under each
ca
mera and select 0, 2, 3, 5, 7.5, 10, or
15 (fps).
• Non-working Hour
Rate: Click under
each ca
mera and select 0, 2, 3, 5, 7.5,
10, or 15 (fps).
• Quality: Click under each camera and
sel
ect 1, 2, 3, 4, or 5.
• Audio:
Click under each camera and
select either O t
o enable audio or X to
disable audio.
NOTE: Audio is only
available on
channels 1 and 2.
• Resolution: Click to se
t the resolution
for all cameras—640x240 or 640x480.
Figure 11.2 System information
Figure 12.1 Frame rates for NTSC and PAL
Figure 12.2 Set image quality: 1 basic ~ 5 excellent