5
Getting Started
English
2.2 CONNECTING TO YOUR CAMERA
Once your camera is connected to your wired or wireless network, you can connect to
your camera using your PC, Mac, iPhone, iPad, or Android phone or tablet.
2.2.1 CONNECTING TO YOUR CAMERA ON PC
To connect to your cameras using a PC, you must install the L-View software provided
on the CD or as a free download at www.lorextechnology.com. The steps to connect to
cameras differ if you are connecting to a camera on a local network (i.e. your computer
is connected to the same router as the camera) or over the Internet.
NOTE: For PC sy
st
em requirements, see “System Requirements” on page 28.
Installing L-View (PC)
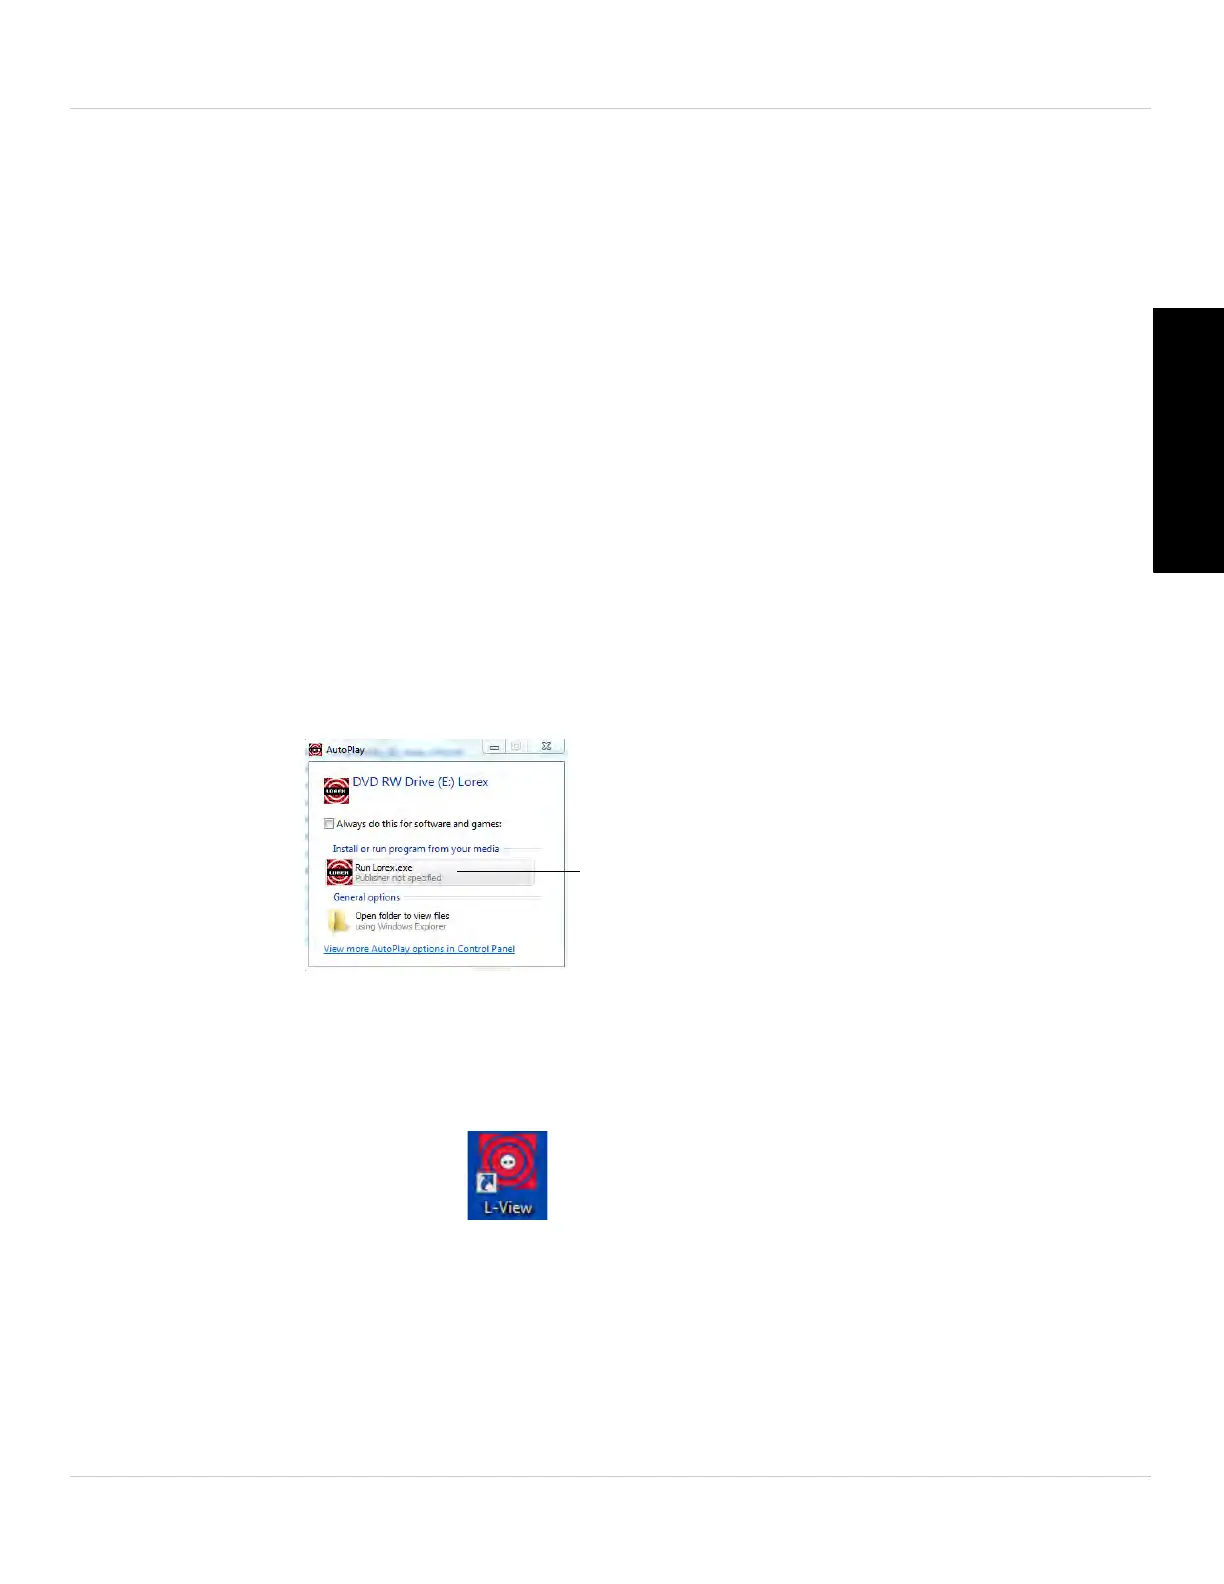
1. Insert the CD into your computer. The Autorun screen will appear. Click Run
Lor
ex.exe
.
2. Click Software, then L-Vie
w for PC to begin the installation. Follow the on-screen
instructions to install the software.
Connecting to your Camera on the Local Network (PC)
1. Double-click the L-View icon
to run L-View. L-View opens and scans the local
network for connected cameras. Connected cameras are shown under Auto Search.

 Loading...