Using the Main Menu14
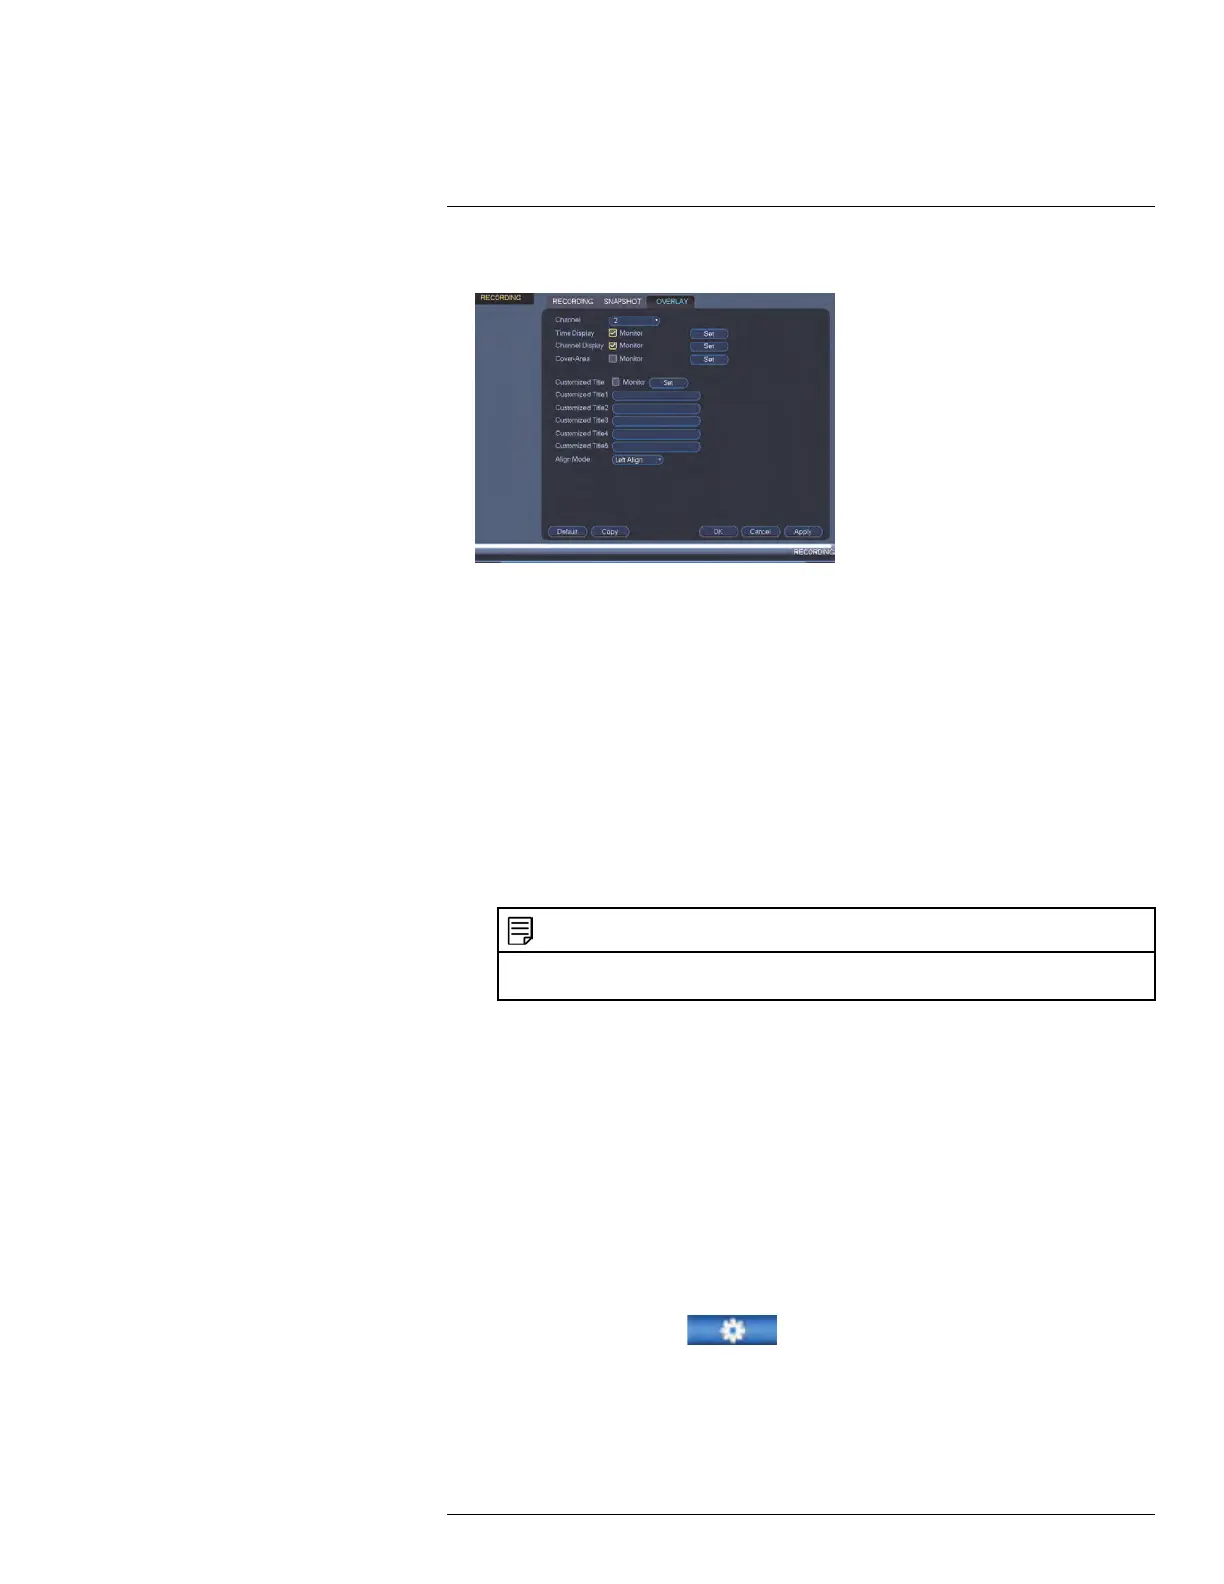
3. Configure the following settings:
• Time Display: Check this option to display the time information. Click Set next to
Time Display to choose the position of the time display overlay. A live view screen
of the currently-selected channel appears. Click and drag the time display to posi-
tion it in any desired area. Right-click to exit the live screen
• Channel Display: Check this option to display the channel information. Click Set
next to Channel Display to choose the position of the channel display overlay. A
live view screen of the currently-selected channel appears. Click and drag the chan-
nel display to position it in any desired area. Right-click to exit the live screen.
• Cover-Area: Check this option to hide certain parts of the camera image in video
recordings. The numbered boxes under the Cover-Area check-box signifies the
number of black boxes (masks) you want over your camera image. Select the de-
sired number of boxes (you can configure up to four boxes). Click Set next to Cov-
er-Area to choose the position of the mask overlay. You can also re-size the black
boxes. Right-click to exit the live screen.
NOTE
Privacy masks block out parts of the camera image entirely and appear as black boxes in
recordings.
• Customized Title: Check this option to display customized text. Under Custom-
ized Title 1, enter a custom text. You can add up to 5 lines of customized text.
Under Align Mode, choose either Left Align or Right Align. Click Set next to Cus-
tomized Title to choose the position of the customized text. Right-click to exit the
live screen
4. (Optional) Click the Copy button to copy overlay settings to other channels.
5. Click OK to save changes.
14.1.9 Creating Custom Channel Names
You can assign custom names to your cameras. For example, you can name your cameras
based on their location (e.g. hallway or front door).
To create custom channel names:
1. From the Main Menu, click
and select Channel Name.
#LX400078; r.36882/36882; en-US
47
 Loading...