Powering and connecting to your Matrox Iris GTR 25
3. Connect your network or your computer (peer-to-peer) to the Matrox Iris GTR
100/1000 BaseT Ethernet connector using a network cable with an M12 8-pin
X-coded connector on one end (either the cable from the starter kit or
GTR-CBL-ETH/5).
Connect the RJ45 connector of the cable to the network connector of your
network/computer.
After making the network connection, you might need to configure your Matrox
Iris GTR so that it can communicate with your network or computer. To do so,
refer to Adding Matrox Iris GTR to your network section, later in this chapter.
If not using the network connection, the connector must be capped to maintain
IP67 conformity.
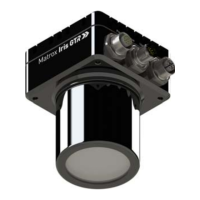
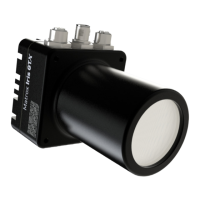
4. Connect your lens to the Matrox Iris GTR housing, screwing it in firmly. Note
that if you are using a Varioptic Caspian C-39N0-160-I2C or C-39N0-250-I2C
lens, refer to Optionally connecting a liquid lens section, later in this chapter.
Important Screw on the IP lens case until it is firmly in place over the lens and on the Matrox
Iris GTR housing. Note that the IP lens case must be in place for IP67 conformity.
5. If using your Matrox Iris GTR in a deployment environment, you must fasten
your smart camera to a support using its provided mounting holes. For the
dimensions of the mounting holes, refer to the Dimensions section, in
Appendix B: Technical reference
.