Repair Comet Executive Gas
7-16
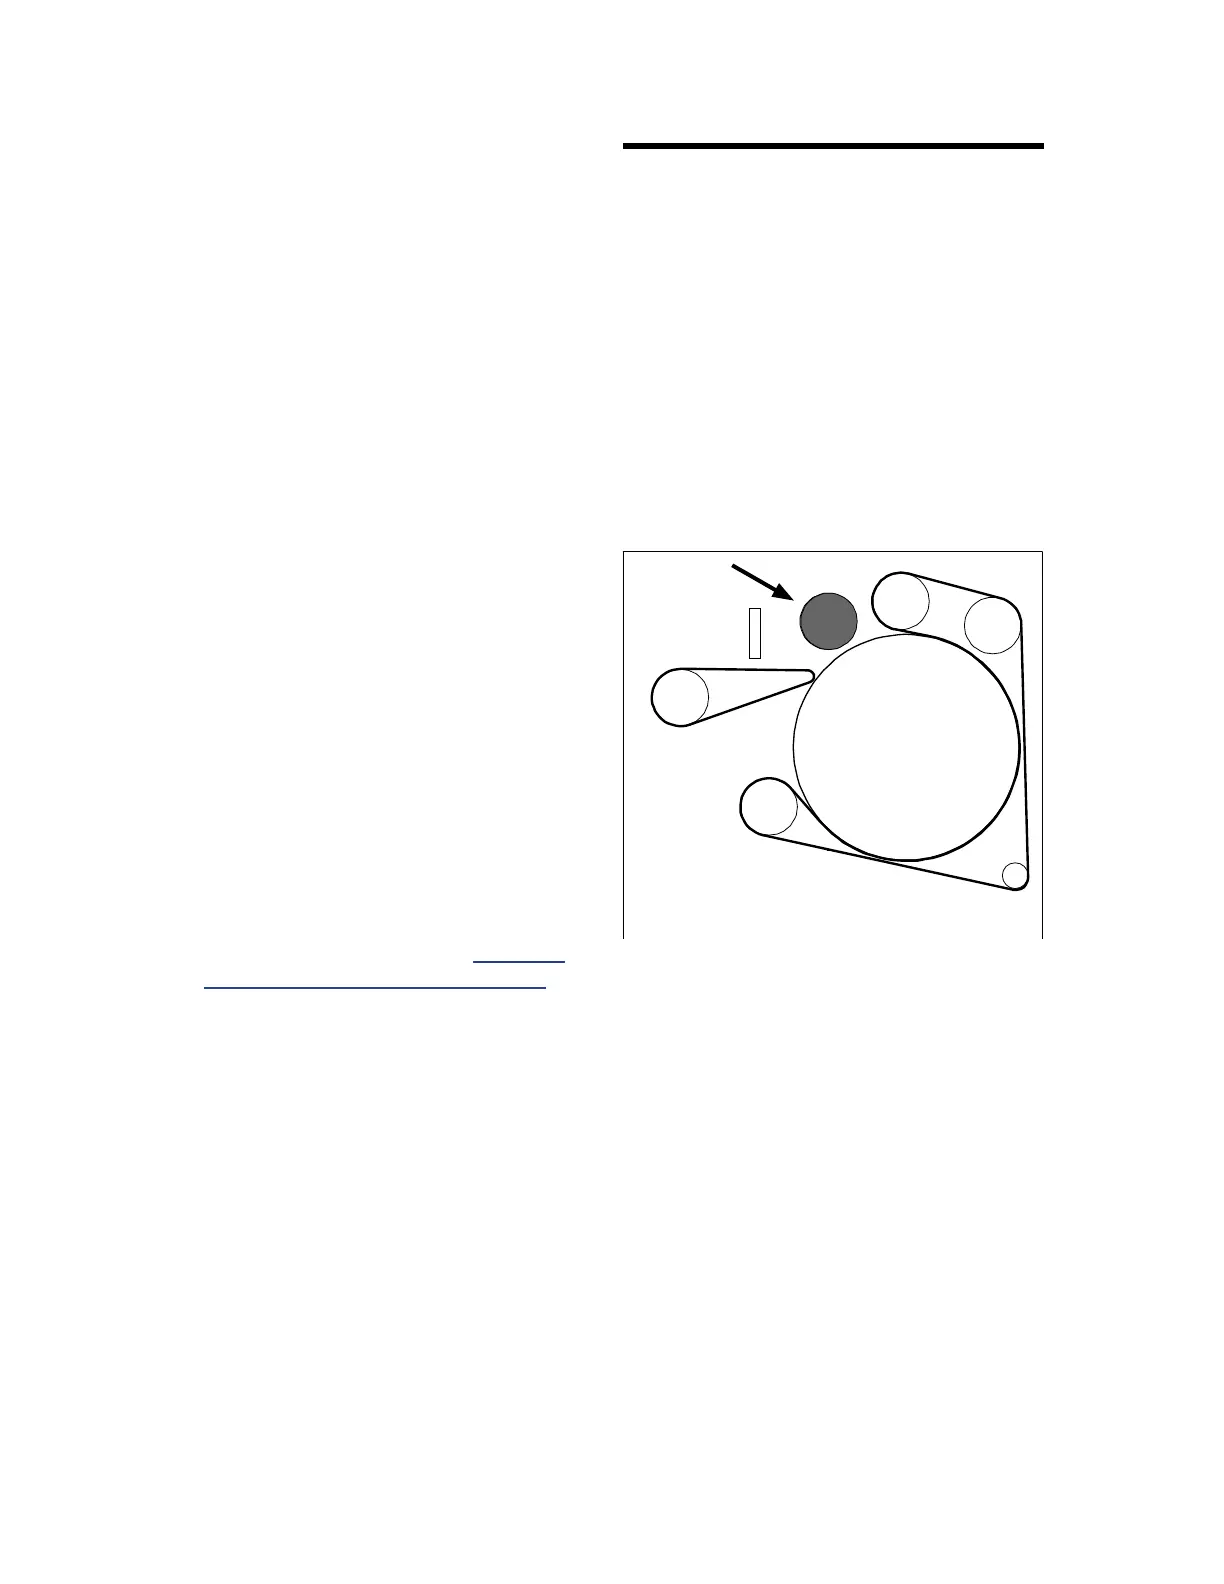
Figure 7-14: The compression roll helps to move the
atwork into the ironing section.
3. Repeat Steps 1 and 2 at the other end of
the unit.
4. Make sure the spacing at each end of the
unit is 1/4” (6 mm) and the bolts in the
slotted holes are securely tightened.
5. Check the spacing between the feed table
and the ironing cylinder at the center of the
unit. The correct spacing is 3/8”.
• If the spacing is less than 3/8”
(9 mm), tighten the nuts equally on
each side of the tension adjustment
rod (Figure 7-13, B) until the middle
of the feed table is 3/8” from the iron-
ing cylinder.
• If the spacing is more than 3/8”
(9 mm), loosen the nuts equally on each
side of the tension adjustment rod (Fig-
ure 7-13, B) until the middle of the feed
table is 3/8” from the ironing cylinder.
6. Reconnect the feed ribbons. Make sure the
ribbons are below the tension adjustment
rod, and also below and between the feed
ribbon guides.
7. Stagger the positions of the lacing clips to
give atwork a smooth ow.
8. Adjust ribbon tension; refer to Feed Rib-
bon Tension Adjustment on page 7-5.
7.4 Compression Roll
The compression roll (Figure 7-14) improves
flatwork finish. Some of compression roll
components require periodic adjustment,
replacement or occasional repair.
These procedures include:
• Compression Roll Pressure Check
• Compression Roll Pressure Adjustment
• Compression Roll Cover Replacement