Comet Executive Gas Installation
2-3
2.2 Installation
Procedures
Installation procedures of the unit include the
following.
• Inspection
• Uncrating and Positioning
• Exhaust Blower Installation
• Electrical Connection
• Gas Connection
• Receiving Shelf Set-Up
• Final Protective Wrapper Removal
Inspection
Carefully inspect all shipments before they are
accepted from the carrier. Upon delivery, make
sure all items listed on the bill have been received.
Any shortage, breakage, or damage noticed at
the time of delivery should be indicated on the
carrier’s freight bill and signed by the driver or
carrier’s representative.
Damage noticed after delivery should be
reported to the carrier at once. Request their
inspection of the shipment, and fill out a
concealed damage inspection report.
NOTE: Notify the carrier
immediately if any damage has
been done to the unit during
shipment.
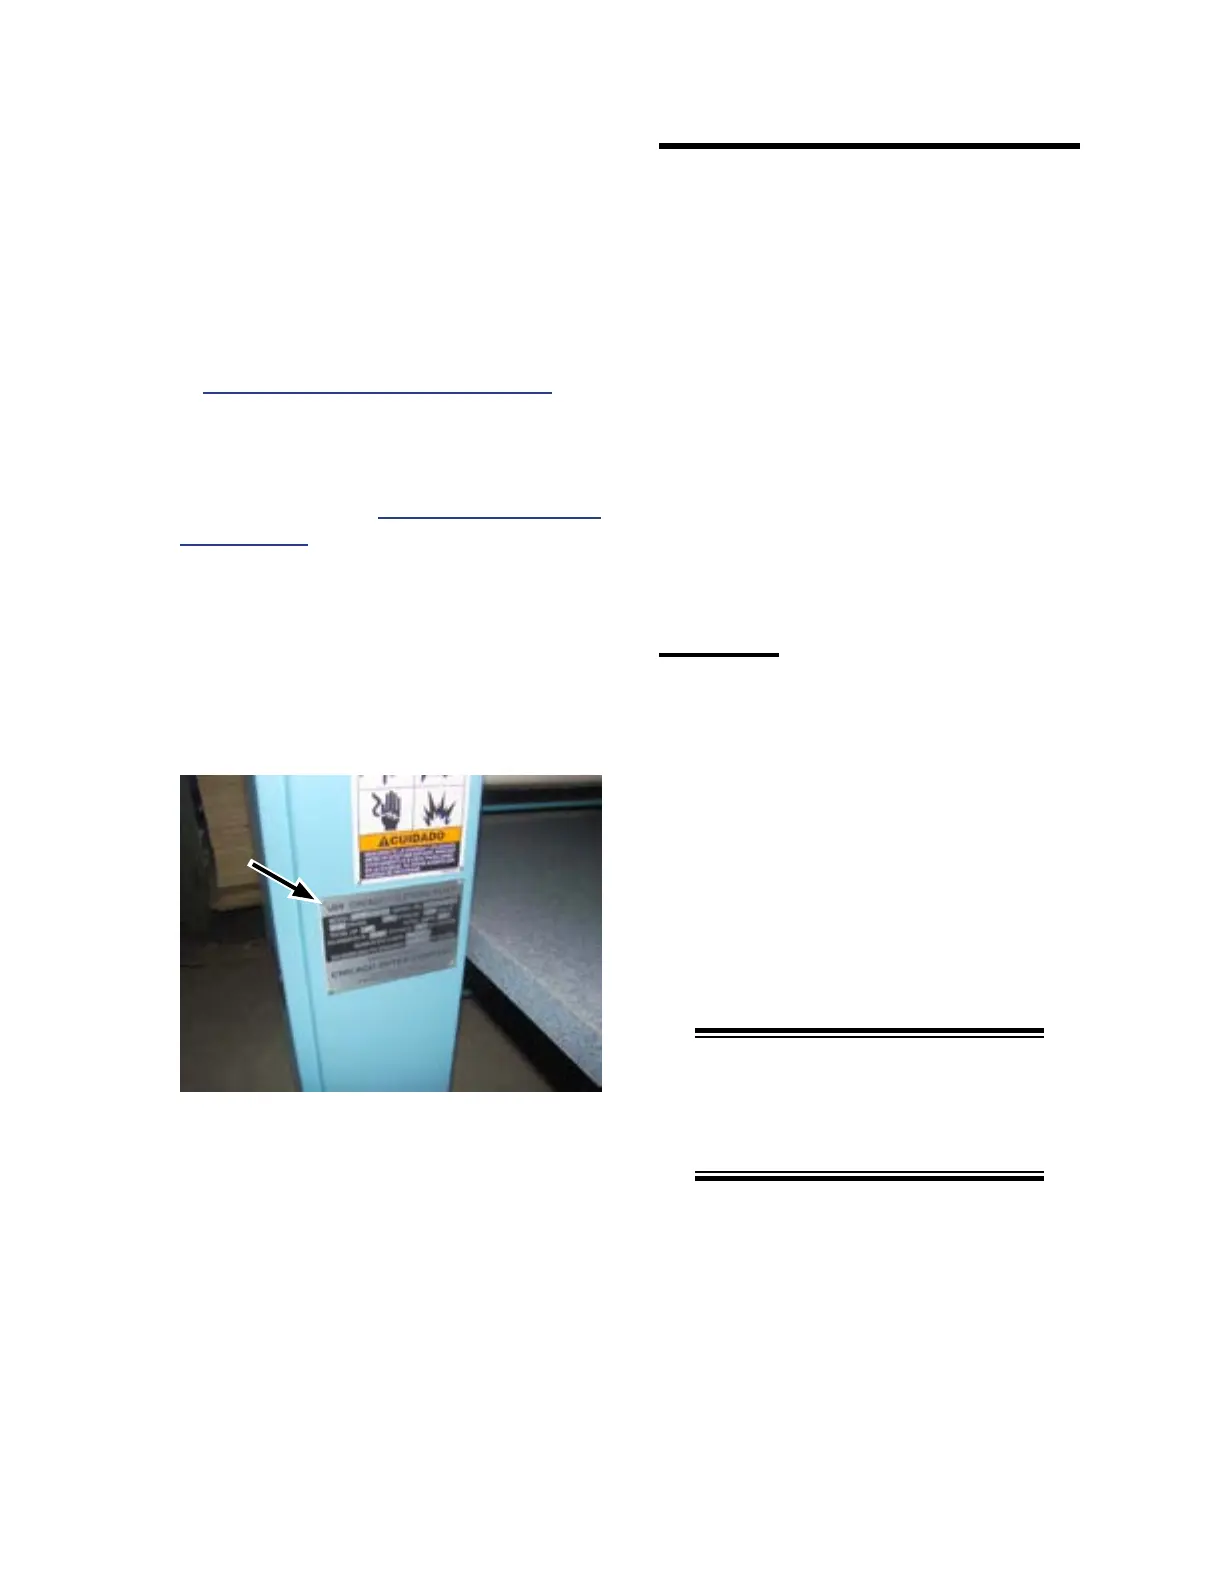
The electrical requirements of the unit are
shown on the nameplate (Figure 2-2), located
on the front of the left endframe. Wiring and a
separate, fused disconnect switch of suitable size
must be locally supplied if local codes require
one.
Check local codes for clearance requirements
to any electrical box. For more information, refer
to APPENDIX: Technical Specications.
Each unit has specic gas requirements; verify
the local gas supply matches the gas requirements
specified on the unit’s nameplate. For more
information, refer to APPENDIX: Technical
Specications.
Note that the nature of the atmospheric burner
used in the machine prevents it from operating
at full capacity when in use above an altitude of
approximately 2000 feet (609 meters). For use
at higher elevations, contact the factory service
department.
Figure 2-2: The nameplate contains important
information, including information
about altitude usage.