Repair Comet Executive Gas
7-10
20. Continue working down the length of the
roll applying the friction material quickly
after the cement is spread.
21. After the roll is covered, wrap the other
end of the roll with masking tape.
22. Go back to the drive side of the roll, remove
the masking tape and carefully unwind the
un-cemented portion of the material.
23. Using the same technique, apply the ce-
ment and carefully rewind the material
onto the roll.
24. Secure the end with masking tape.
NOTE: If any cement gets onto
the friction material surface, use a
piece of masking tape to lift if o.
25. Wait about 10 minutes for the glue to hard-
en; then, trim the ends of the friction mate-
rial so it is even with the edges of the roll.
26. Carefully remove the masking tape.
27. Secure the friction material at each end of
the drive roll with several wraps of glass
lament tape. Tape from the top while
turning the roll in its normal rotational
direction (Figure 7-4, B).
28. Remove the temporary protective covering
and clean up the area.
29. Reinstall the drive chain on its sprocket
and adjust its tension; refer to Drive Chain
Tension Adjustment on page 7-23.
30. Refasten the feed ribbons. Make sure the
ribbon end is below the rod and between
the feed ribbon guides. Stagger the posi-
tions of the lacing clips to give the atwork
a smooth ow.
31. Allow the cement to harden for about 2
hours before operating the unit.
32. After the cement hardens, adjust ribbon
tension; refer to Feed Ribbon Tension
Adjustment on page 7-5.
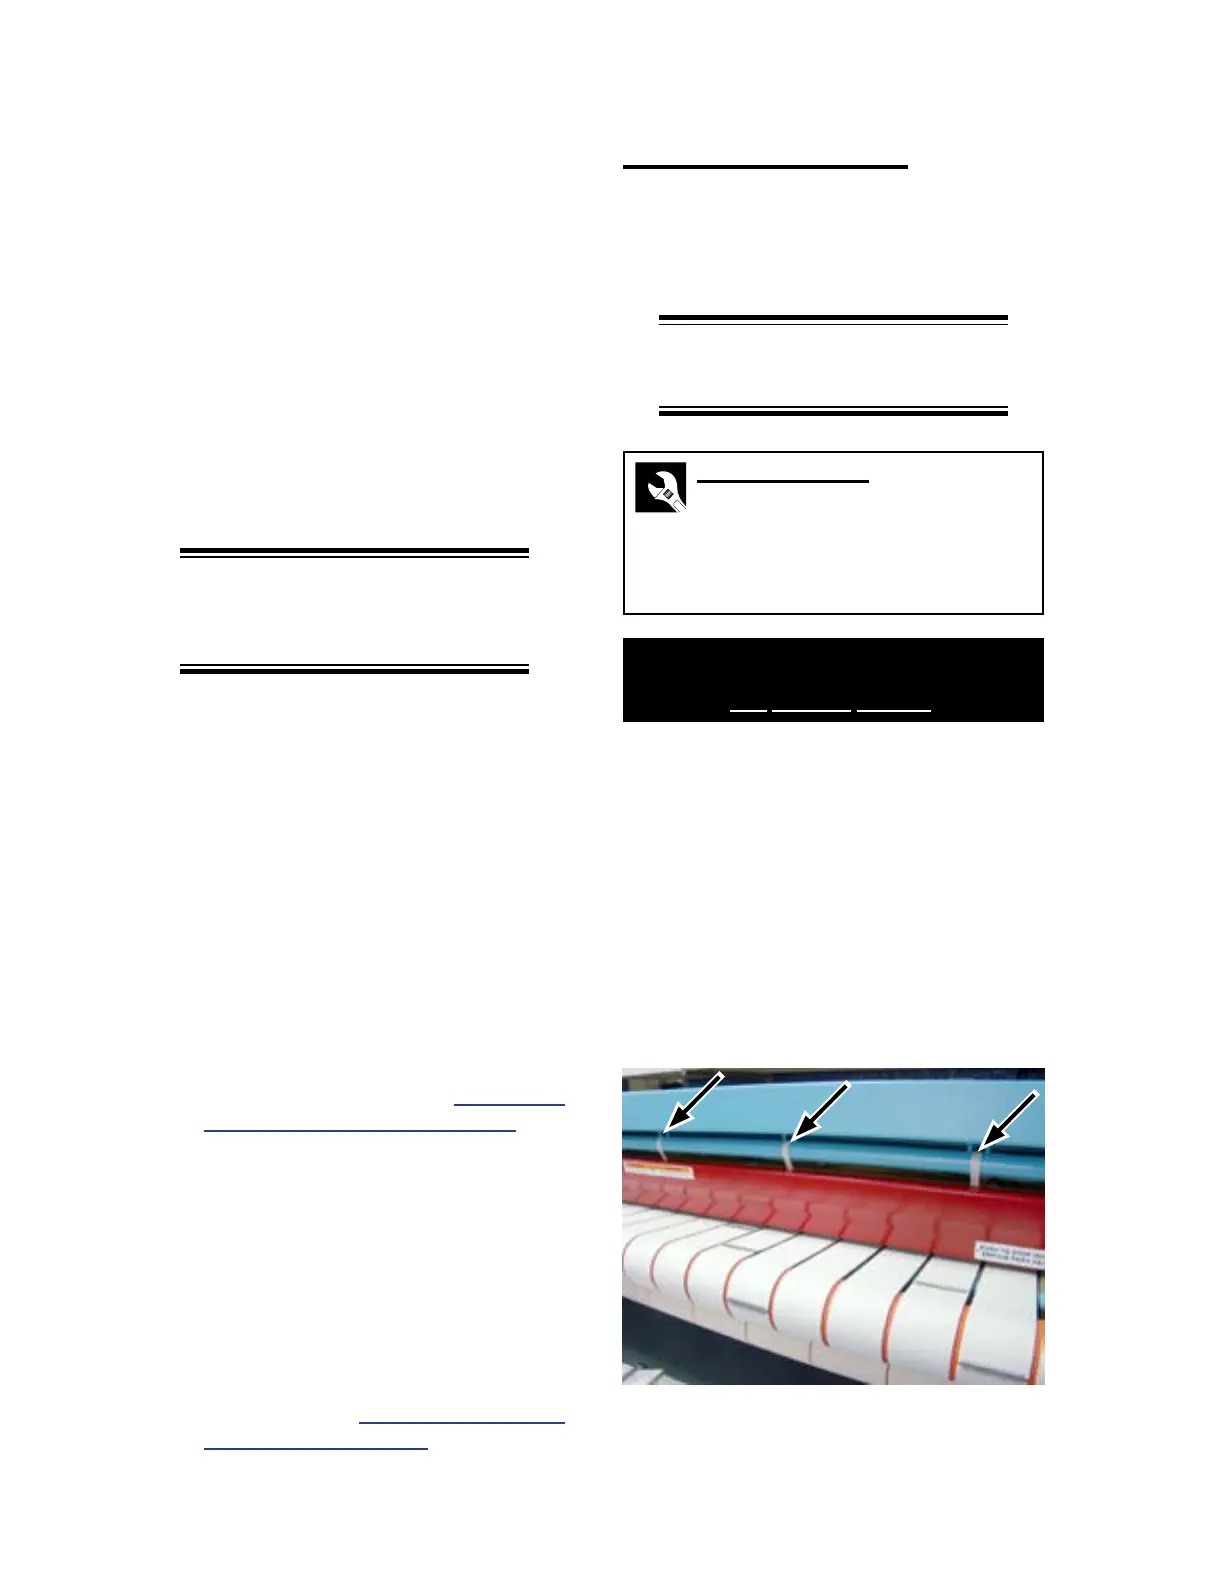
Figure 7-6: Guide tapes help keep atwork from
wrapping around the compression roll.
Guide Tape Replacement
The guide tapes (Figure 7-6) keep atwork
from sticking to and wrapping around the
compression roll. These tapes wear through at the
staples or break over time, requiring replacement.
NOTE: Replace any missing or
broken guide tapes immediately.
Required Tools
Allen wrench: 5/32”
Masking tape
Stapler/staples
Utility knife
Wrenches: 9/16” (2)
Perform only when the unit is
RUNNING and COOL.
Use Extreme Caution.
1. Make sure sucient replacement guide
tape is available.
2. Turn power OFF at the main disconnect
switch.
3. Open both endframe doors.