Comet Executive Gas Repair
7-19
Compression Roll Cover
Replacement
The cover on the compression roll must
be replaced when the cover material is worn
smooth or if atwork does not move easily into
the ironing section. Be sure the compression roll
pressure has been adjusted correctly rst.
NOTE: Read the REPLACING
COMPRESSION ROLL PADS
AND COVERS section on the
Pink Operator Safety Reminder
in the front of this manual.
WARNING
Do not attempt to replace
the compression roll
covers without experienced
personnel. This procedure
requires skill.
NOTE: Take the time to read
through and understand the entire
procedure before replacing the
compression roll cover.
Required Tools
Clean cloth
Gloves
Measuring tape
Pen/pencil/marker
Protective covering
Protective covering
Ruler/straight edge
Scraper/sandpaper/steel brush
Solvent (low VOC)
Utility knife/scissors
Wooden wedges
Wrenches: 9/16” (2)
Perform only when the unit is OFF
with power disconnected.
1. Make sure the unit is completely cool. For
more information, refer to Shut-Down on
page 3-11.
2. Verify the replacement cover is the cor-
rect size. See Rolls and Ribbons on page
PL-6.
3. Turn power OFF at the main disconnect
switch.
4. Open both endframe doors.
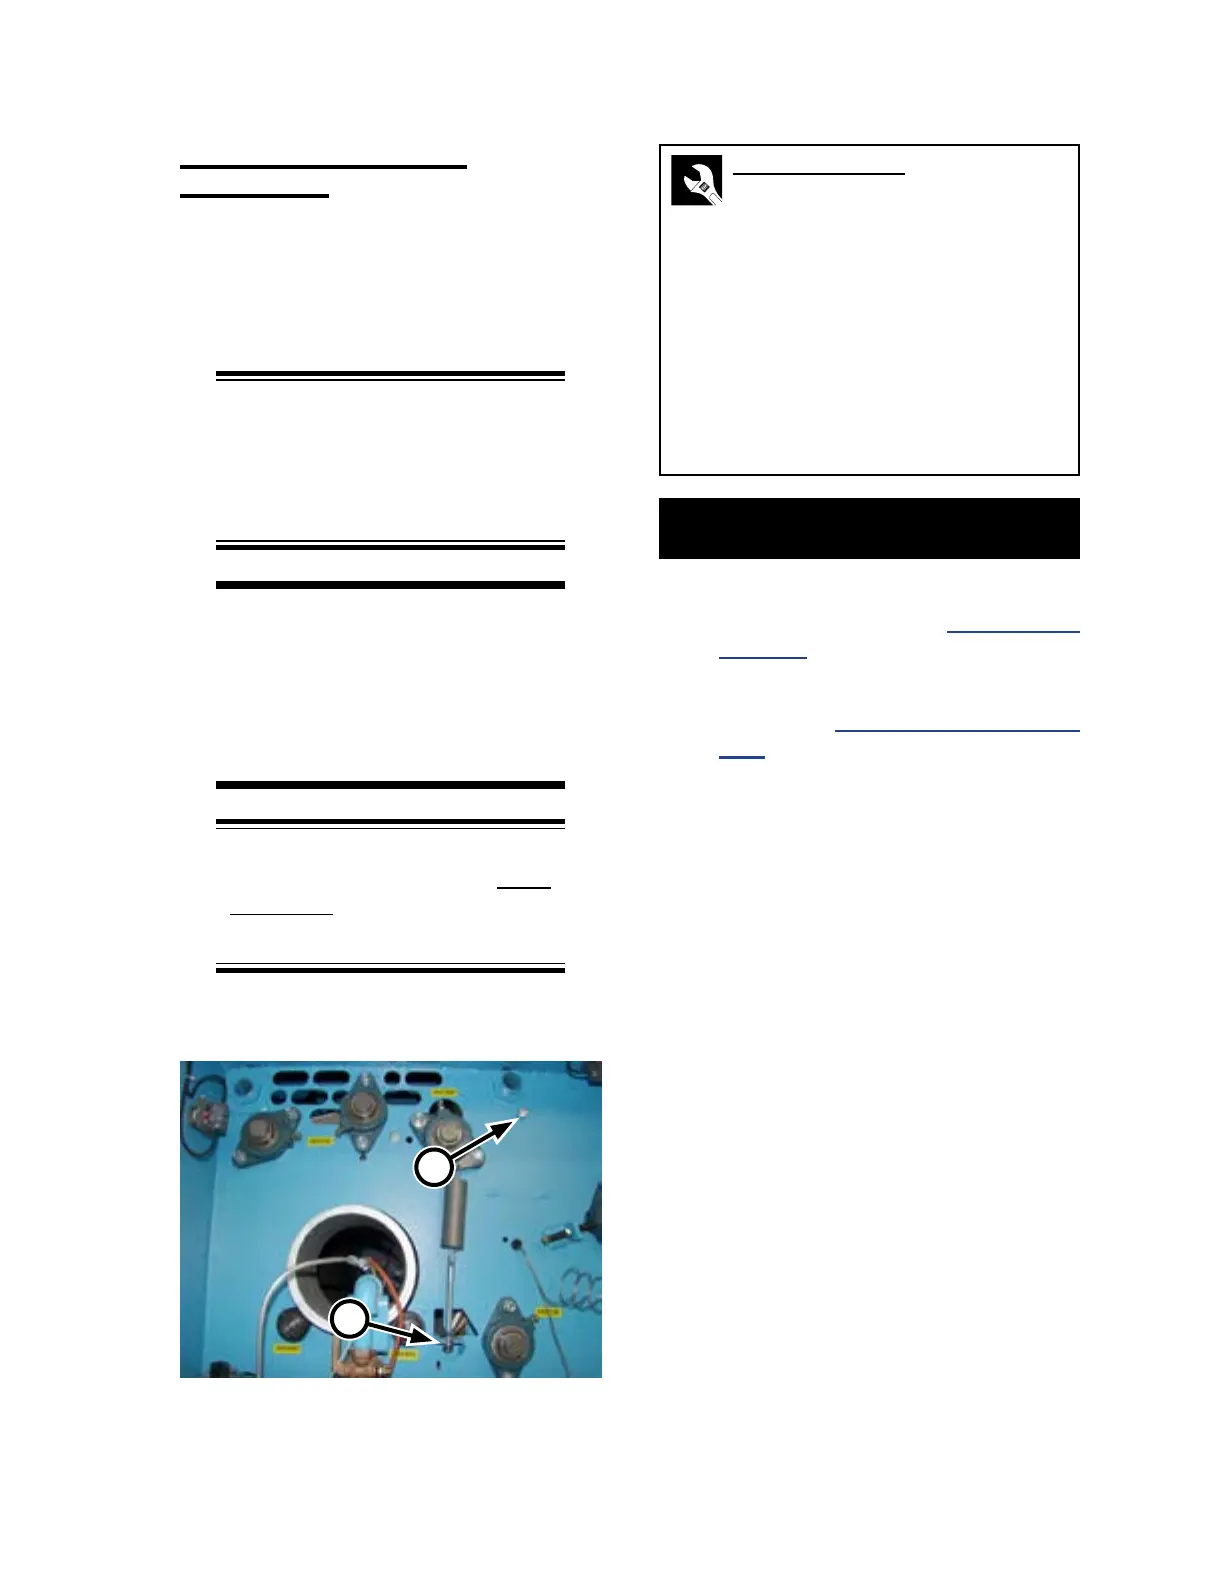
5. Release tension from the compression roll
by loosening the bottom adjustment lock-
nuts of the tension spring in each endframe
all the way (Figure 7-16, A).
6. Remove the red safety nger guard:
a) Note the positioning of the spacers and/
or washers at the front left and right of
the guard.
b) In each endframe, remove the nger
guard mounting bolt (Figure 7-16, B).
c) Carefully remove the guard. Make
sure to keep track of all spacers and
washers.
Figure 7-16: Release tension on the compression
roll by loosening the bottom nut.
A
B