DRIVE SYSTEM AND ENGINE INSTALLATION SECTION - 6
Page 8 / 54 90-899883183 DECEMBER 2007
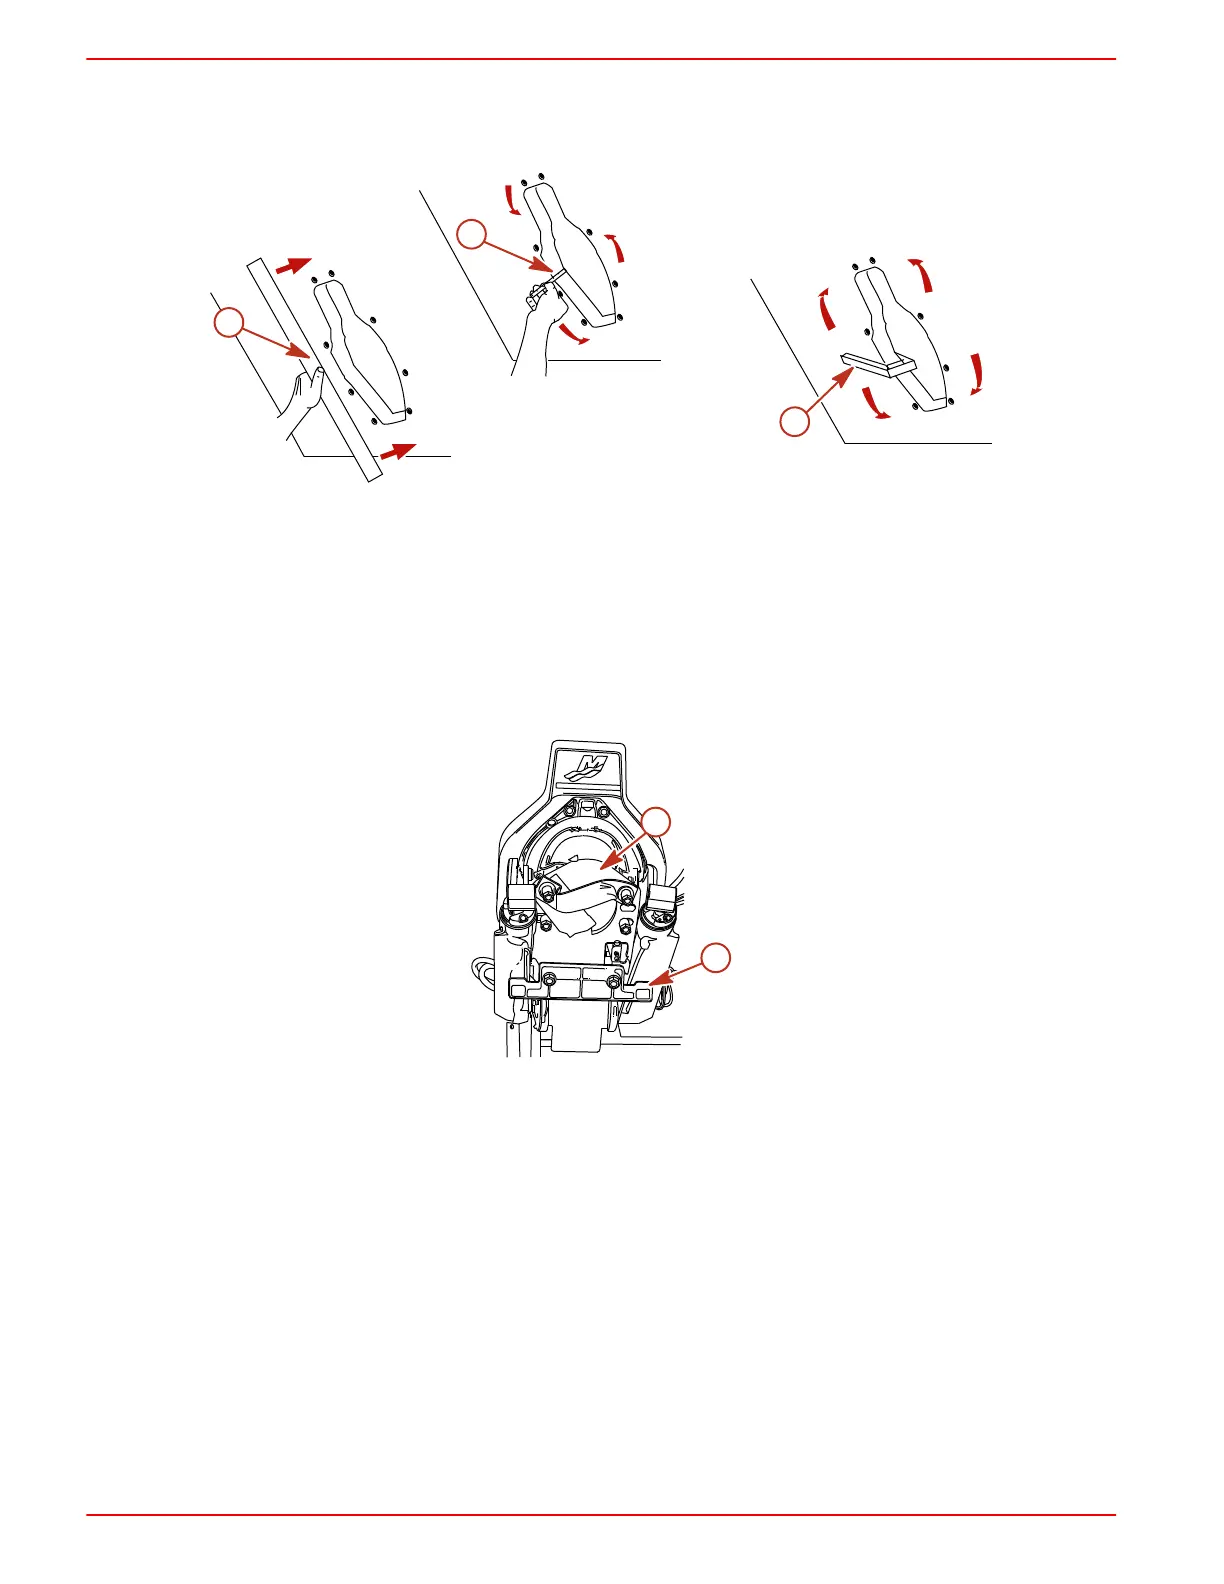
Checking The Transom Thickness
1. Ensure that transom thickness and surface conform to specifications listed previously in
Transom Thickness and Surface.
a
c
b
7697
a - Measuring thickness
b - Measuring flatness
c - Suitable mandrel to check for uniform
transom thickness
Transom Connections
Installing Gimbal Housing
1. Carefully remove transom assembly from shipping carton.
2. Remove and read all tags attached to transom assembly.
a
7713
b
a - Dust cover b - Shipping hardware
3. Remove the shipping hardware.
4. Remove the dust cover if boat will be shipped with drive installed.
5. Do not remove the Shift Slide Installation Tool.
6. Retain the serial number envelope.
Installing the Alpha Inner Transom Plate
1. Insert the wires, hoses, and shift cable through appropriate openings in inner transom plate.
2. Position the gimbal housing on the transom and hold in place.
3. Temporarily secure with hardware.
4. Attach continuity wires.
5. Place the transom harness ground ring terminal on top of the continuity circuit wire on transom
bolt.

 Loading...
